The History
A friendship bracelet is a social garment from its inception.
Typically given to one after being handmade by a friend, the time and hard work needed to create the bracelet is meant to represent the effort and care of friendship.
When someone gives you a friendship bracelet, it is traditional to wear it until it falls off. This honors the work that went into the bracelet.
Although associated with young girls and summer campers, the bracelets require coordination and attention. The process of creating friendship bracelets is known as macramé, a textile-making process using knots. Knot-tying has a vast history and developed independently in different parts of the world. Decorative knots appeared in Chinese clothing and household objects, the earliest found in 481 to 221 B.C. Macramé is believed to have originated with 13th-Century Arab weavers, and the practice spread to France and Italy. The friendship bracelet is said to be a descendant of Central American Indian crafts and first appeared in US culture in the 1970s when wearing ethnic items was popular.
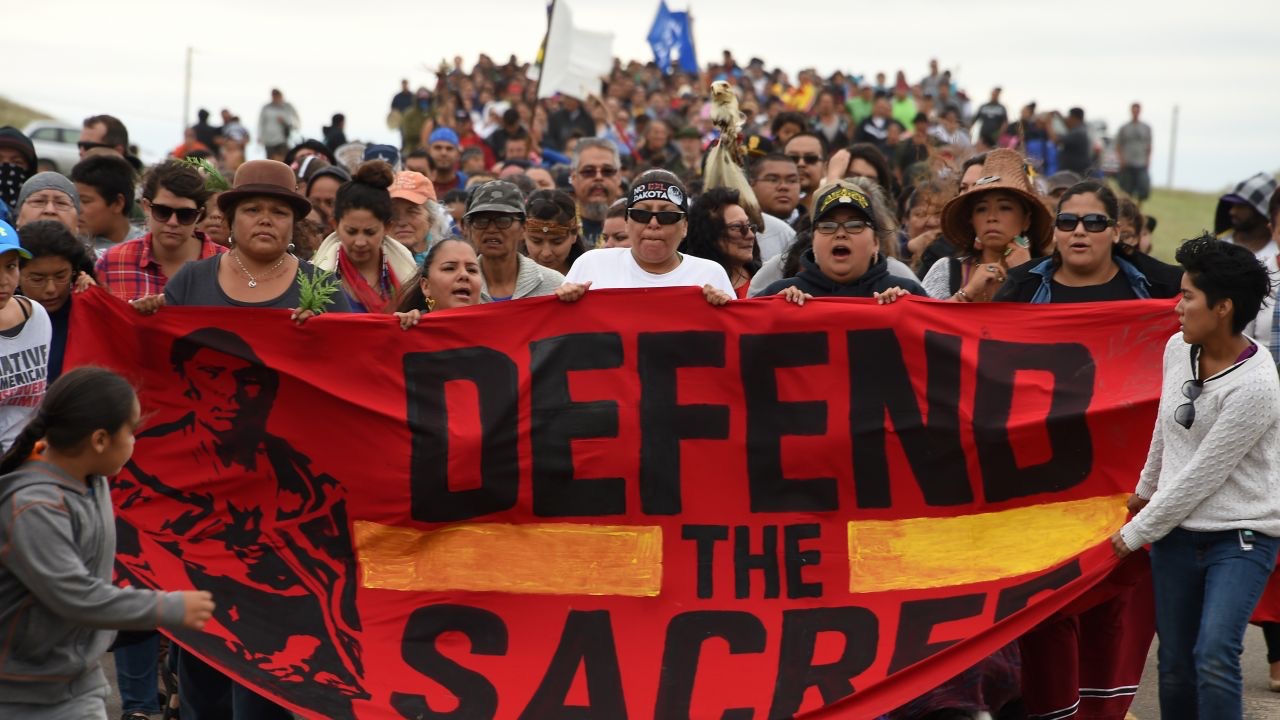
Throughout American History, the plight of Native Americans has been ignored and their rights further infringed upon. Their land has repeatedly been taken by the United States government, confining them to small reservations and forcing them to assimilate to cultures differing from their own. Instead of American society appreciating the Native American culture, aspects of it have been morphed into either caricatures, or as fashion statements that ignore the sanctity of the culture.
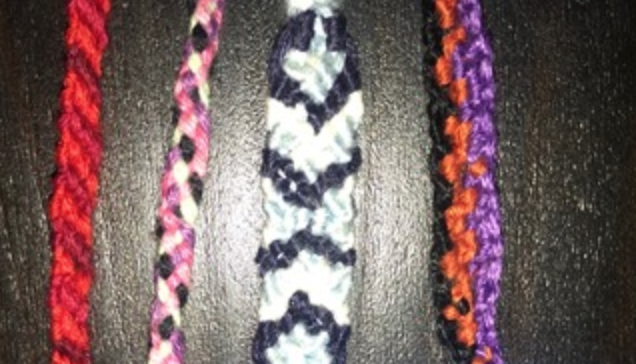
Through the creation of the friendship bracelets, we decided to draw attention to the two problems, including the appropriation of Native American culture, and the negligence of the United States government towards Native American rights. Our friendship bracelets reflect on the issues surrounding the Dakota Access Pipeline, which runs through sacred burial sites of the Standing Rock Sioux Tribe. We created a series of friendship bracelets, with the first one using bright colors to display the vibrant culture of Native Americans, while the other friendship bracelets get progressively darker. This was accomplished by incorporating more black thread. We decided to choose the color black to represent the oil that had the potential of contaminating the land and the tribe’s drinking water. For the final friendship bracelet in the series, only black thread was used for the making of an entirely black bracelet to represent the oil spill that occurred near the tribe’s lake reservation.
Our friendship bracelets were also made to comment on the appropriation of Native American cultures, which often fall victim to the subject of fashion trends and offensive clothing. While the exact origin of friendship bracelets is unknown, common Native American motifs are shown on such bracelets. Our friendship bracelets serve as small reminders, found on one’s wrist, to the everyday struggles that Native Americans face as they are expected to alter their lifestyle as the world around them changes.
The Making
Our group gathered together one evening, and began our weaving circle.
The social nature of the project became clear. First, Natalie, a total beginner to the friendship bracelets, and Nora, a more experienced bracelet maker, sat down and used YouTube videos to find a bracelet pattern that would work for the group. It became apparent that communication was key when the first bracelets Natalie and Nora made were very different.
“I have no idea what I’m doing differently,” said Natalie. It wasn’t until Gabby joined the group, and Nora explained the bracelet making technique to her, that Natalie realized the step she missed. The three proceeded to discuss color and pattern choices and began to feel more confident in their crafts.
“I’ll never make fun of my little sister again – this is hard,” observed Gabrielle. “I feel like I would have to really like a person in order to make them one of these,” added Nora. These sentiments ring true to the fact that friendship bracelets take a lot of patience, and without the appropriate amount of attention, they can become easily botched.
Working, chatting, and making together was a big part of our project, bringing us back to the sewing circles and quilting bees. By working as a group to create this project, we discovered how social interaction is a vital part of the creative process.
When creating our friendship bracelets, we figured the most appropriate material to use would be embroidery floss. Pictured is the average 6 strand floss, which can be found for 50 cents in almost any crafts store, and comes in a rainbow slew of colors.
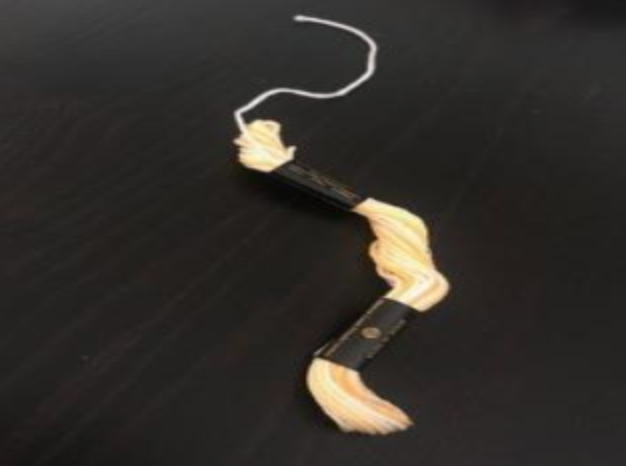
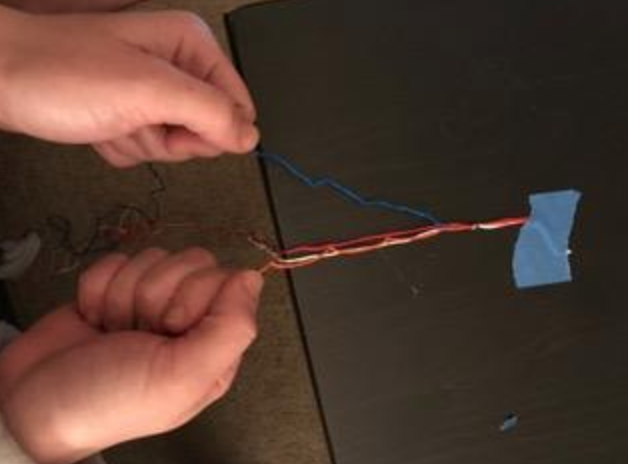
Embroidery floss has been used for decades now in the hands of best friends, attempting to tie together their friendships forever. We also considered using crochet yarn, left over from our in class project, but it was a disastrous failure that we will discuss later in the blog post.
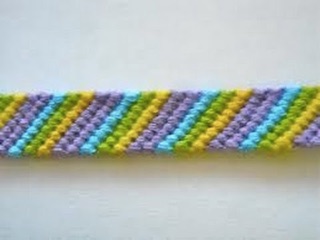
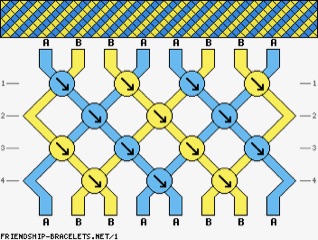
We did the majority of our friendship bracelets using the easiest of knots, what we call the “Power of 4!” This knot helps create the standard, “candy stripe” pattern.
Pictured is what the actual pattern looks like, in a lovely graphic, but this appears rather confusing, so we’ll break it down better right below.
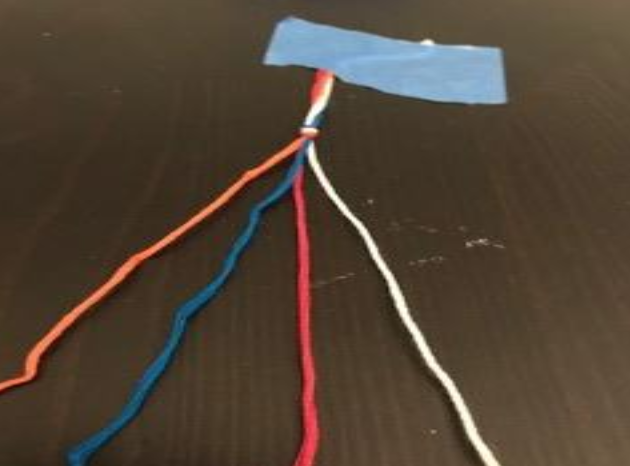
To start the bracelets, take 4 strings, of equal length, tie them together, and use tape to adhere it to the working surface, in this case a sturdy table. We found that a sturdy table worked best in ensuring that the strings don’t move around, and potentially mess up the project. As pictured below the strings must clearly be splayed out and easily identifiable.
Once the work space is set up, begin by taking the left most string (orange) and placing it in your right hand. The second most left (blue) string goes in your left hand.
Then, form the fabled “Power of Four” knot by looping the bottom of the string underneath.
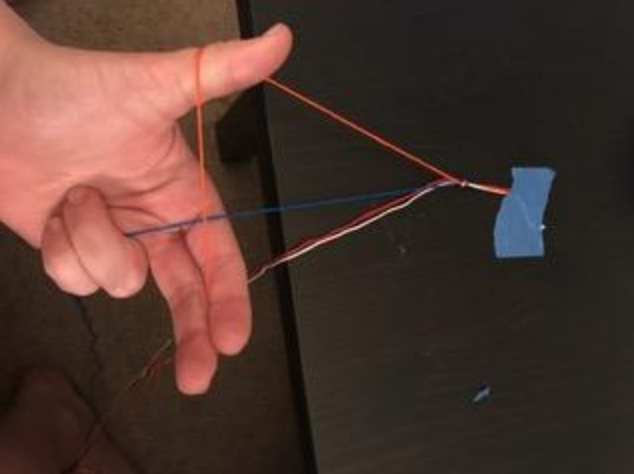
Proceed to bring your hand up, tying the knot at the top, near the tape line. You make this orange four over the blue one more time. Then proceed on to make two orange fours on the red, followed by two orange fours on the white, knotting each time.
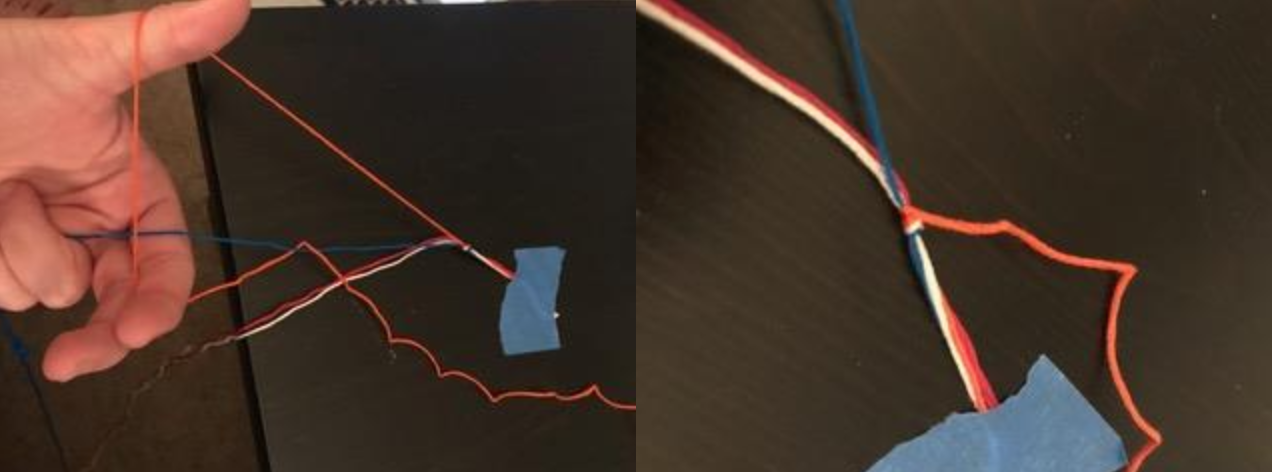
It is crucial to remember the order of the colors you have, in our example the colors are orange, blue, red, then white. We found that when one lost track of the color pattern, it would alter the design entirely, and stray away from the candy-stripe pattern. After you have made a total of six 4’s out of the orange string, you move on to the next color, blue. This pattern, of two 4’s per color, creates our candy-stripe pattern. The final product could look like this example below.
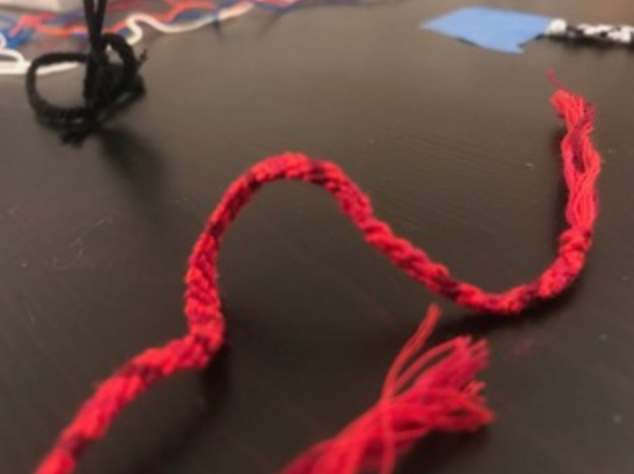
For beginners, a thicker material, such as yarn may be beneficial, because it is easier to handle. However, be aware that it will take just as long, if not longer, to create. But, as our group discovered it was not about the length of time it took to make one bracelet, it was partially about the fun we had in the process. During our knot tying we got to know one another better, and ended up forming a better bond. Some of the more challenging bracelets definitely took more effort, but the end product was well worth it.
The tangibility of tying knots, to form a very physical bond that represents a friendship or relationship is amusing. The tedious nature of the task at first seems daunting, but it is highly relaxing, and you easily fall into a groove, and could easily knot the night away with your best friends.