When I was told the assignment was to make a container out of wood, I immediately thought of the small wooden bowls that are popular at stores like West Elm and Anthropologie. These bowls are petite, perfectly smooth, stained, and lacquered to emphasize the grain in the wood. I have always been a fan of these bowls and have wanted to purchase one but they are so expensive. I thought this would be a perfect opportunity to replicate it; I was wrong.
I, like the rest of my classmates, thought that carving the wood would be easy. During class when we worked with carving tools, I struggled to cut through the wood but I continued forward with my idea of carving out the wood to make a bowl. My method also completely contrasted from what my partner, Nora, did. She approached the problem by using puzzle pieces so I needed to do something completely different.
I began by drawing a circle on the piece of wood, making it as big as possible to maximize the size of the wood. I avoided using the natural edge of the wood because it did not fit into the aesthetic of the “West Elm” bowl. From there, I used the scroll saw to cut out the shape; I used this machine because it has greater flexibility in how it cuts, allowing me to cut out the curves. Afterwards, I used the disc sander to perfect the circle shape. I also used it to create the convex shape that all bowls have. Because this piece of wood was thin, it was difficult. It was hard to create a deep curve since there was not much depth to the wood. My fingers were a little too close to the sander for my comfort. I held the top part of the cylinder flat to the sander and then gently pushed the bottom of the cylinder up to create the convex of the exterior of the bowl. Once this curve was established all around the former cylinder, I turned the bowl in a circular fashion on the sander to create a uniform curve.

Once I was happy with the shape of of the bowl I had to figure out how to create the concave part of the bowl. I went through a variety of methods, many of which were extremely difficult or just wholly unsuccessful. I started by using the carving tools to dig out the center. This is when I learned how hard even the softest wood is to carve. I primarily used the tools that had a rounded tip as those were the easiest to get the most wood out. I was talking to Nora at the time and she suggested wetting the wood. Jessica had done so prior and that was making it slightly easier to carve. I tried laying a wet paper towel on the top so that some water would seep into the wood, making it damp but not too wet that it would crack the wood. I had also read online that newly cut wood is easier to carve so I thought that the making it damp would mimic that. This made it marginally easier to carve but it was still extremely difficult; on top of that, I have no strength in my arms, something that is required for this task. I had carved about a centimeter deep into the whole surface before I decided to try another method.
I tried switching over to a machine in the wood shop that is sandpaper on a thin cylinder that rotates and also moves up and down. I tried holding the bowl at an angle to see if this method of sanding would create any depth in the bowl but it had marginal carving ability. If the sandpaper bit had sandpaper at the top, this would have been a fast way of hollowing out the bowl. Growing exasperated at this point, I found one of my art instructors working in BeAM and asked for his opinion on how to expedite the carving process. He suggested I used a dremel tool. It is a handheld tool that is similar to a drill because you insert a bit into it and it rapidly spins it. However, with the dremel tool, the bits are covered in sandpaper. Using this tool, instead of carving out pieces of wood, it rapidly sands the wood to hollow it out. This tool offered a lot of control and was a faster method. To start, I used a very small, thin, cylindrical, metal bit that carved a small, deep hole in the wood. I rotated this bit around in the wood to make a hole big enough insert the next smallest dremel bit that is covered in sand paper. From there, I rotated the dremel tool around to expand the depth of the bowl by sanding it away. The bits that I primarily used were a small cylinder and a slightly larger one. The sand paper on these were particularly rough which expedited the process. In the beginning I was not applying much pressure; in retrospect, the process would have gone by faster had I applied more pressure. I had to often change out the sand paper that covered the rotating metal bit. It was difficult to use because there was no sandpaper that covered the top; if it was a cone shape it would have been easier to carve out, however, BeAM did not have that. This process was dangerous because I was breathing in so much sawdust. I had eye protection, ear protection, and a nose and mouth mask to eliminate the amount of sawdust I was inhaling (I only started wearing it two hours into the project so I still woke up with a sore throat from the dust).

The dremel tool sped up the process but it still took hours to complete. It was difficult to create a gentle curve in the bowl while also getting out enough wood so that it looked like a bowl and not just a small plate. It was hard to shape the interior of the bowl. Following the BeAM safety instructions made the process longer; I was constantly clamping and unclamping the bowl in order to expose the right area to sand down. The dremel tool left many markings in the center of the bowl. I hand sanded the inside of the bowl to try to make it as smooth as possible but it was, again, a difficult process. I decided to embrace the cuts in the wood which gave it a weathered appearance and differentiated from the stereotypical “West Elm” bowl. It appears to have a history, a history of making.
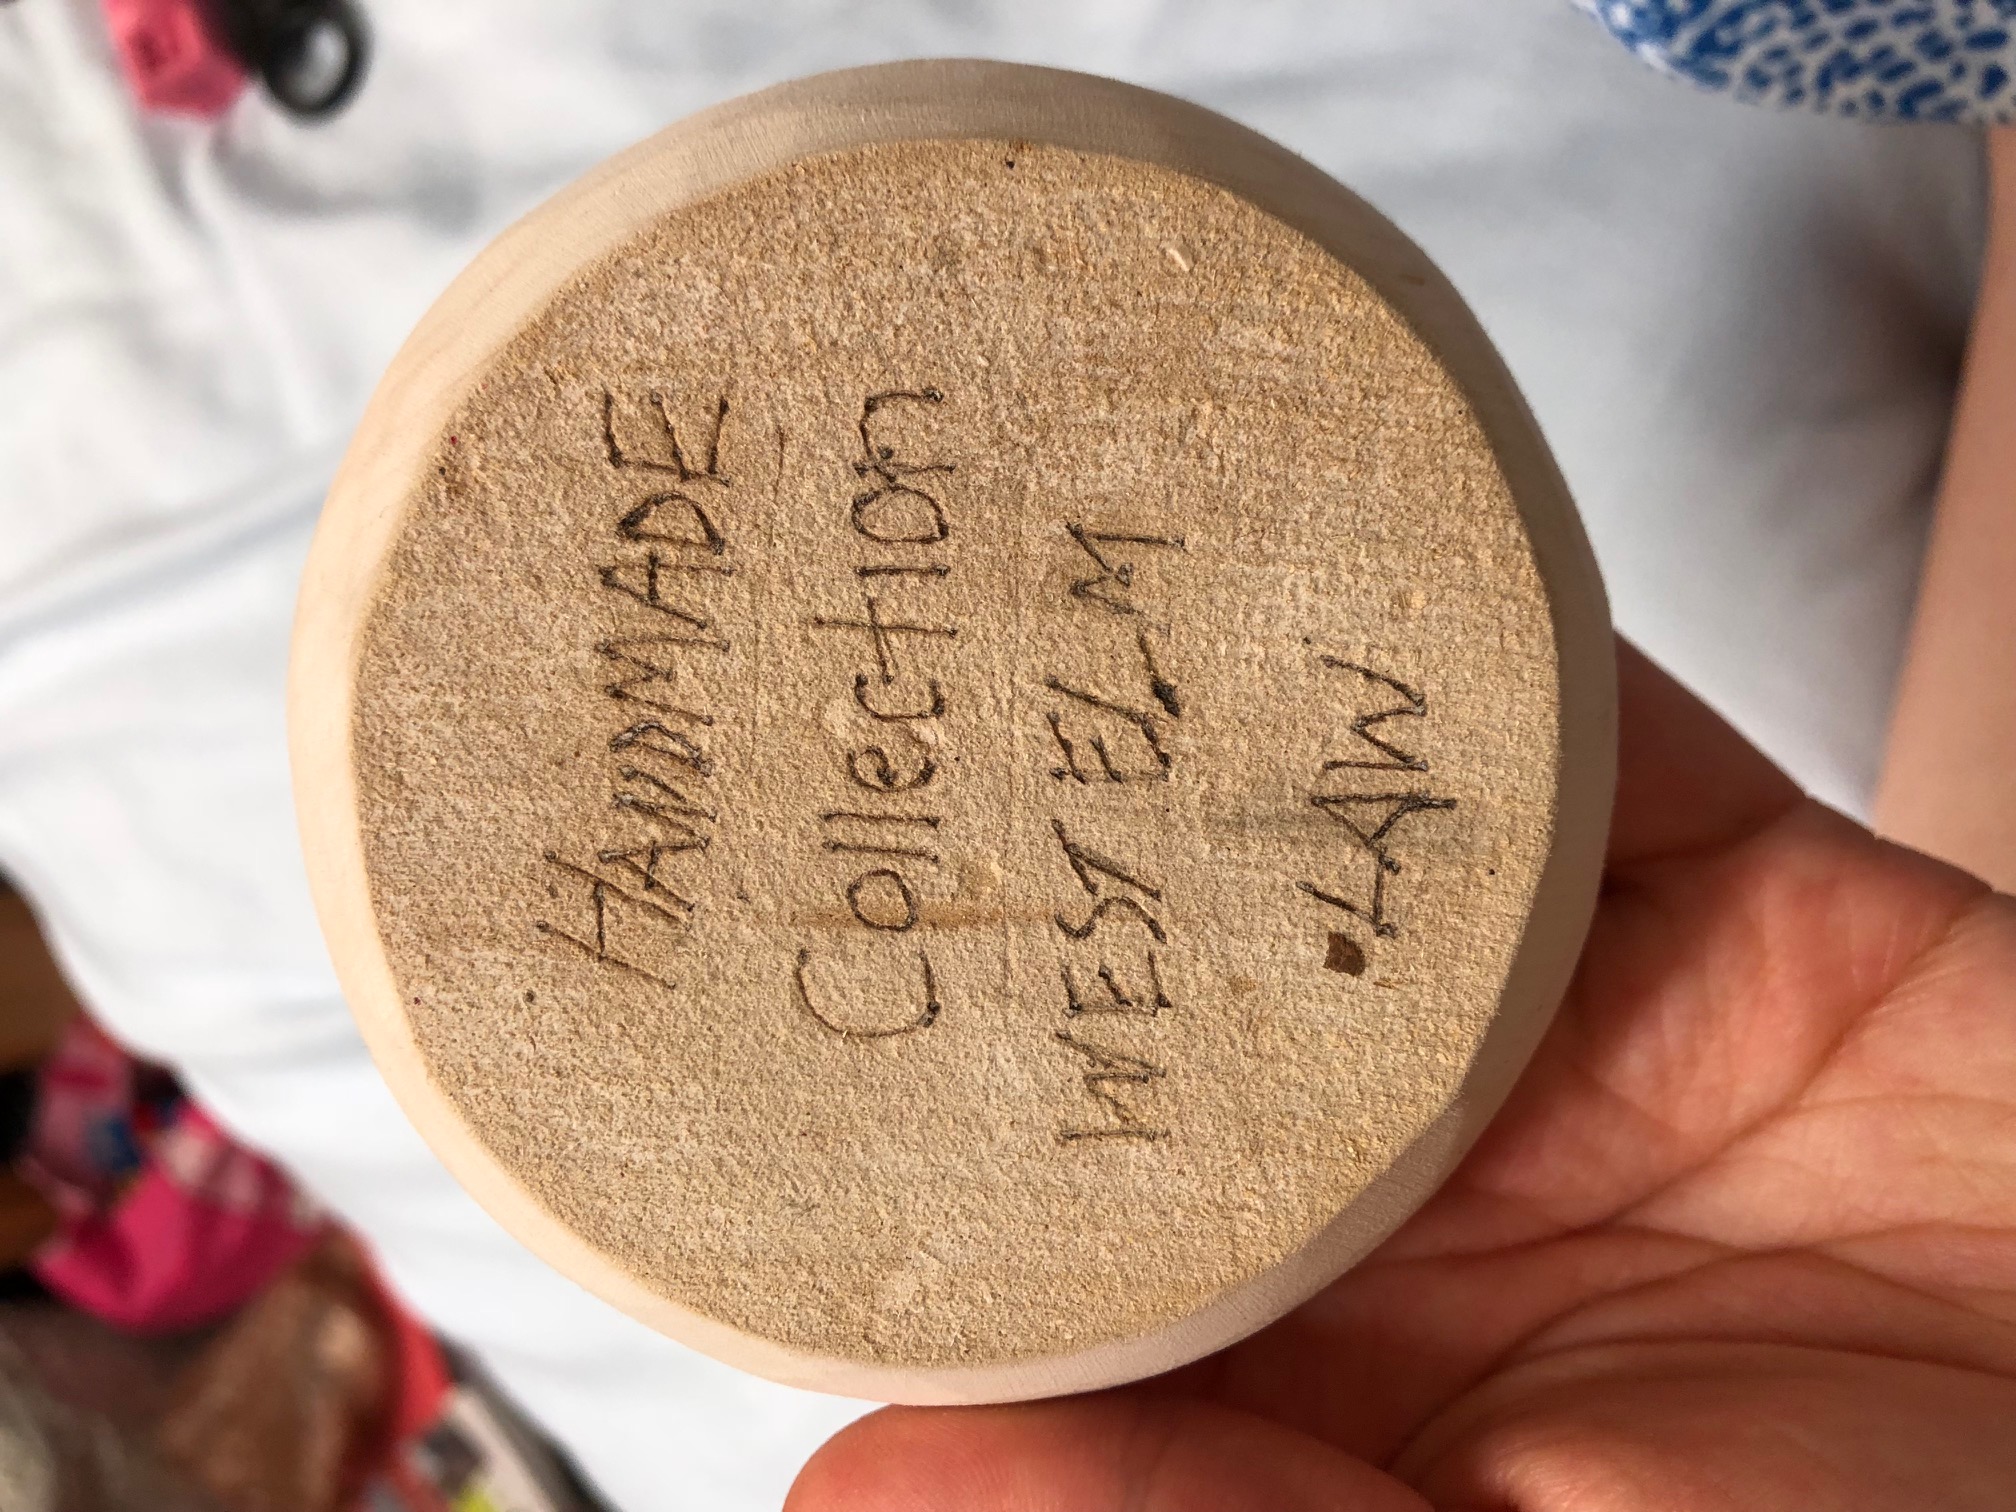
To finish off the bowl and to cement its status of being a “West Elm” bowl, I used the wood burner to write the words “Handmade Collection, West Elm” and signed it with my last name. This final marking to a minimalist bowl followed the simplistic tradition of the wooden bowls seen in all the hip furniture stores.
It was satisfying to use my container in class to hold Skittles that someone brought to demonstrate their container. This project gave me such an appreciation for carved wood objects; while I know that many bowls are not hard carved that way, it still reflected many of the processes that wood carvers undertake. Wood is an interesting material to work with because, as discussed in The Matter of Art, it is a living object yet it is still such a study object. The life of the tree is now imbued in the bowl. While I will just buy a wooden bowl if I want another one in the future, this object now represents many hours of dedication and hard work.