When handed the basswood cookie and corresponding making assignment, I grappled with what form my container would take and how I should go about constructing it. Our class discussion of woodworking joints had planted the seed in my mind for creating interlocking, puzzle-like pieces that would ultimately come together to form a rectangular box. Melissa and I decided that our charted course was clear: she would make a number of Russian-doll-like stackable boxes, and I would make various vessels that would play off of that theme by interlocking horizontally (rather than vertically). We hoped our final two pieces would “speak to each other” by being formed of many smaller constituent containers, by growing in dimension vertically and horizontally, and by creating the walls and bases of our boxes through interlocking pieces with basketweaving and puzzle pice techniques.
Upon experimentation with the basswood cookies, our plan was swiftly foiled. When exploring distinct making methods, I encountered an inventory of issues: dull chisels and limited tools led to splitting wood, imprecise cuts, broken sections, and, among other things, a small yield of useable pieces. After this phase of individually getting to know our materials and tools, we reconvened and decided upon a new container trajectory. We aimed to minimize the extent to which we would have to encounter our initial impediments to success and resolved to form our remaining basswood into vessels that would primarily speak to each other by manner of creation and final form. Ultimately, we reached the idea to individually create two containers that would both be angular and echo one another in certain wood-burning aspects while having been constructed in contrasting ways. Most notably, this different methodology meant that Melissa’s process would be characterized by being subtractive in nature, whereas mine would be additive.
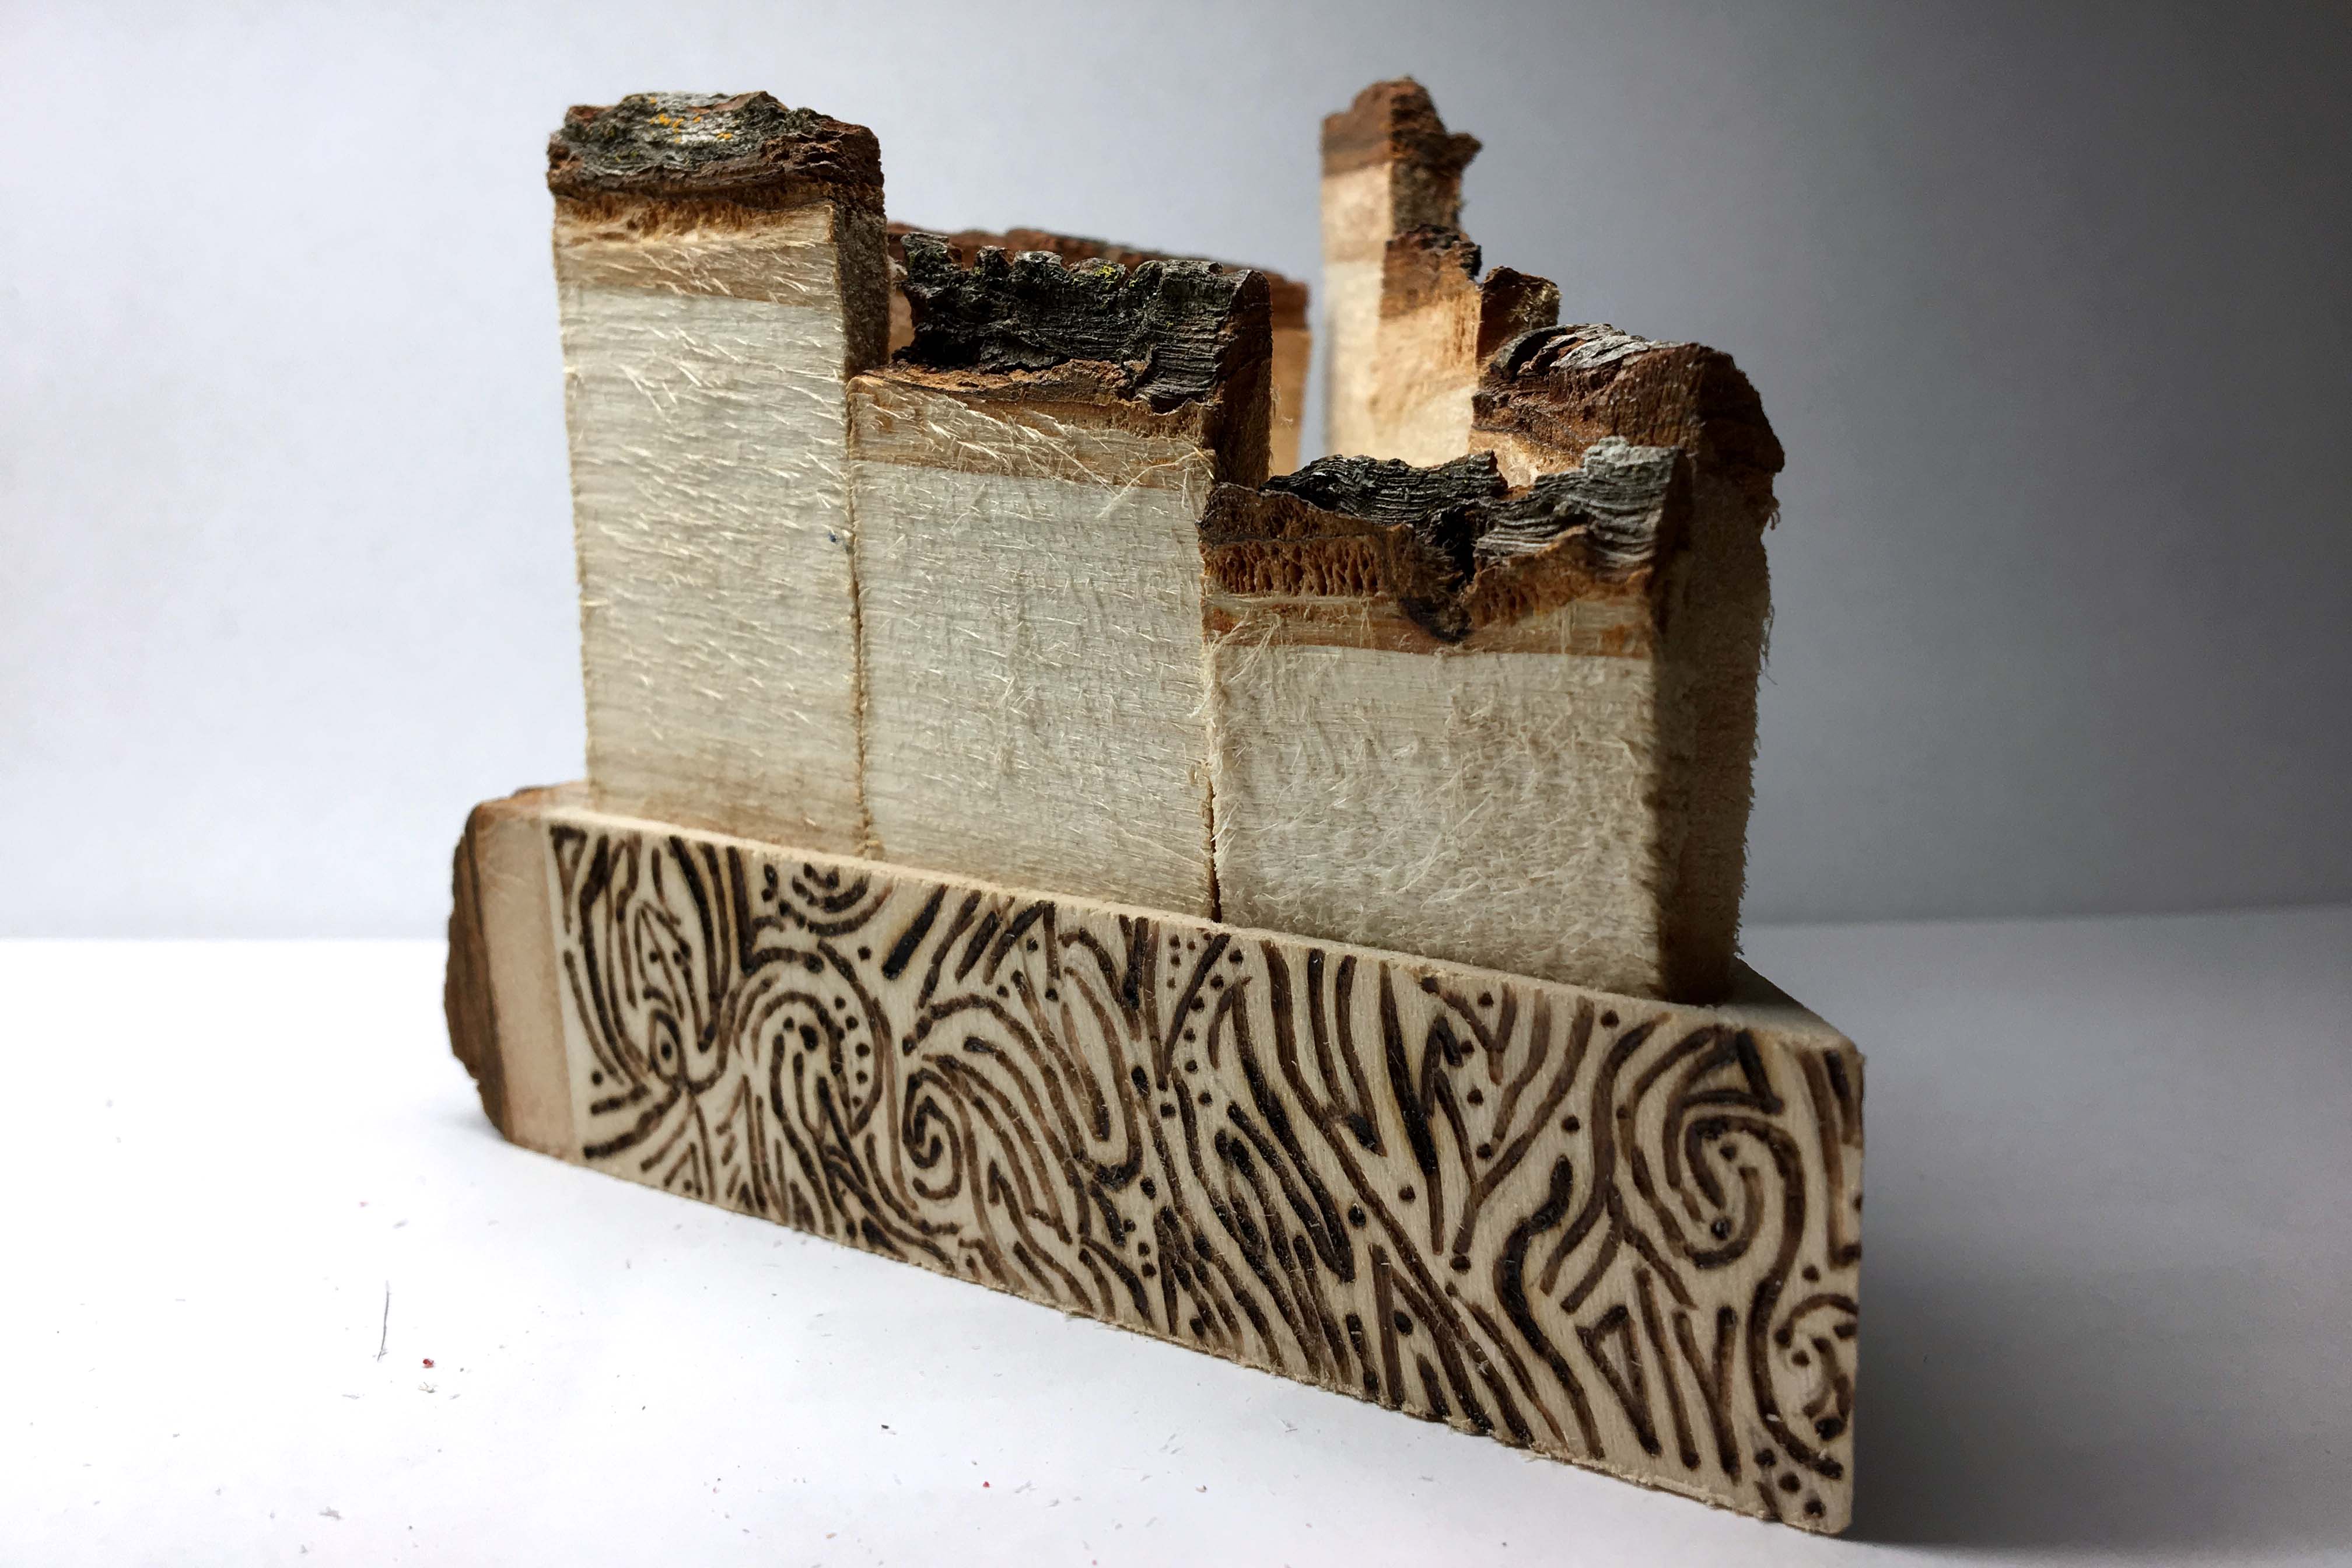
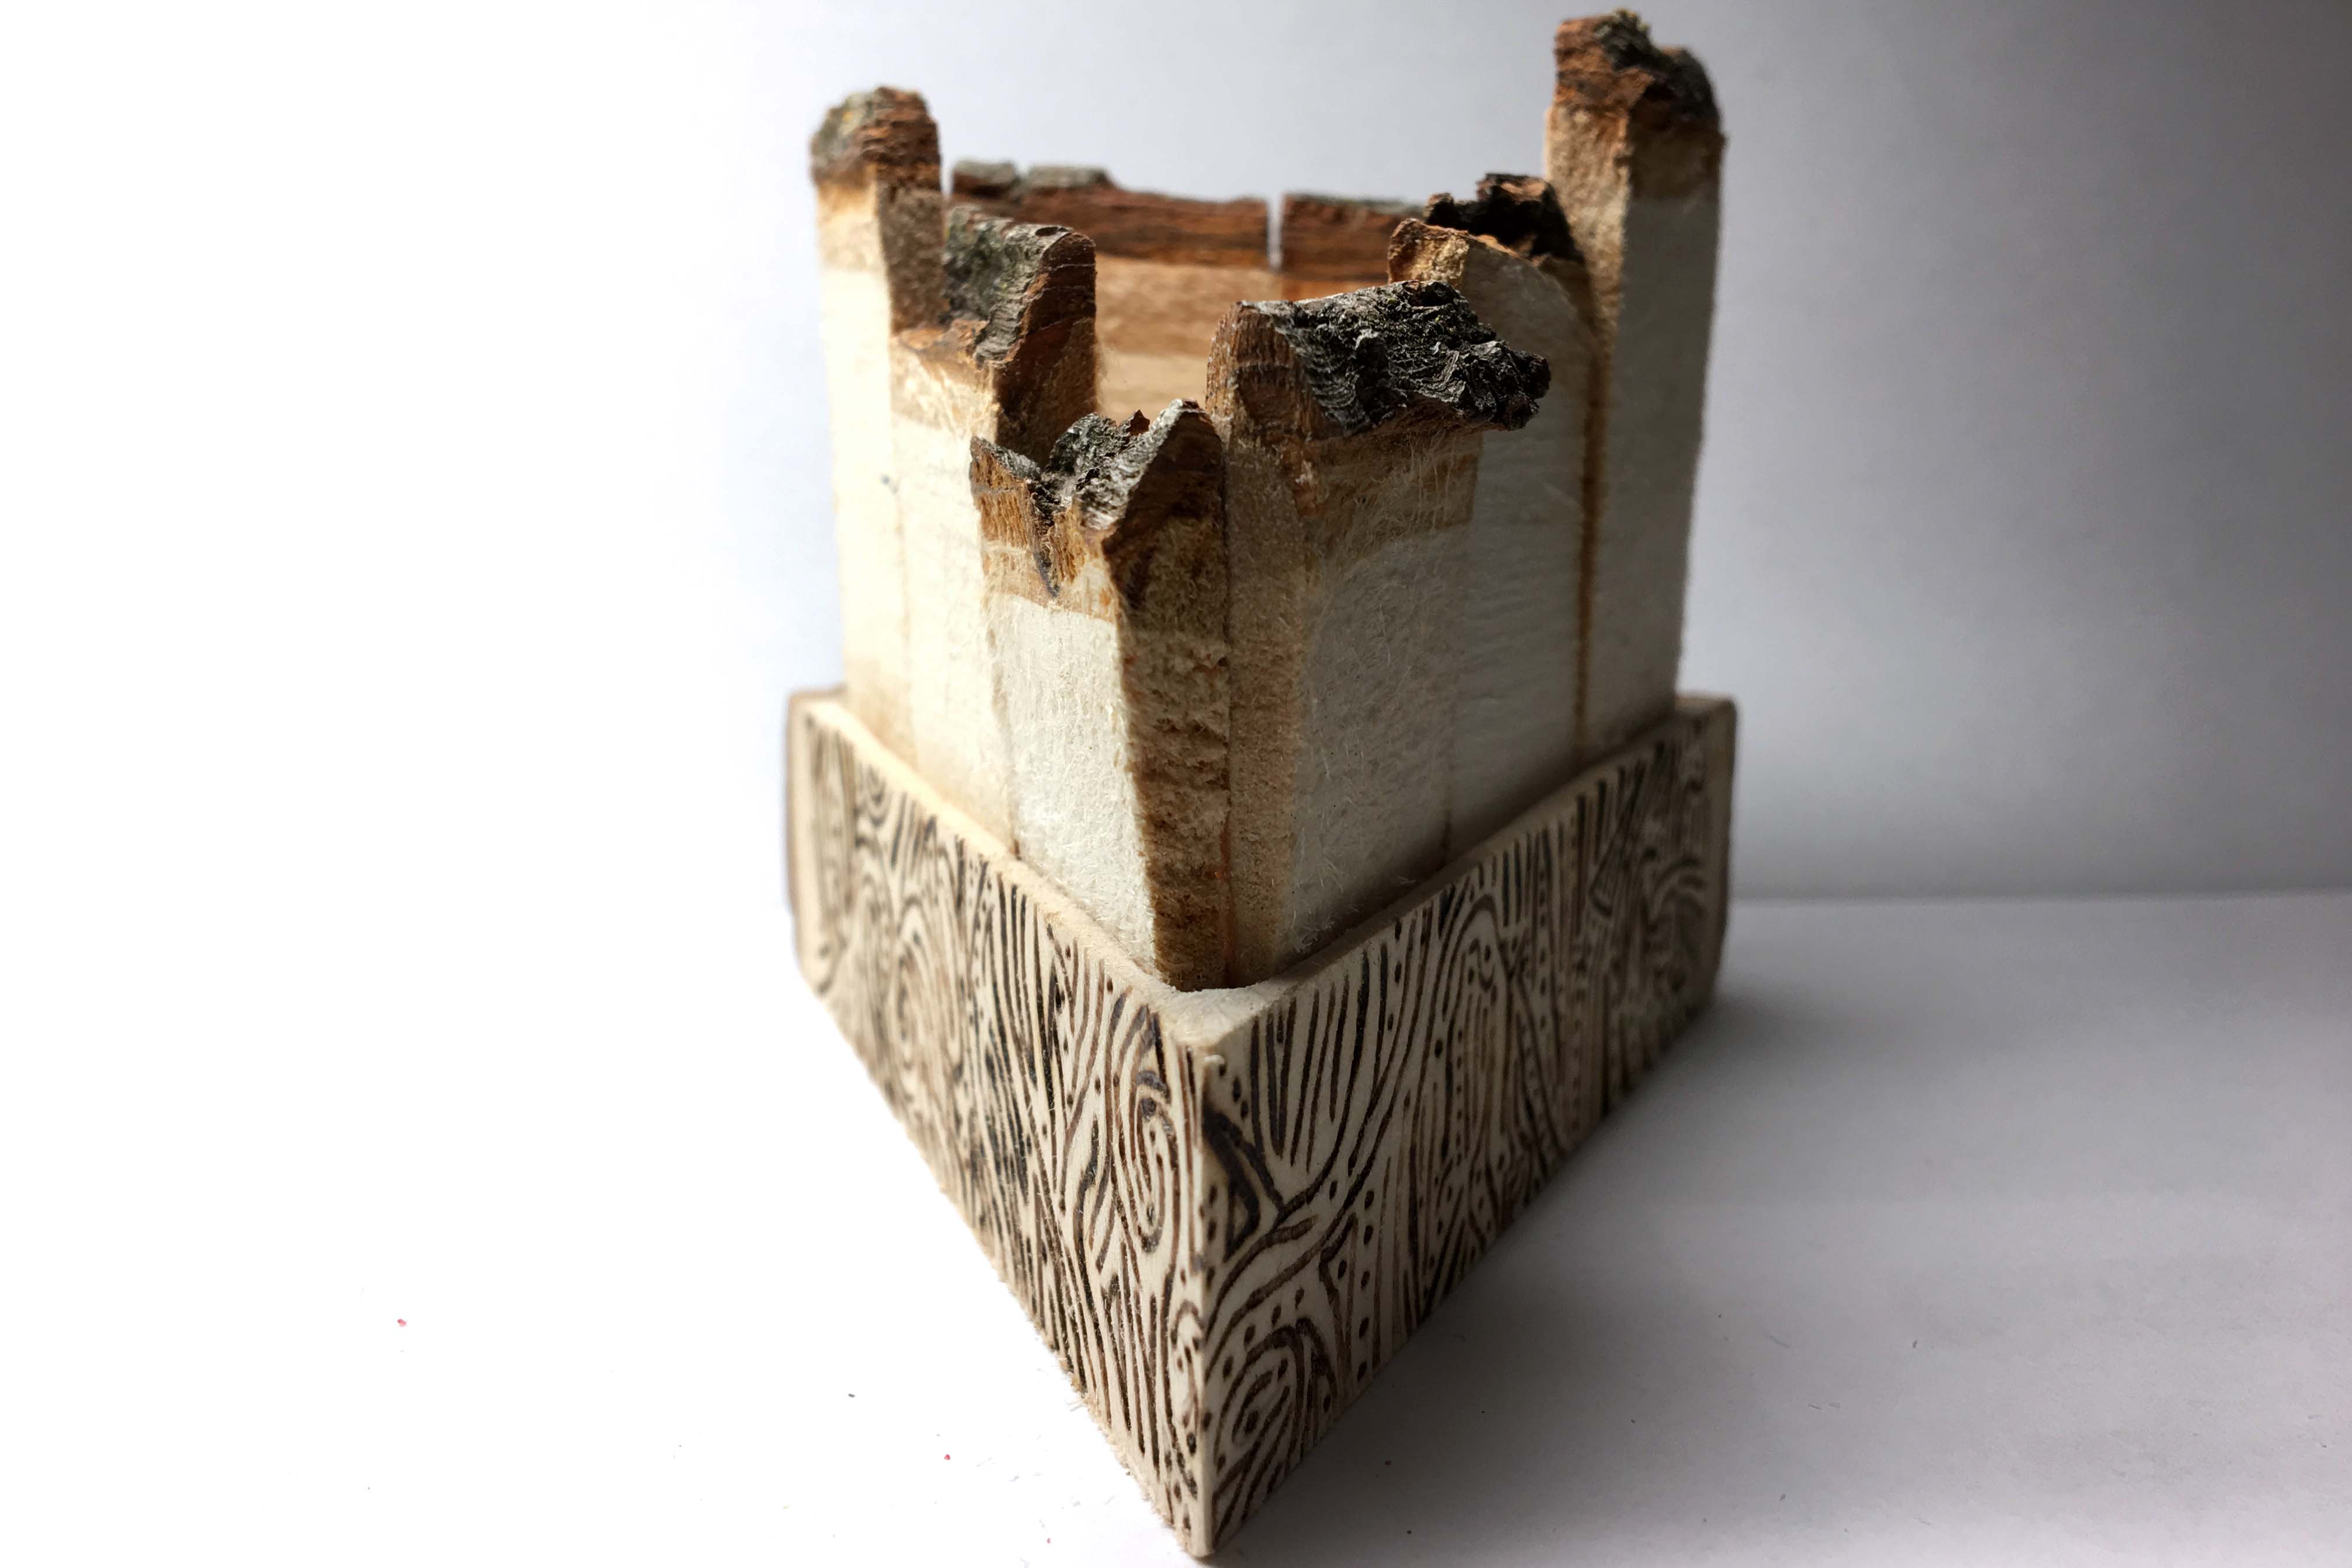
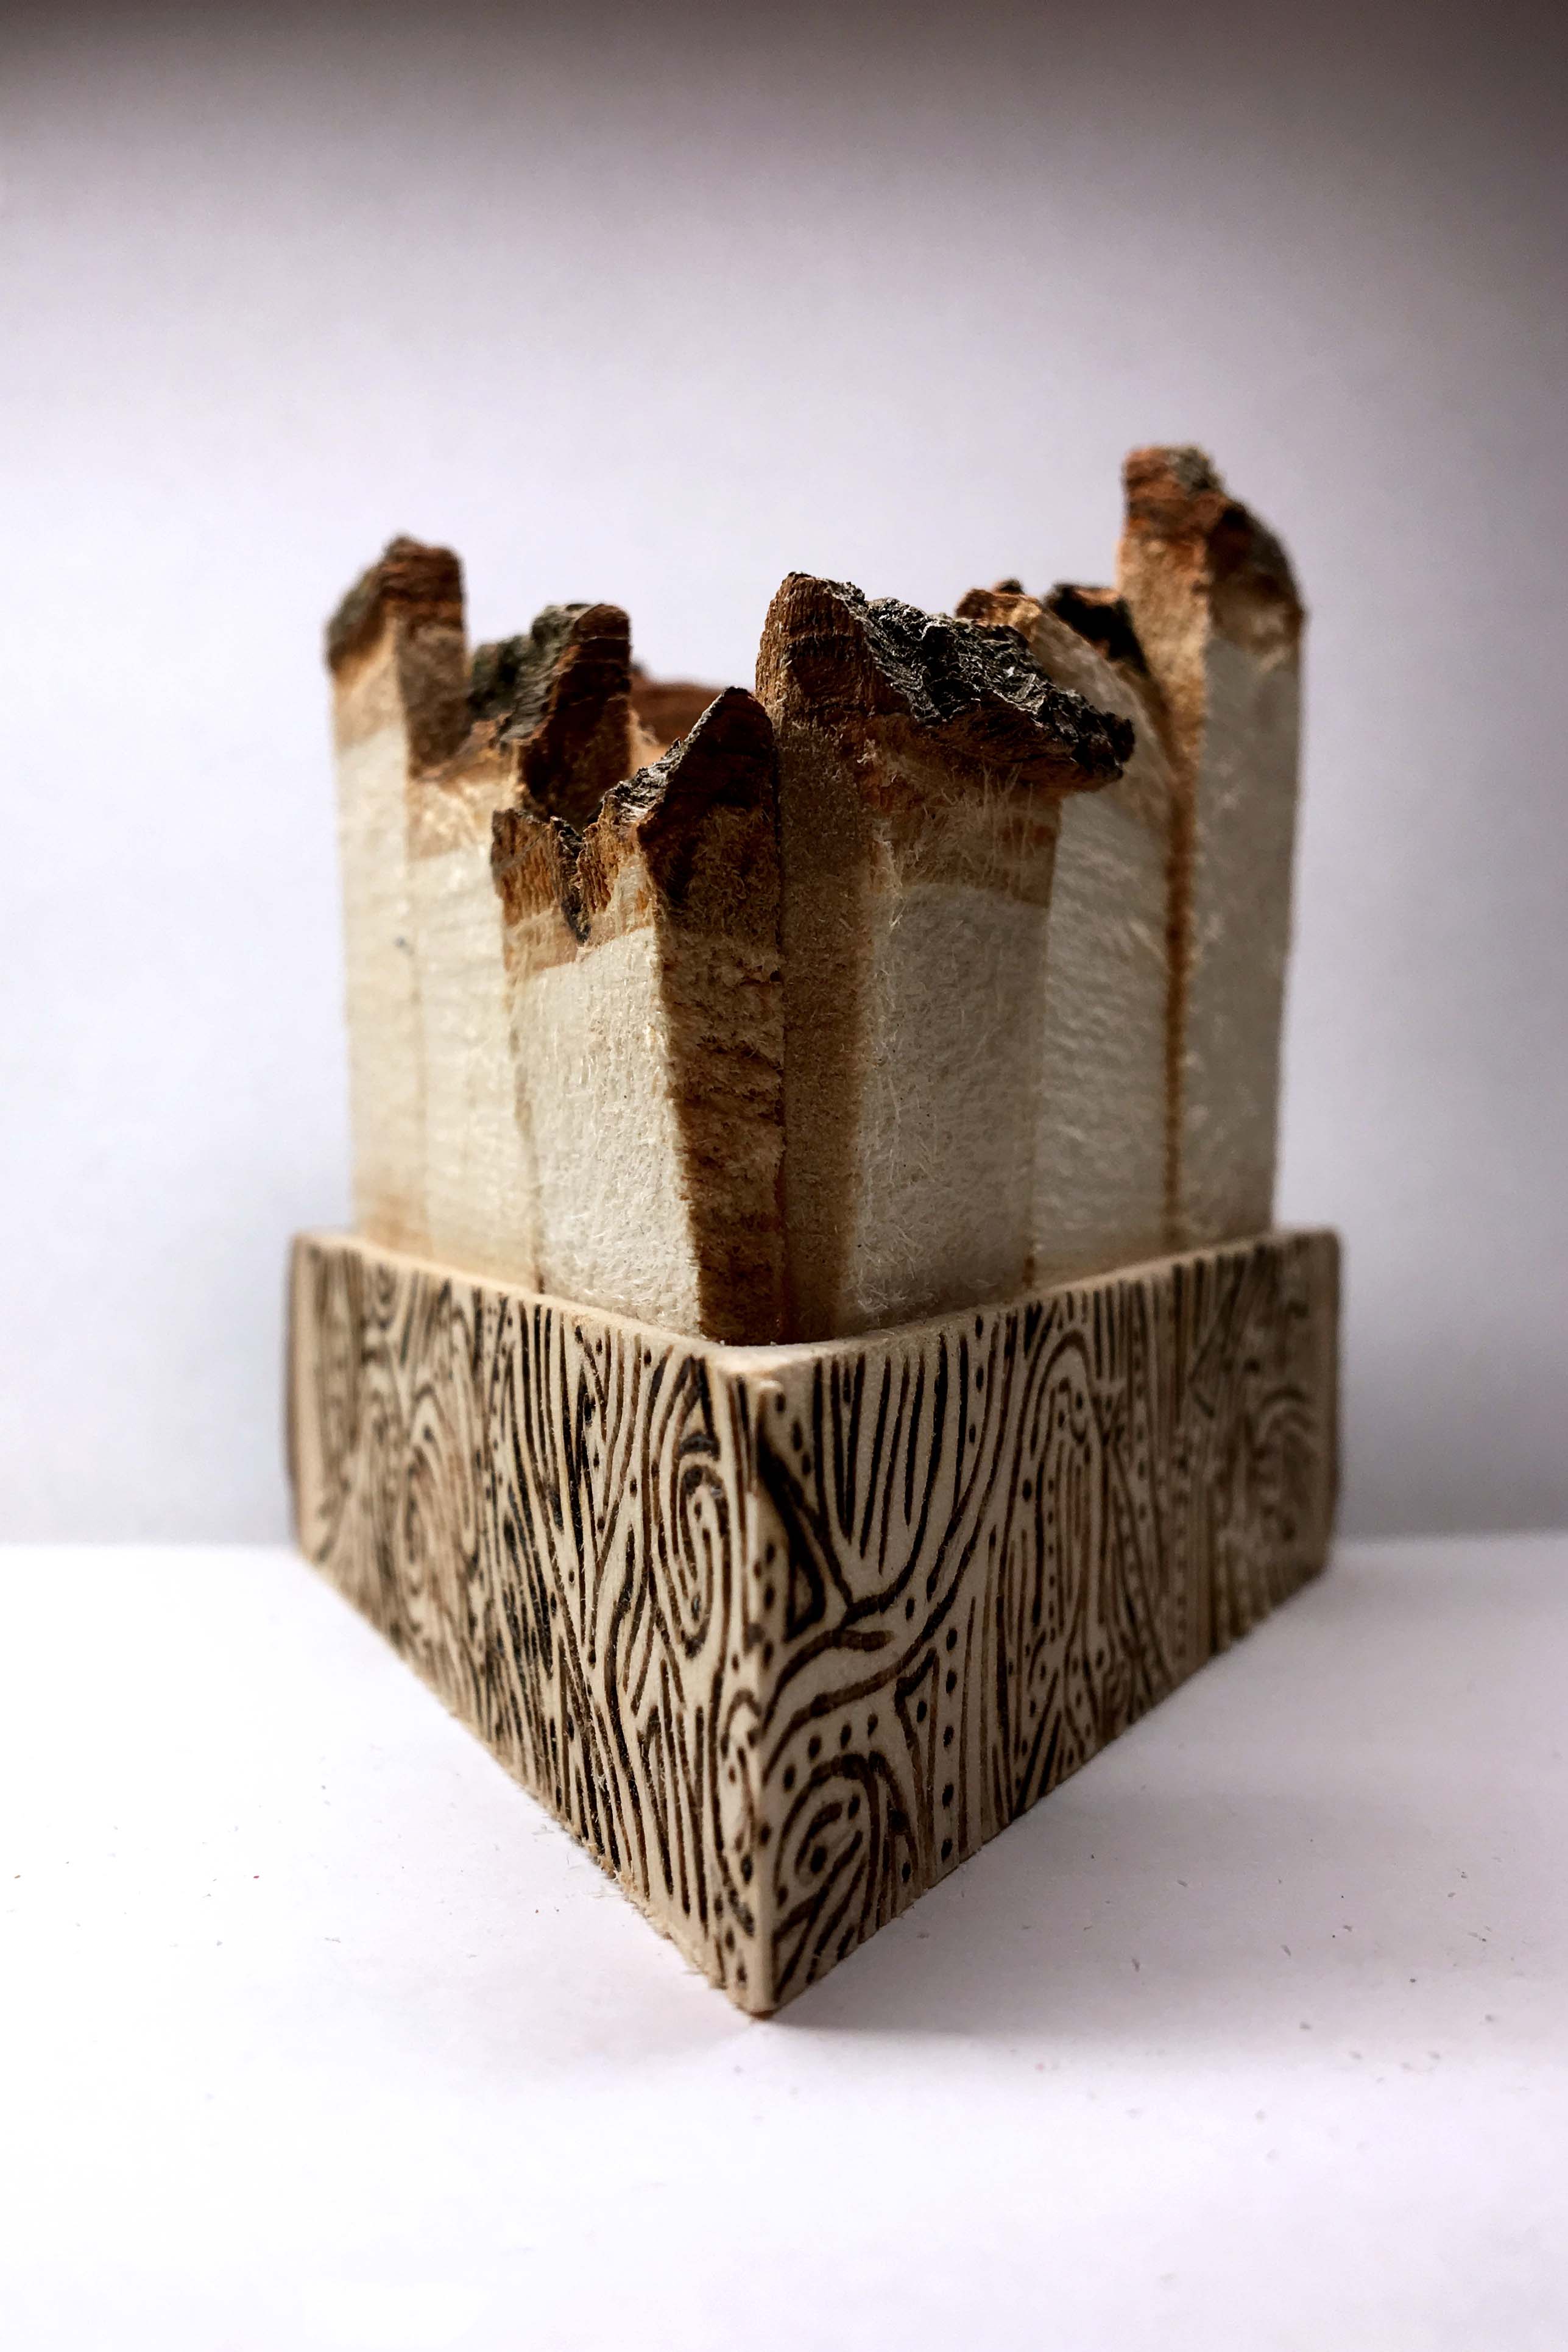
In the BeAM space, I tried a number of new methods of creation. Using the band saw to cut the cookie into one triangular piece and a multitude of thin pieces, I then headed over to the scroll saw to cut the feet for the slices I intended to stand upright atop my triangular piece. Although better than using a chisel to complete this task, the scroll saw’s pressure was too great for the thin pieces I had been using it for, creating a splintering effect. This splintering broke too many pieces for me to keep trying to utilize the machine, and, after creating a single-pencil holder using a meticulous sanding and chiseling process out of frustration, I realized the best way to proceed given the materials I had left at my disposal. Having found a good method for making a rather deep hole by alternating between sanding and chiseling, I figured that the same process could be used to make three troughs along the perimeter of the triangular base. As a result of my many piece-cutting trials, I realized that the way I cut my one-eighth-inch-thick pieces made them best suited for standing upright: although fragile due to their thinness, they were uniform in shape and size— in addition to having been cut by the scroll saw in a way that allowed them to retain sizable portions of the raw bark along their tops. I proceeded to chisel and sand one-eighth-inch-wide troughs, inset by the same unit (1/8 in.), along the triangular piece’s perimeter. This was done so that the space between the edge of the wedge and the carved trough would be small enough to be aesthetically pleasing — in addition to optimizing the amount of interior space available for containment — while staying sufficiently far away from the edge to minimize the risks of splitting the wood from the force and pressure exerted near the area with the greatest propensity to break. I formed these three troughs over the course of two days, as I needed to take judicious care in their creation given my lack of any margin of error. There was no more wood left at this point, and I could not afford to have my hand slip or apply too much pressure while chiseling or sanding: the wedge’s troughs would have to be the accurate dimensions (width and depth) were the slim pieces to stand upright in a taught manner— all told, forming the troughs took over eight hours to attain the necessary specified level of precision.
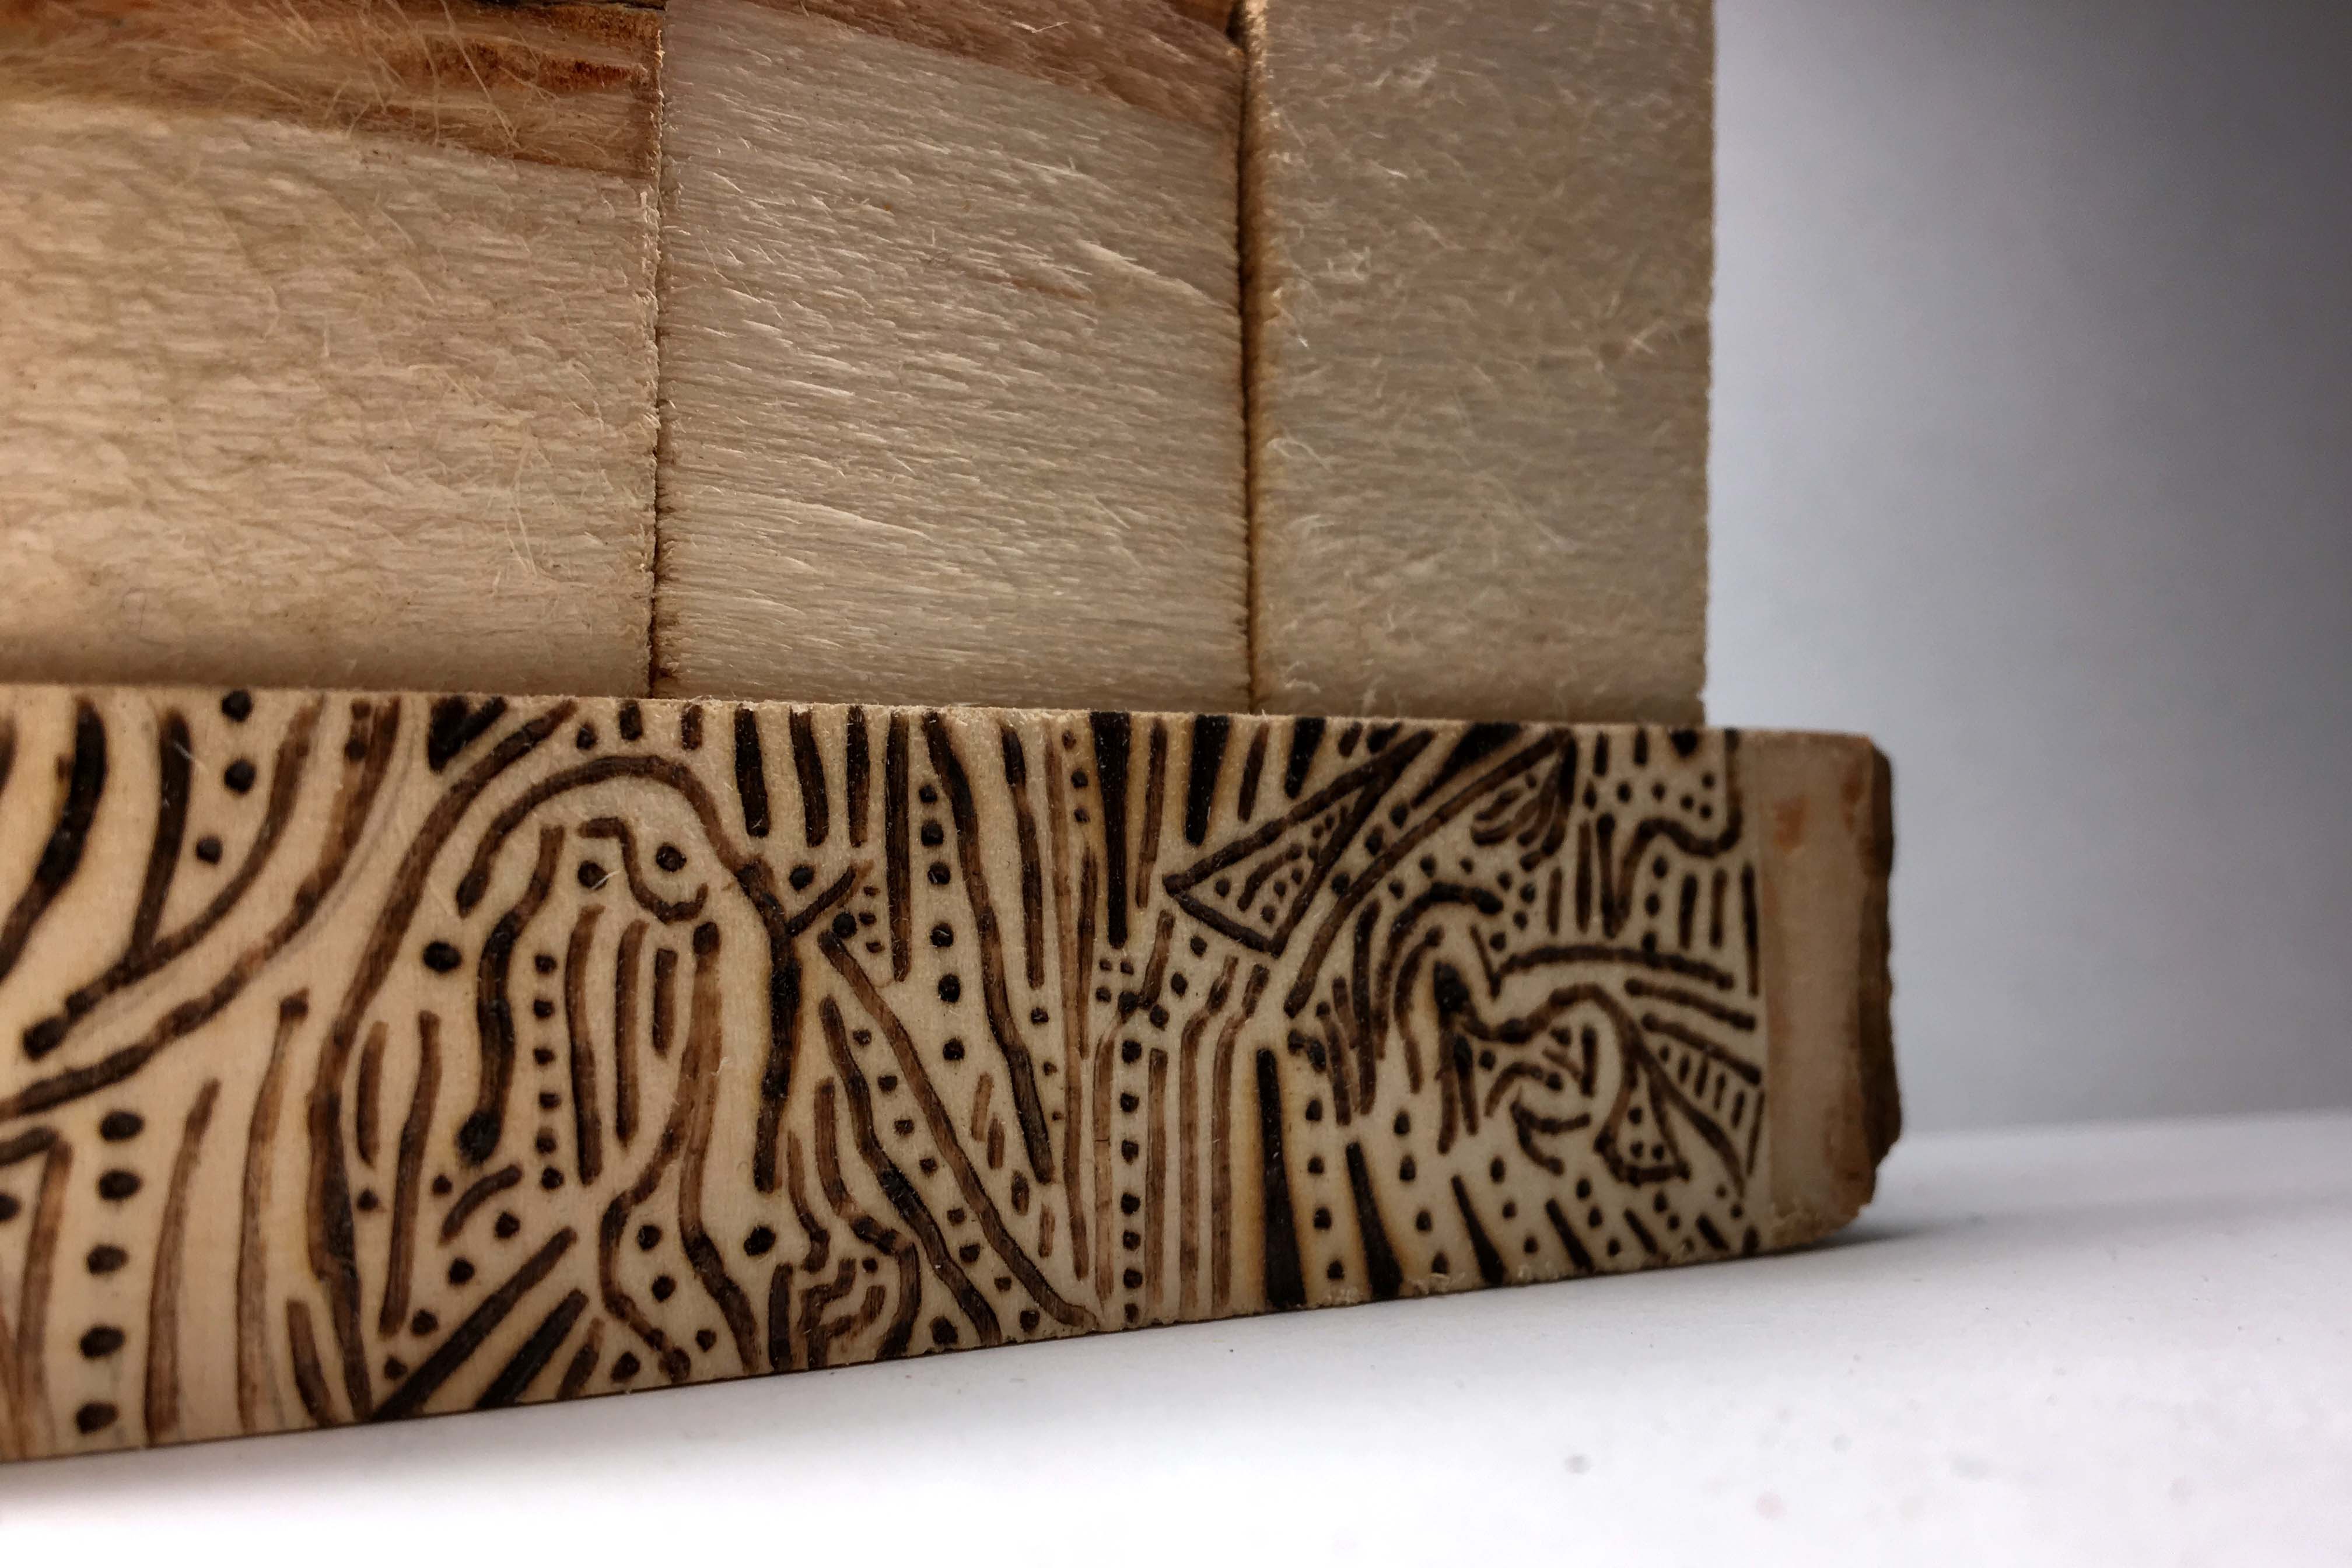
Before inserting the standing pieces into the triangular wedge, the base had to be decorated using the wood burning instrument. Fitting the pen with a semi-fine tip, it was then heated up to a orange-to-red-level heat. Once the requisite heat was reached, the left side was decorated by following a pre-drawn design, while the right side was decorated in an ad-hoc manner. The exact pre-drawn design on the left side could not be fully adhered to, as the pen would pull when moving along curved lines and did not uniformly distribute heat (the tip of the pen — the thinnest part of the one chosen — was somewhat worn and correspondingly did not allow for spatially-tight drawings). Still, this portion of the process was the most freeing, as the two-and-a-half hours spent ornamenting the wedge’s walls were artistic in nature.
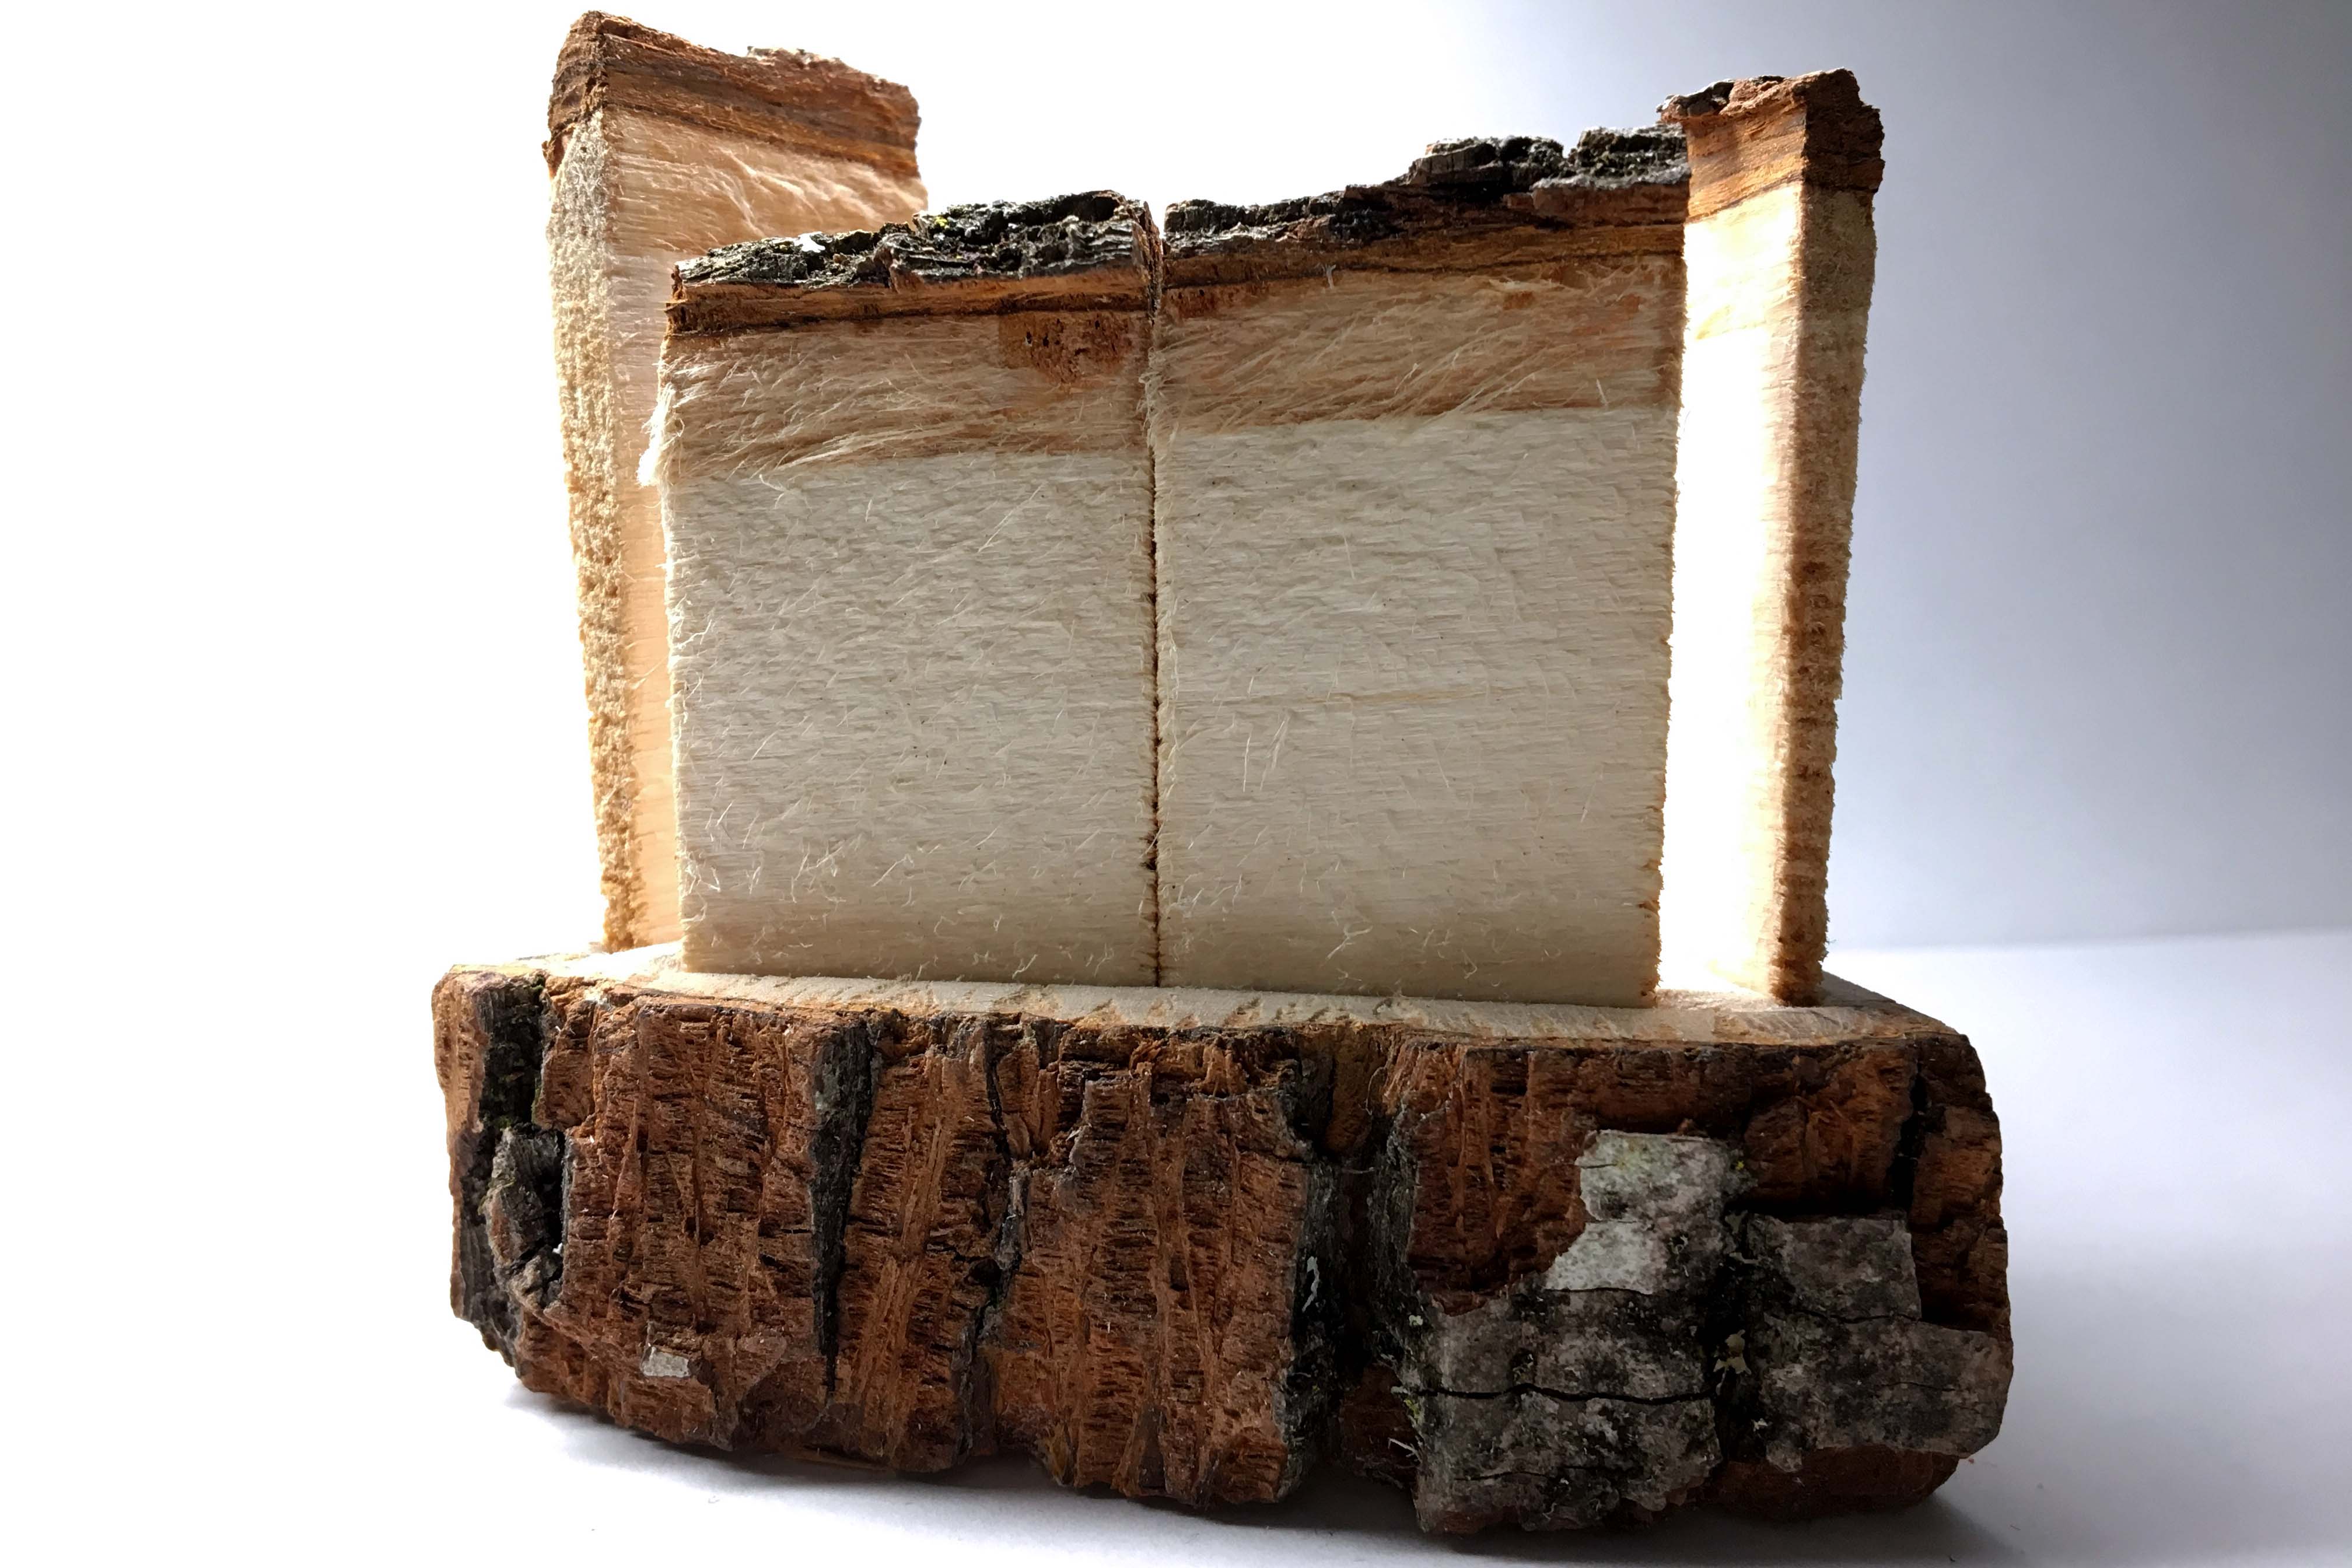
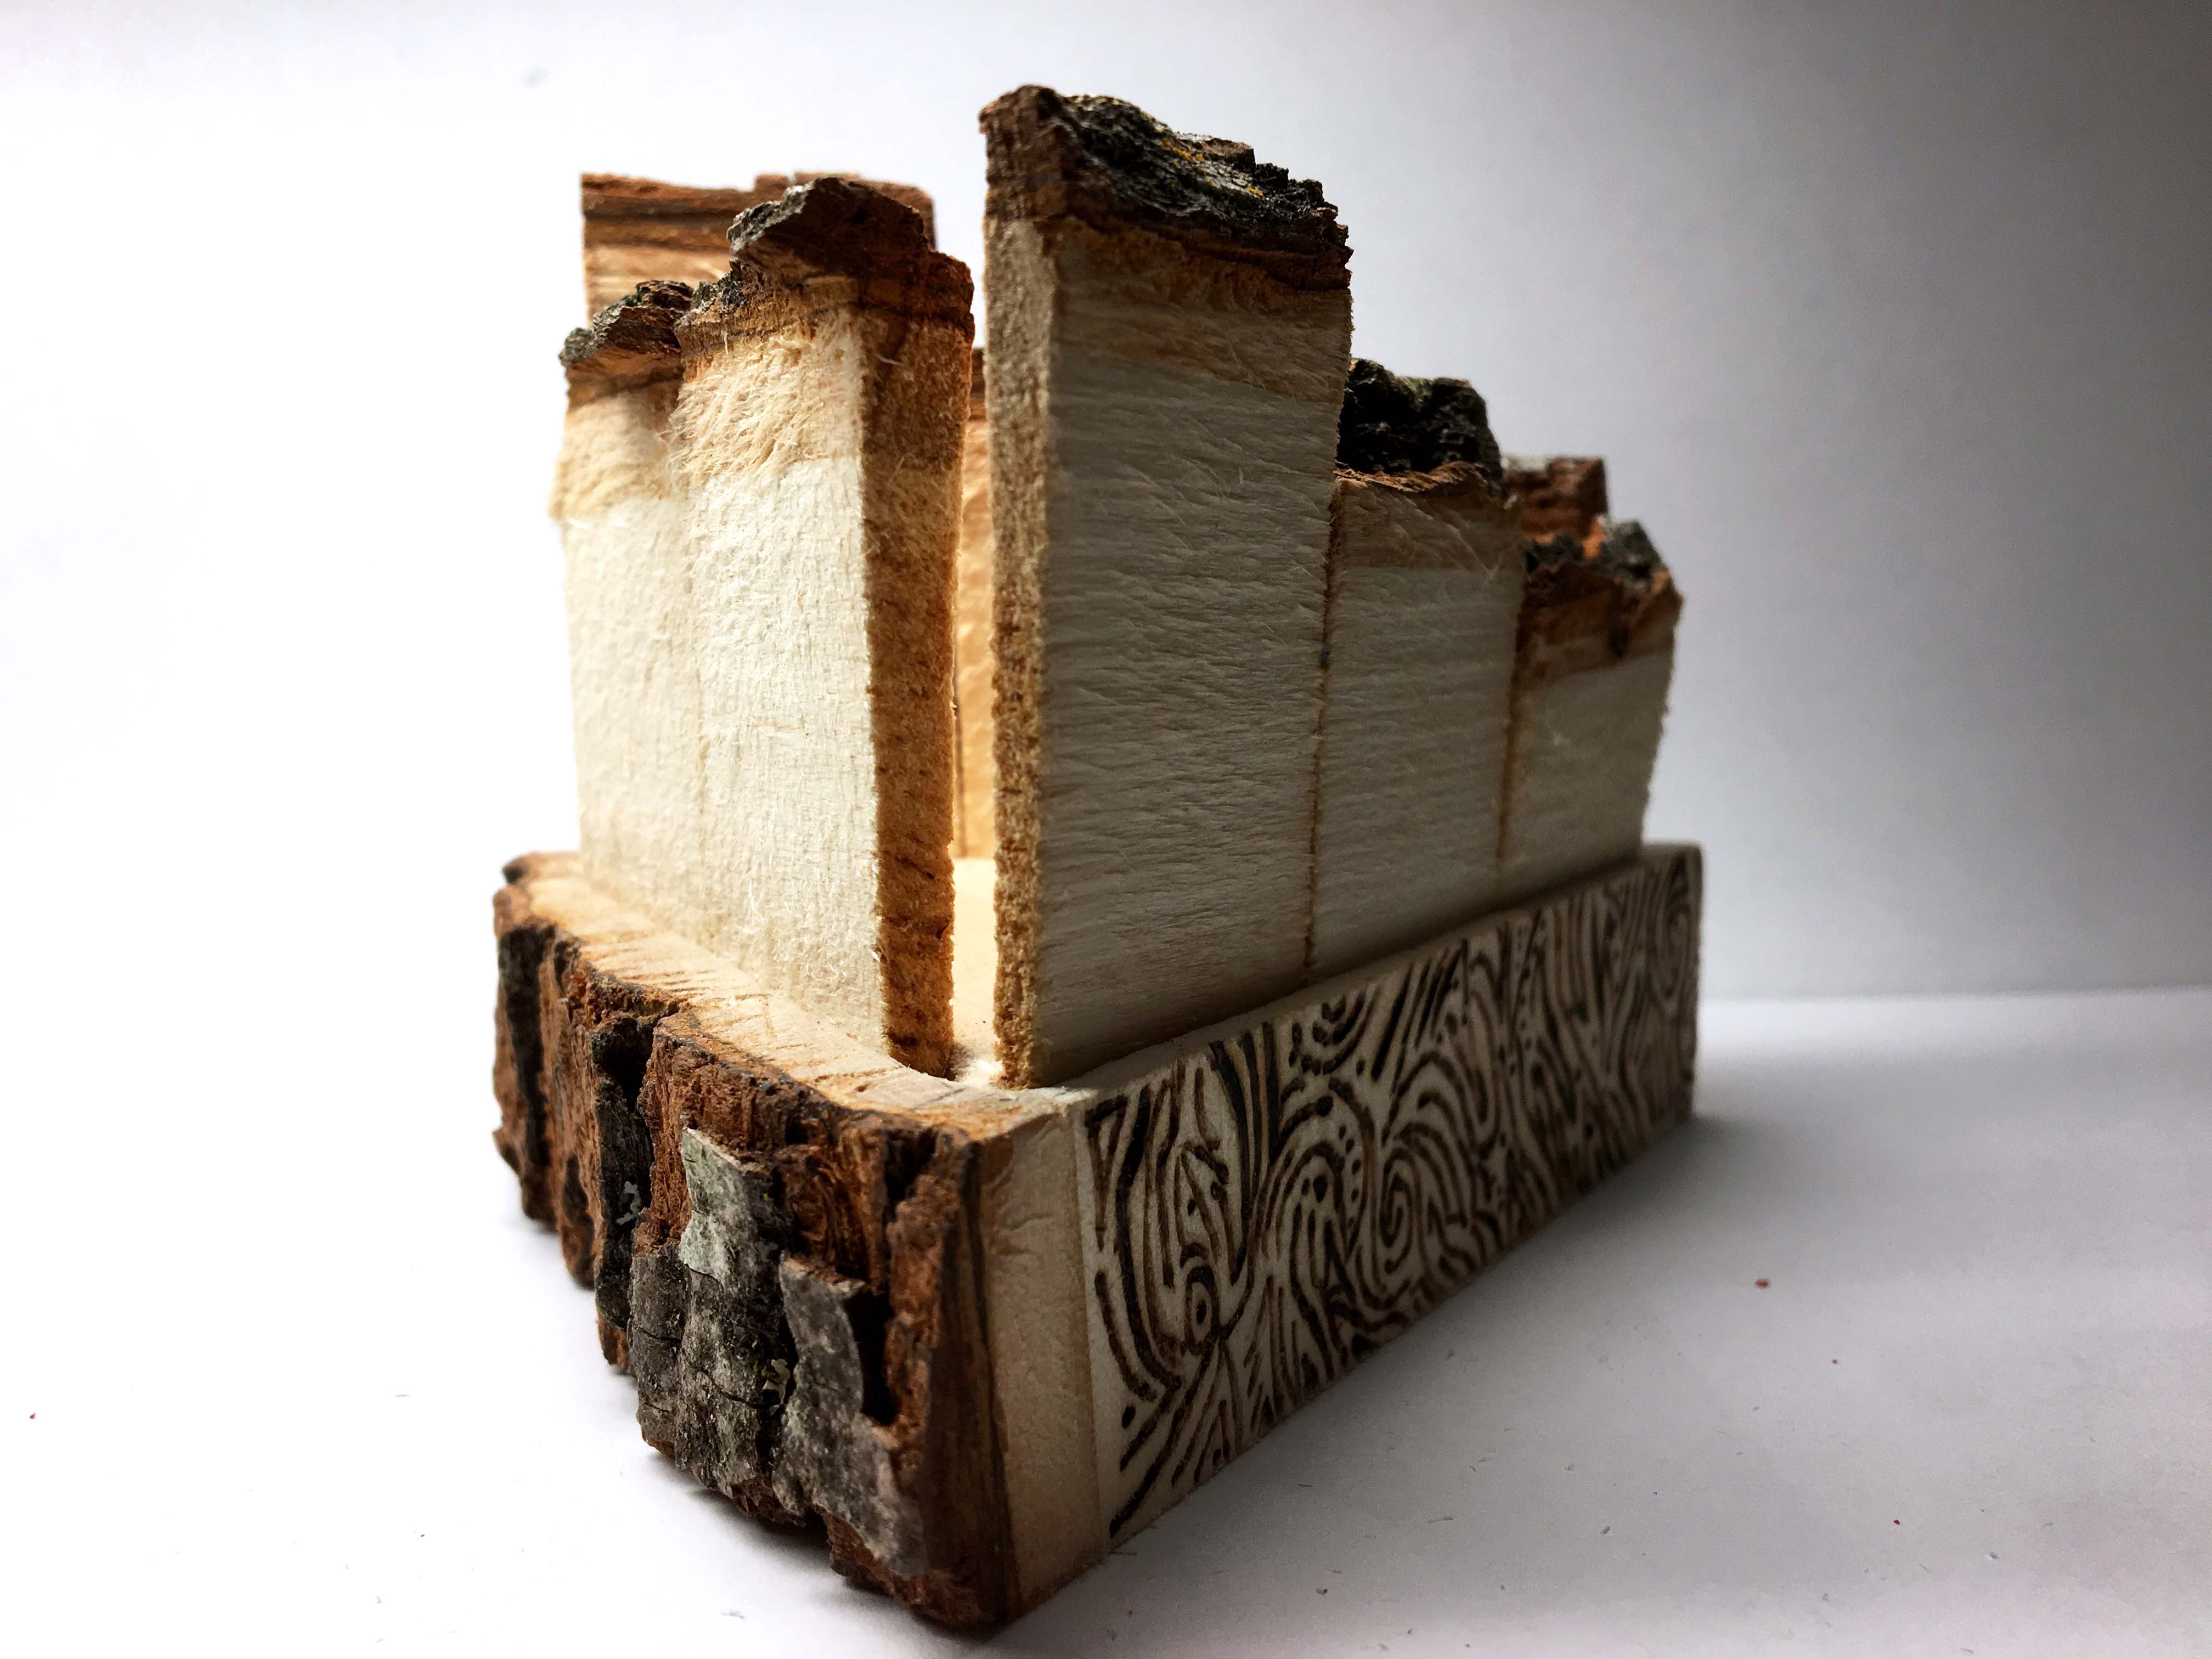
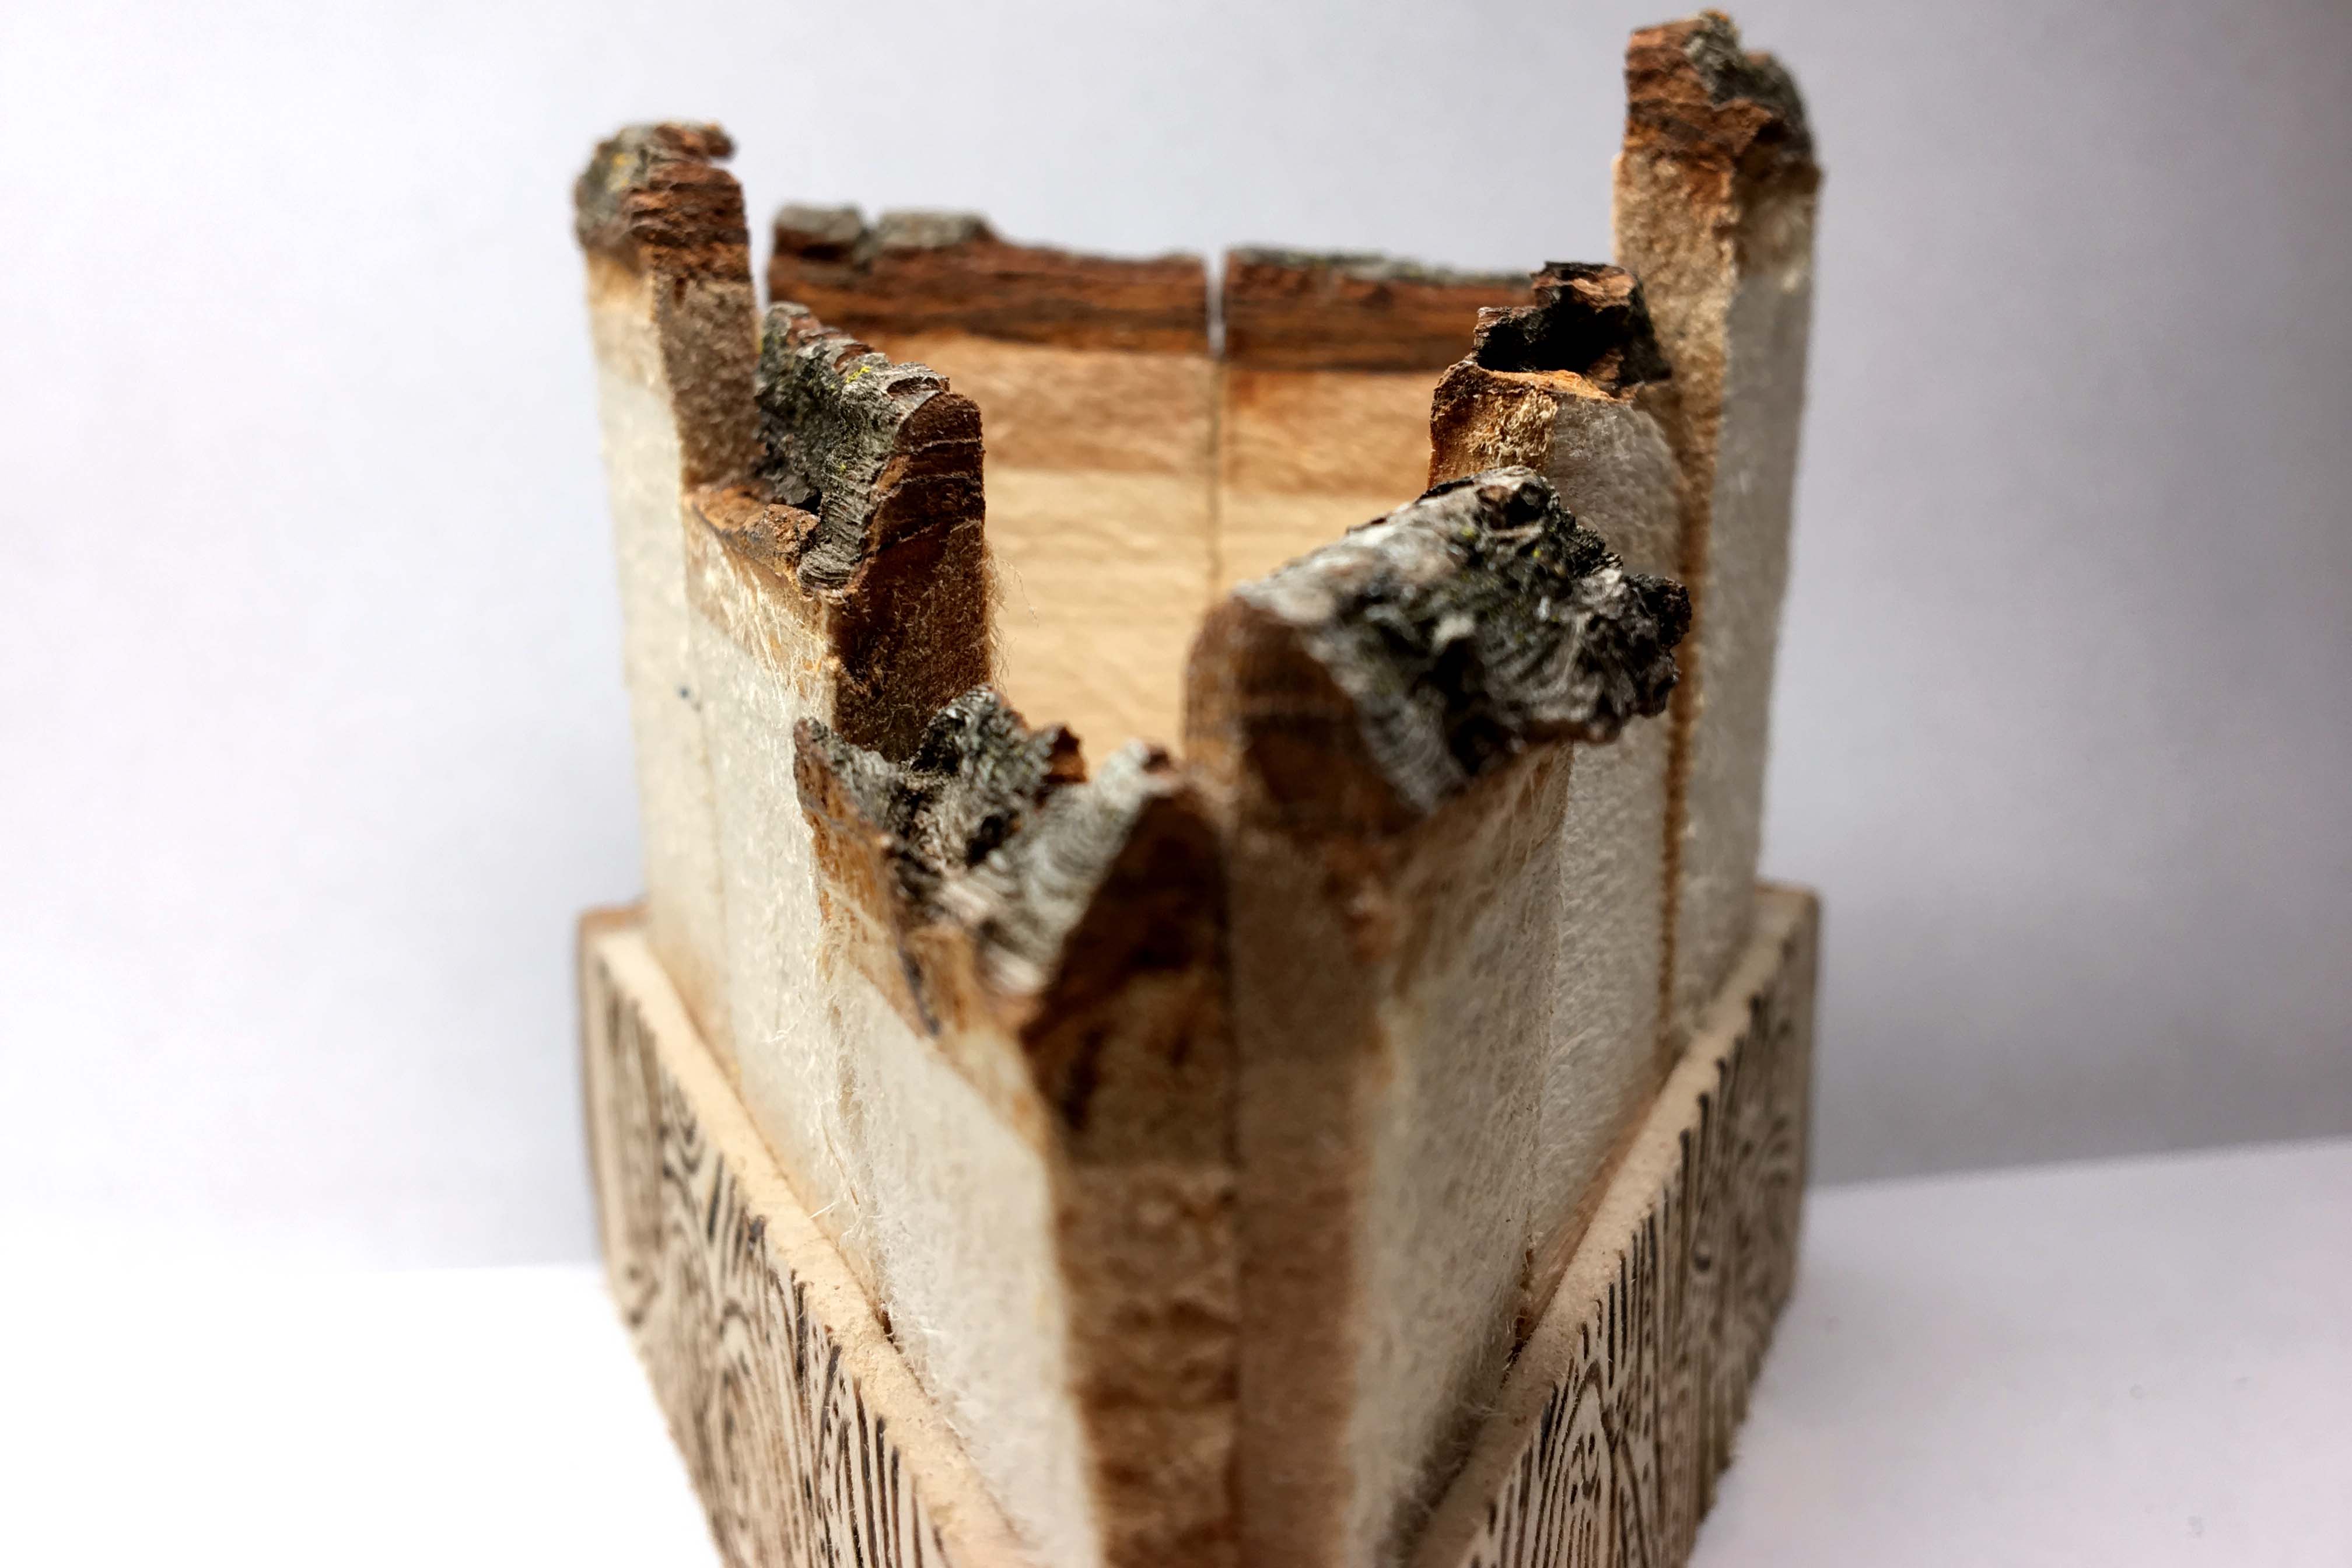
Finally, the slim pieces had to be inserted into the troughs. While being inset, certain pieces along the longer two troughs did not stand straight. As this characteristic was aesthetically bothersome, I had to carefully sand down the corners of the those two troughs. Being sure I finely sanded the corners was imperative: inadvertently sanding another portion of either trough’s diameter would have spelled disaster, since there then would not have been enough tension to keep the pieces standing upright in a uniform fashion. Similarly, the front two pieces that met at the triangle’s point had to be reconciled by way of sanding a portion of one of the piece’s edges. This was due to the fact that the way in which the two pieces abutted not only looked odd but, most importantly, had the propensity to create too much tension and force one piece or the other to pop out of the trough’s allotted space. With the pieces well aligned and standing with sufficient tension to maintain integrity, I tested the container by placing jewelry inside of it. I was able to successfully arrange jewelry between the three walls despite some wobbling. Though the walls did not fall in the face of shaking, to be sure, the all-tension final product is fragile.
This project was challenging, yet rewarding. My triangular container will certainly never be featured in the Smithsonian as a feat of engineering, but completing the piece to ultimate success was, nonetheless, satisfying (I was truly worried at a certain point that I would not be able to salvage the container). The process of creating this small triangular container prompted me to reflect on our assigned readings and my past experiences with manipulated wood. As the The Matter of Art reading explained, wood is frequently considered to be a “living material” that maintains religions significance, predominantly in the Christian faith. My elementary school was Roman Catholic and had a chapel that was fully constructed out of wood — from the floor to the ceiling and pews. After my many wood trials, I cannot fathom the level of skill and craftsmanship needed to accomplish such a feat (even with the use of more specialized tools). In short, I have a newfound respect for wood making and do not foresee myself carving much more in the future.