I knew right away that this project would be a challenge. Upon hearing the prompt, I knew I wanted to attempt to create a fully closable box. Without the use of screws or glue, the only way to make sure the pieces would stay together was to plan out a tight fit between each corner and edge. After some looking online at other similar projects, I planned out my own puzzle piece box. I used photoshop to create a design I thought would best maximize the size of my box but stay within the constraints of the amount of wood I have. Figure 1 was the final design for the six box pieces needed to construct the final product. I played around with the scale multiple times to make sure that I had enough wood.
 (Figure 1)
I quickly determined the two big pieces we were given would not grant me the size of the box I wanted, nor would the construction and cutting process work well if I were to shrink the size of the design. So I took the thick cuts of the wood and placed them through the bandsaw cutting the pieces longitudinal. Thus at the end I had four large pieces of wood that I could use for the box. Then I removed the darker bark area with the scroll saw in case I wanted it for the decoration process later on.
Afterwards I cut out the stencil and fixed it to the surface of the wood with glue, sorry if this technically breaks the challenge. Then I used the scroll saw to cut out the general shape. Unfortunately some of the crevices were too small to cut out with the saw, so I had to use the chisels. The straight edged chisel worked well to cut out the small pieces as shown in Figure 2 and Figure 3.
 (Figure 2)
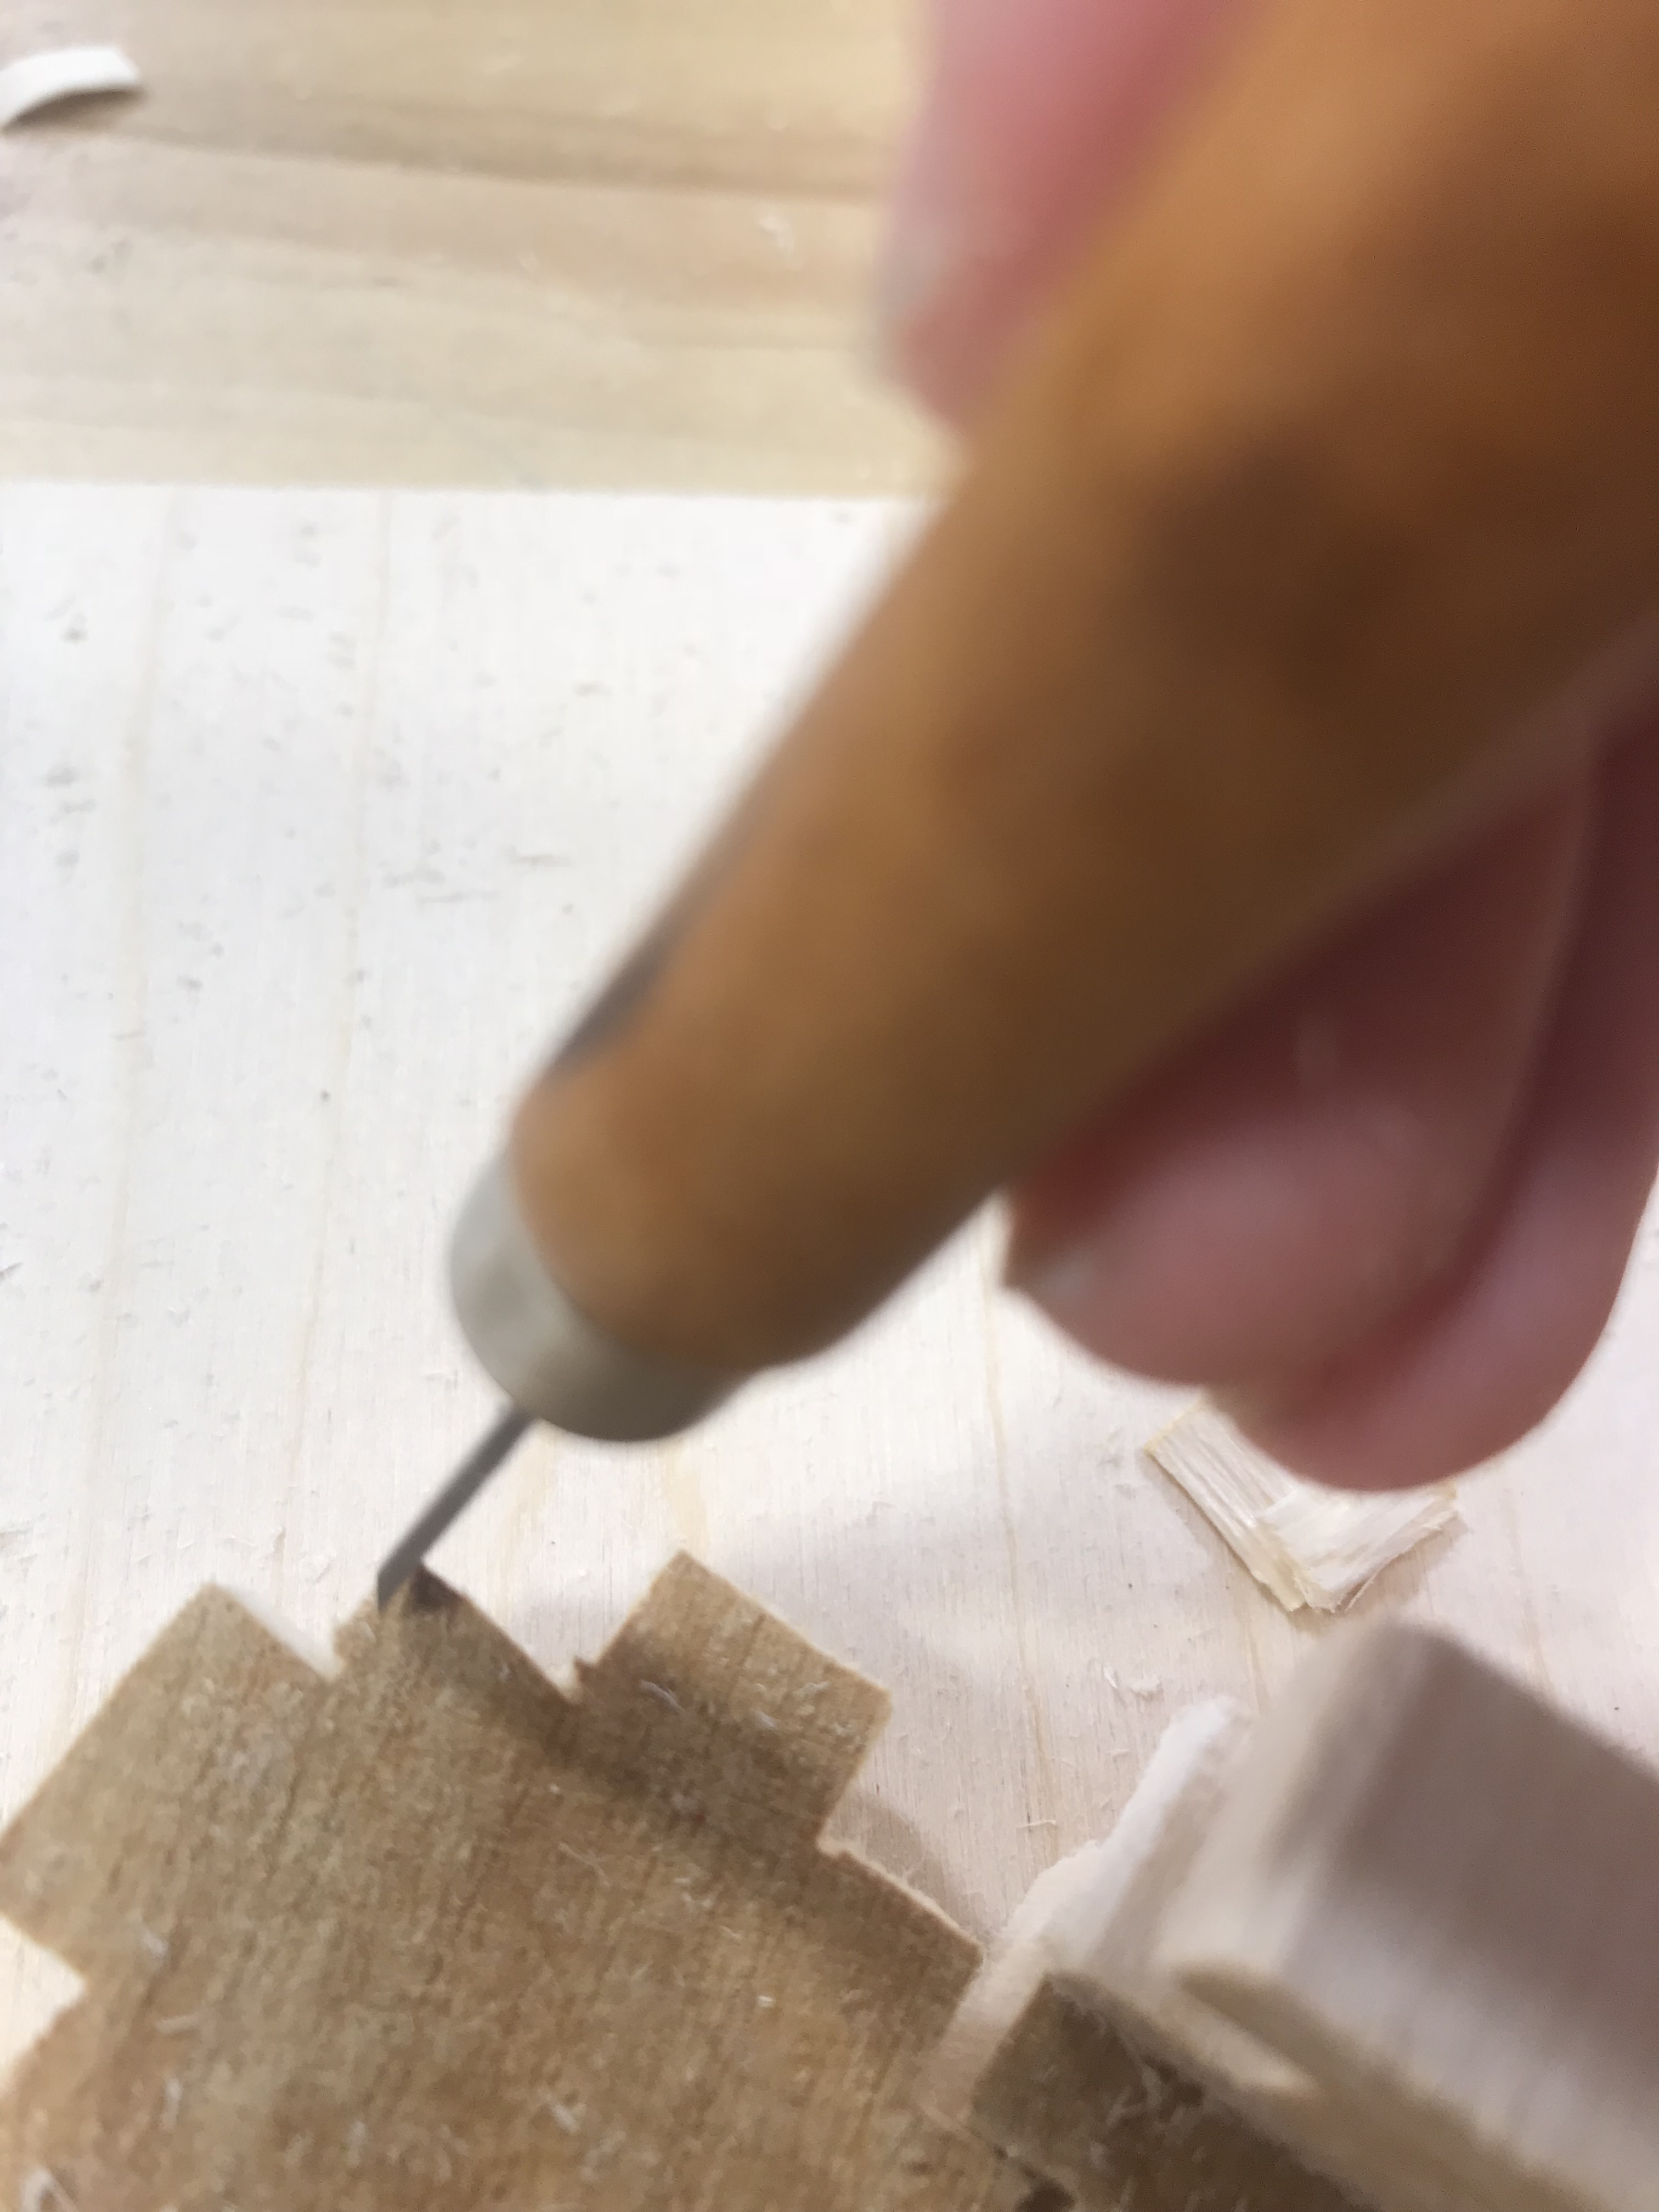 (Figure 3)
I had to fit each piece specifically into its match. This process took longer than I had hoped, but the pieces fit very well together. The fear of pieces that were too loose and thus would not function as a complete box were not necessary, which was a huge relief. However, a problem I had not planned for popped up when the pieces were too thick. When I planned the design I had not taken in to account how thick the wood was, so when I finally connected all the pieces I was saddened by how clunky the wood looked as you can see in Figure 4. My remedy for this slight infraction was to use the industrial sander to hopefully shrink the pieces down to a slimmer state that would look sleeker upon putting it together. The product was better after the attempt, but the bottom piece had gotten a looser fit. So, rather than risk all of the pieces becoming to loose I compromised on the thickness in favor of the tighter fit.
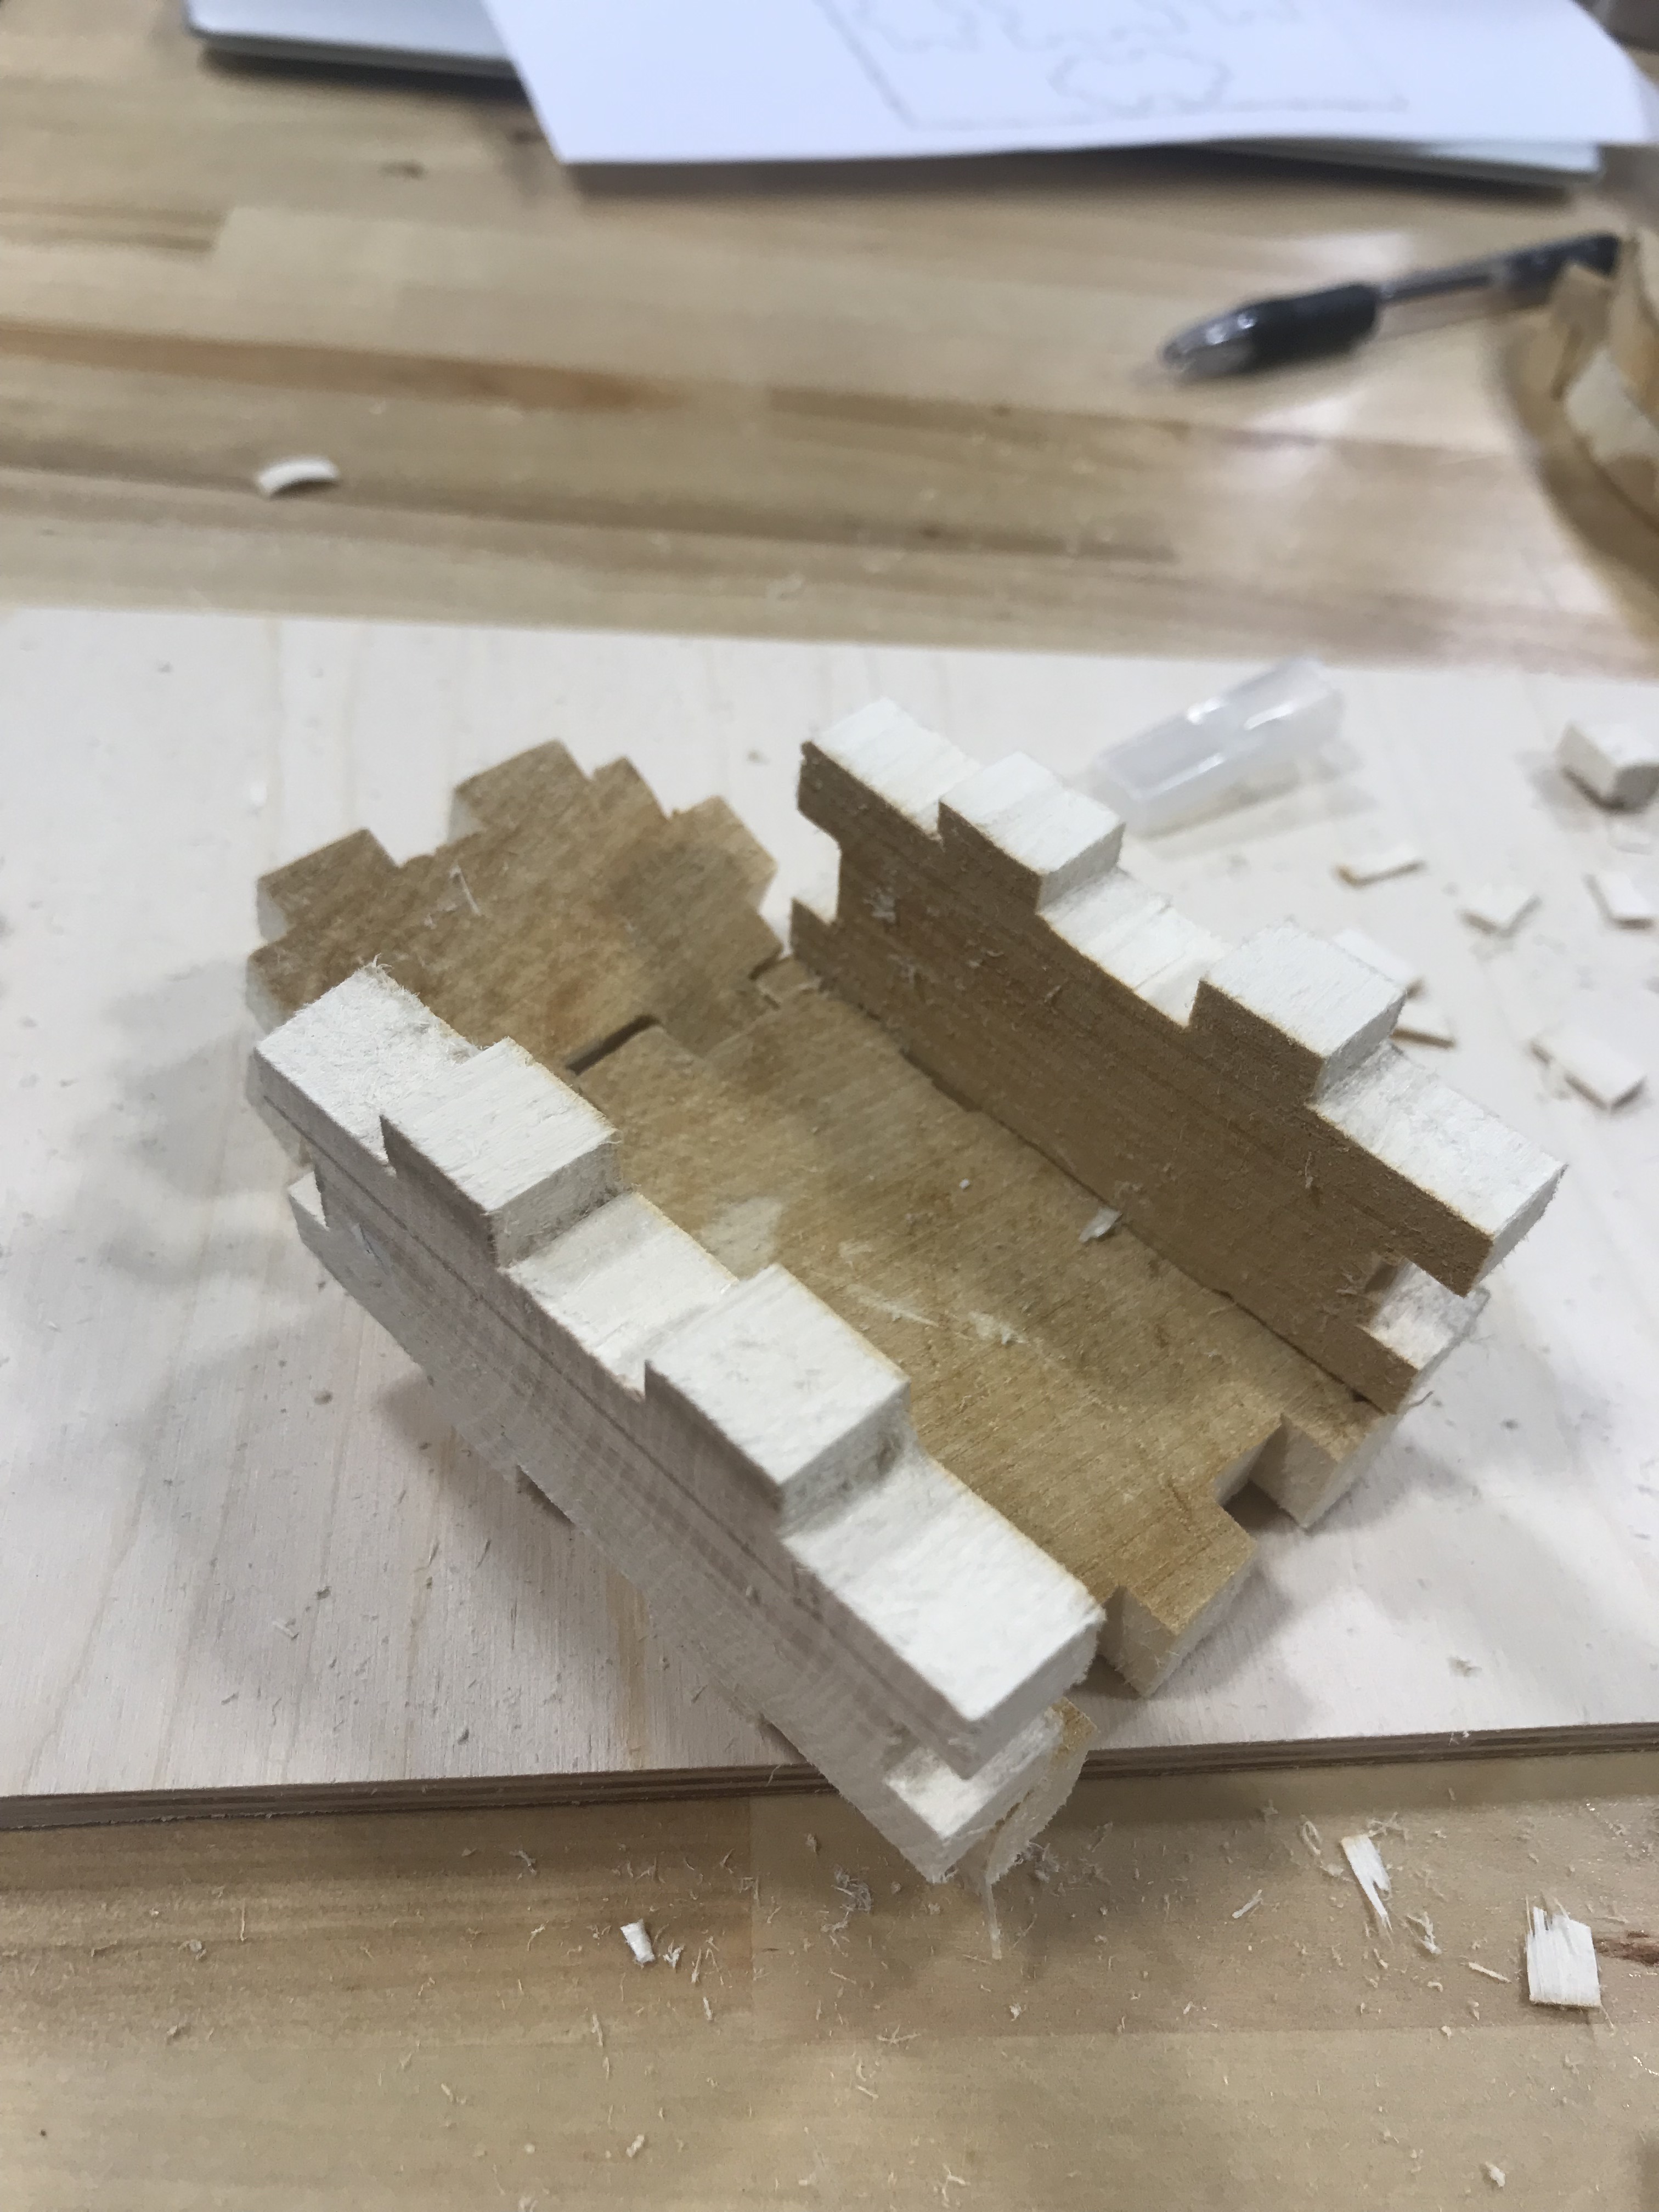 (Figure 4)
Upon the realization that the bottom piece acted as more of a removable base, I thought my box looked like a cloche. A cloche, for those that do not know is the silver dish cover that is used in Chopped to reveal the dish that’s being eliminated. I decided that my box could be used to help reveal something, and decided on an engagement ring box. To create the ring holder as shown in Figure 5, I sanded down a small portion of the bark. I also chiseled in a small hole on the base and packed it with wood shavings and dust left over from sanding down the sides. I then used the wood burner on the shavings and essentially burned them into embers. Then quickly, I placed the holder into the hole, sealing it and creating a bond with the embers. This acted as a glue, kind of, I would not push or pull on it too hard.
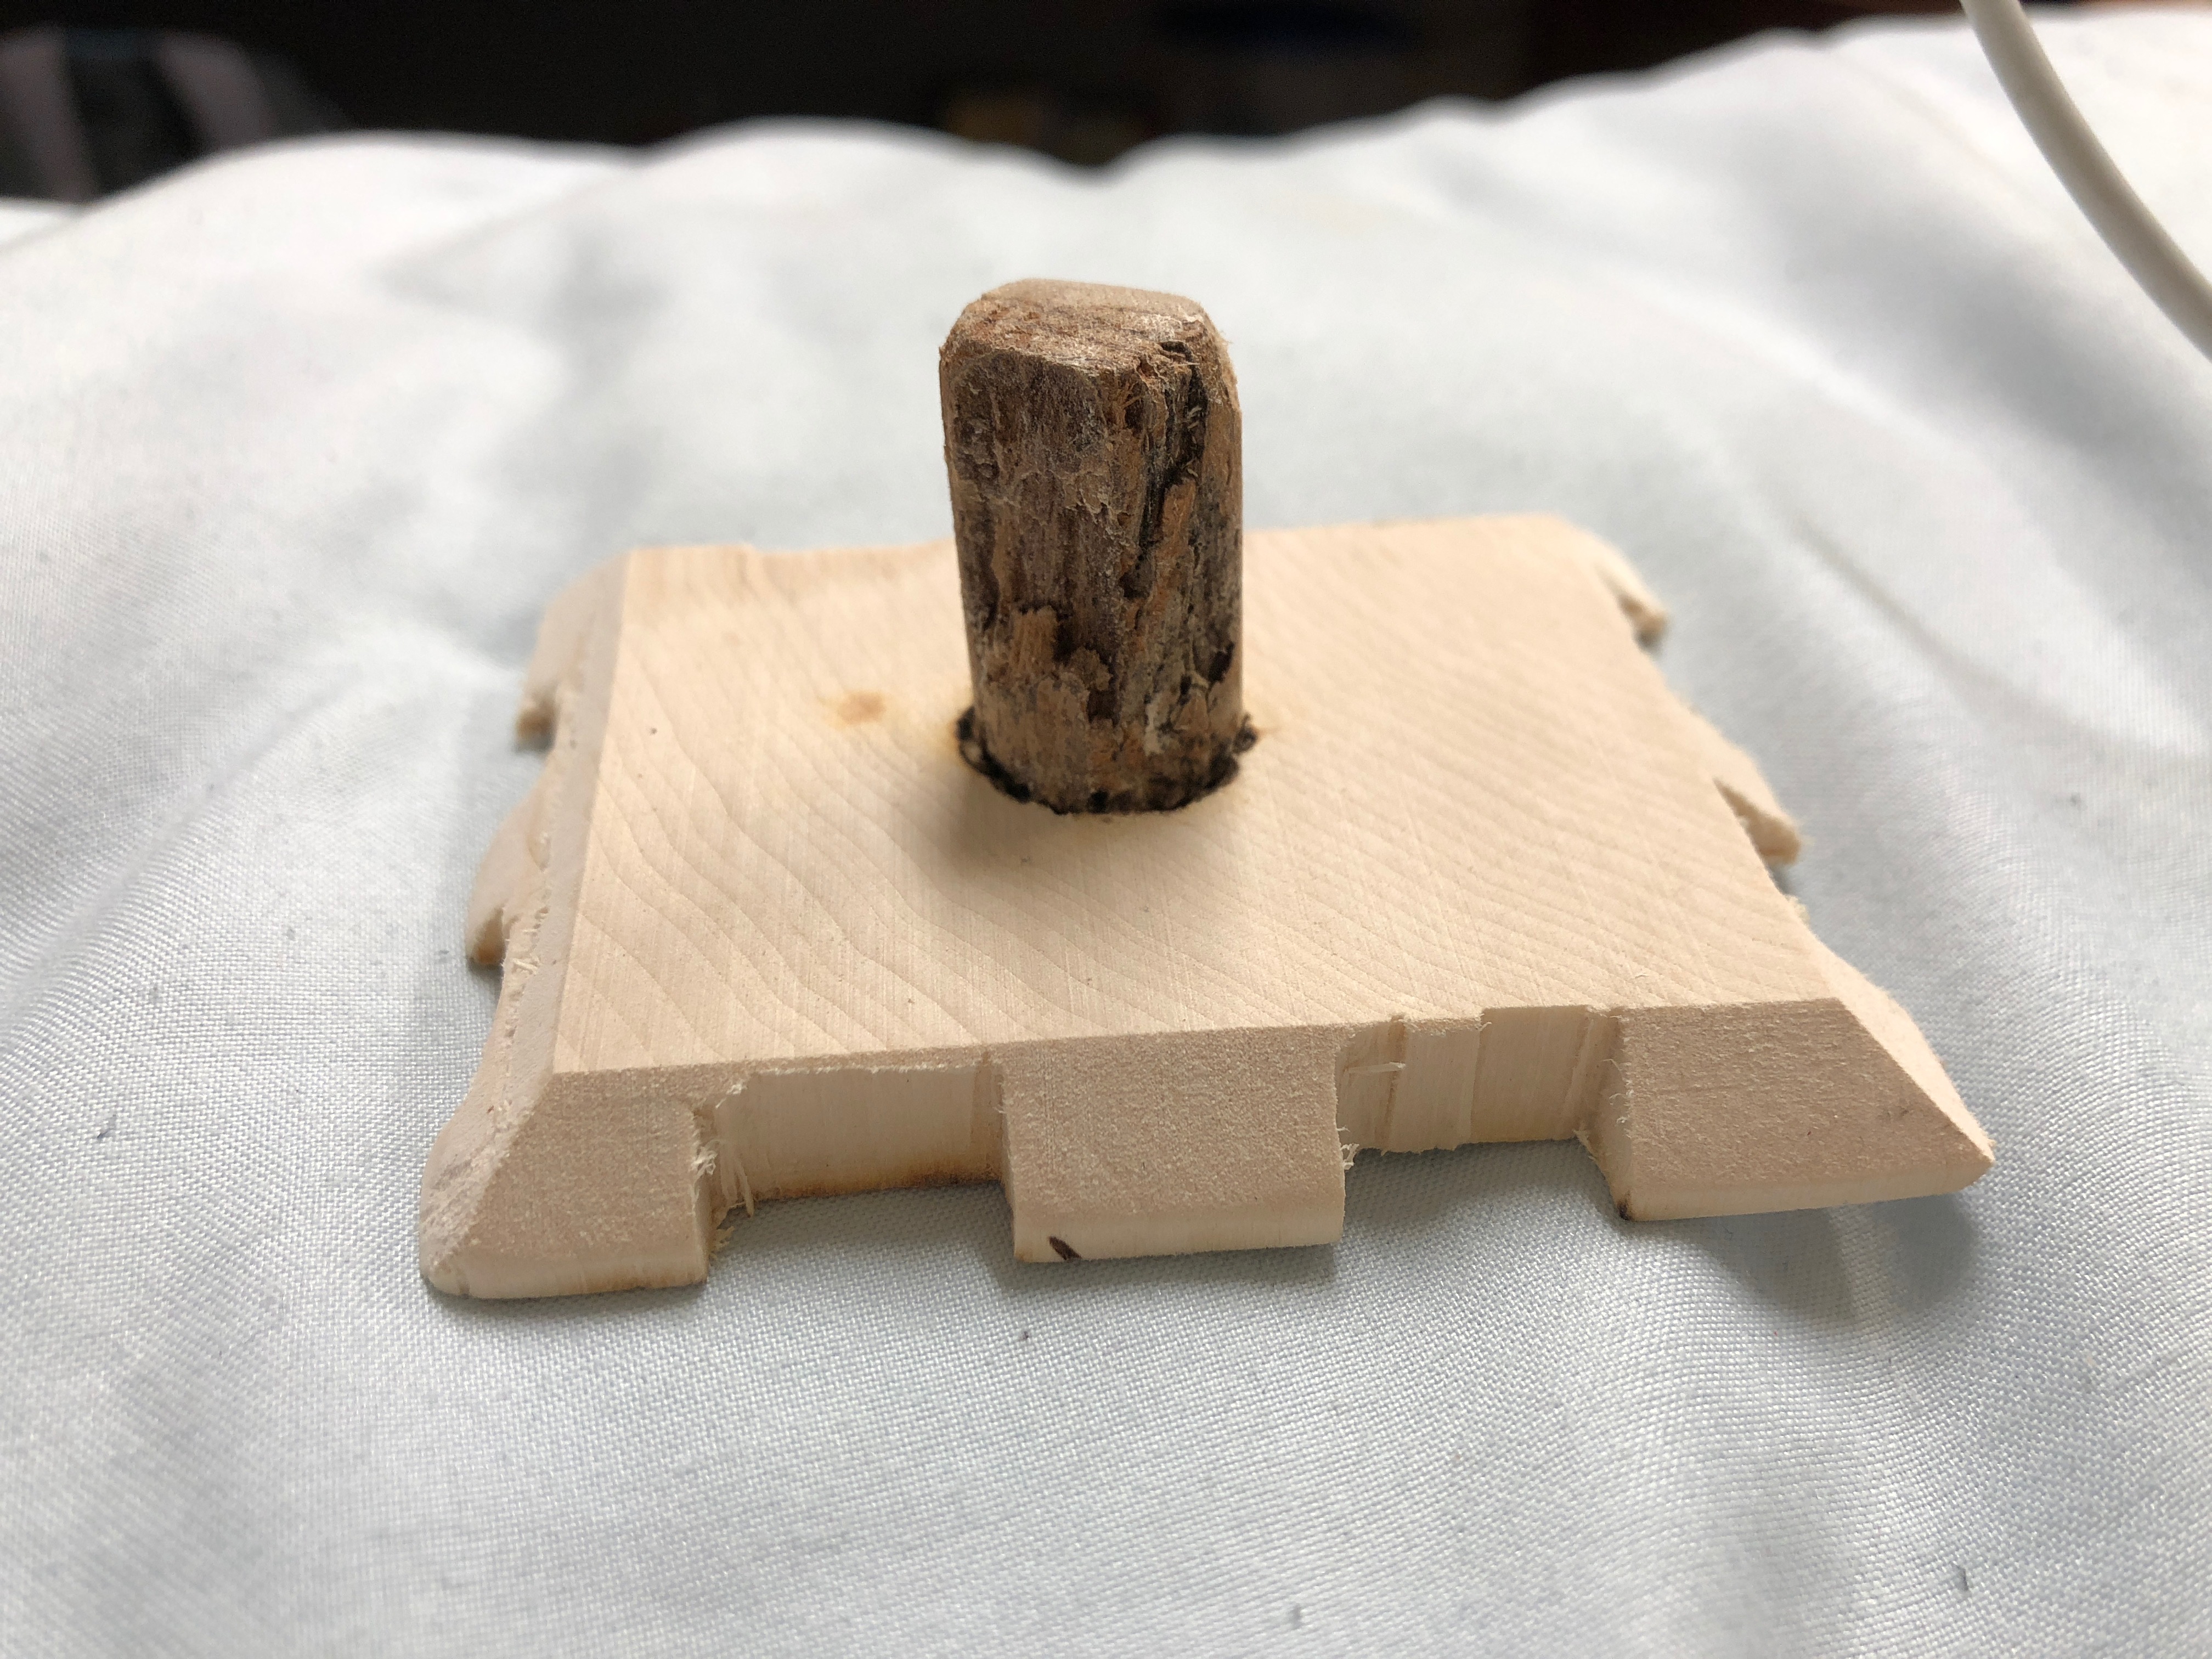 (Figure 5)
Lastly I needed to decorate the outside of the box. I used a specific chisel to etch deep groves into the sides of the pieces. These grooves were supposed to resemble a tree with all of it’s branches as seen in Figure 6 and 7. The chisel worked best only when it was in the same direction of the grain, otherwise it chipped and pulled the wood in odd directions. While I was attempting to get a very deep line going against the grain I managed to gouge out my finger very well. The chisels are incredibly sharp and did the job well, but I wanted to have the design stand out against the normal color of the wood. So I used the wood burner, and a specific head piece to burn along the areas I had already etched with the chisels. This had my desired affect and made the design stand out, making it more resemble a tree. I then changed the head piece and carefully burned my girlfriends name, Logan, into the main side. When the piece was done, the Logan side should face the opener, and then the top 5 pieces were to be removed like a cloche to reveal the ring laying within.
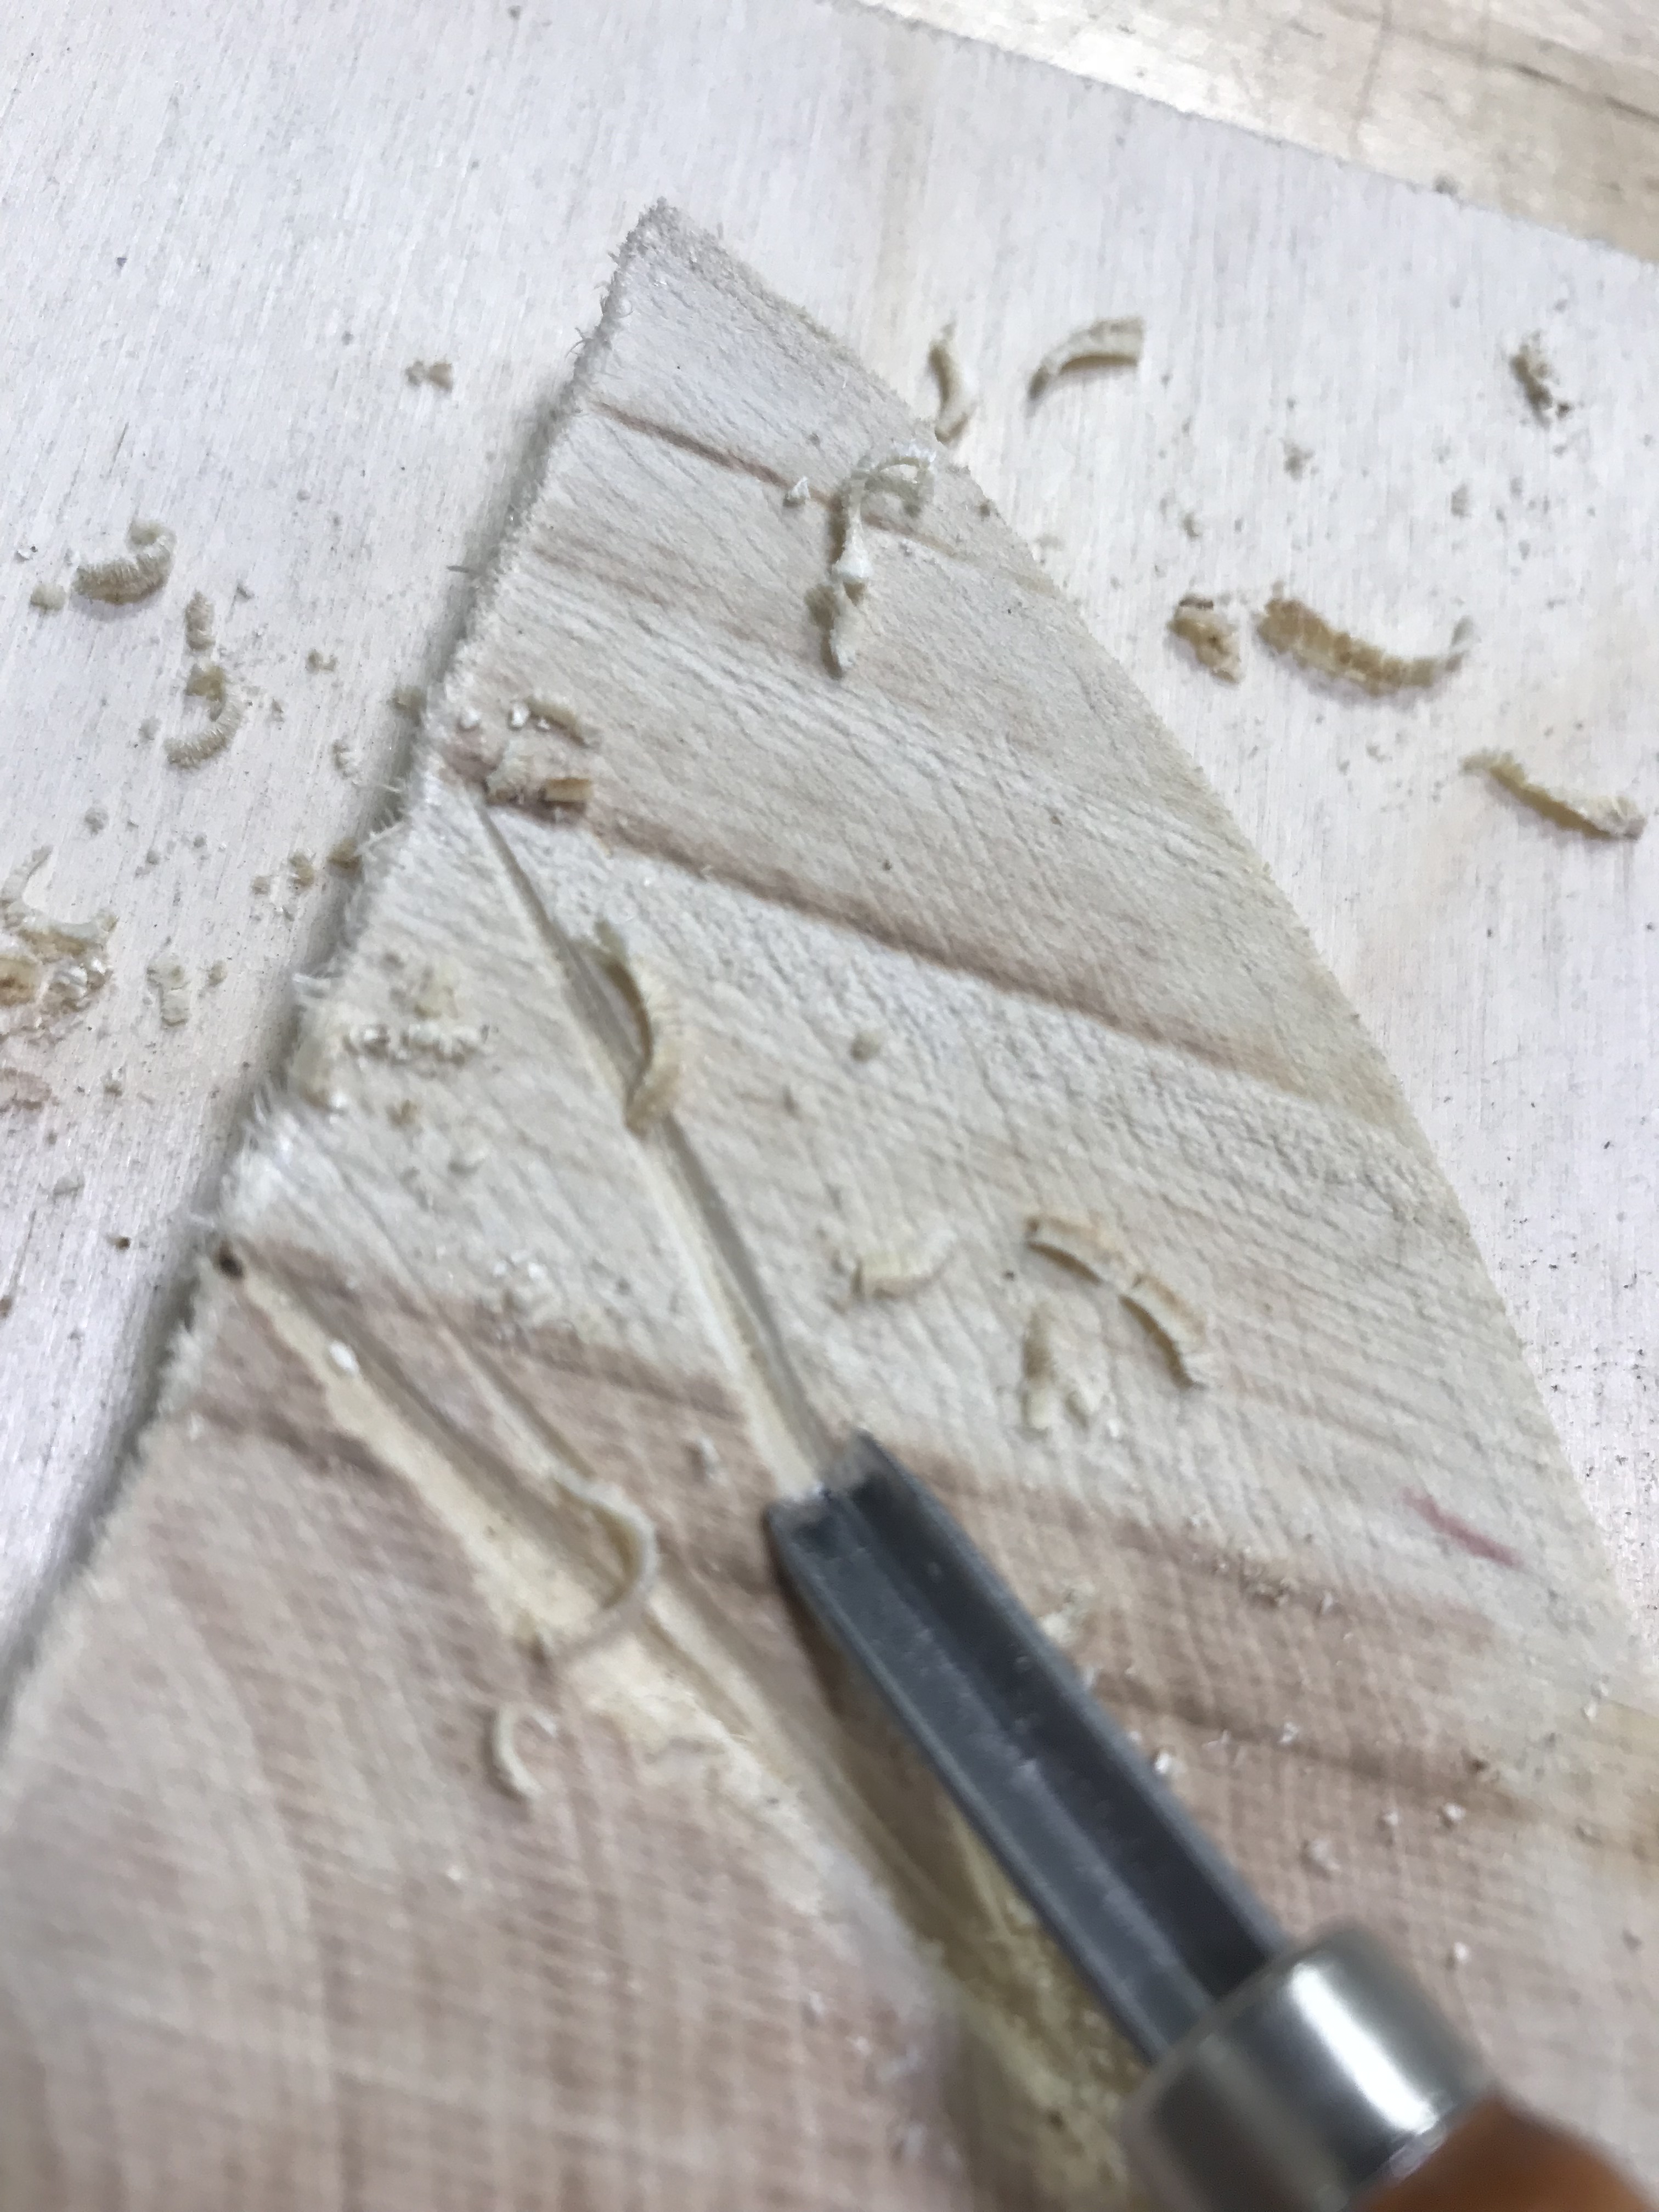 (Figure 6)
 (Figure 7)
Overall I did not have an extremely hard time with the wood. I found the material fairly soft, at the minimum it was soft enough to carve in to. However, I found the restrictions of the size of wood we were allowed to use as a large hindrance. This made me have a lot higher respect for woodworkers in previous generations who lived with the same restrictions we did. As well, the amount of detail I could not get out of the wood was surprising. I thought the wood would show the detail better, but alas it all seemed to blend together. While I could carve the wood with the chisels my lines in no way looked precise or exact. I felt like I was hacking away, and that is probably one of the reasons I injured my finger. Also the limitation of not being able to use glue or nails limited the ways I could achieve the project, and thus forced me to get creative. The way I put the ring holder in the base was not something I would have thought about otherwise. But if I were to need to make a canoe out of one tree I would need to think much harder about the process and the level of precision needed to execute the final product. The patience needed to create a beautiful box is not something I have. At the end of the day, I think I will be purchasing the next engagement box I need.