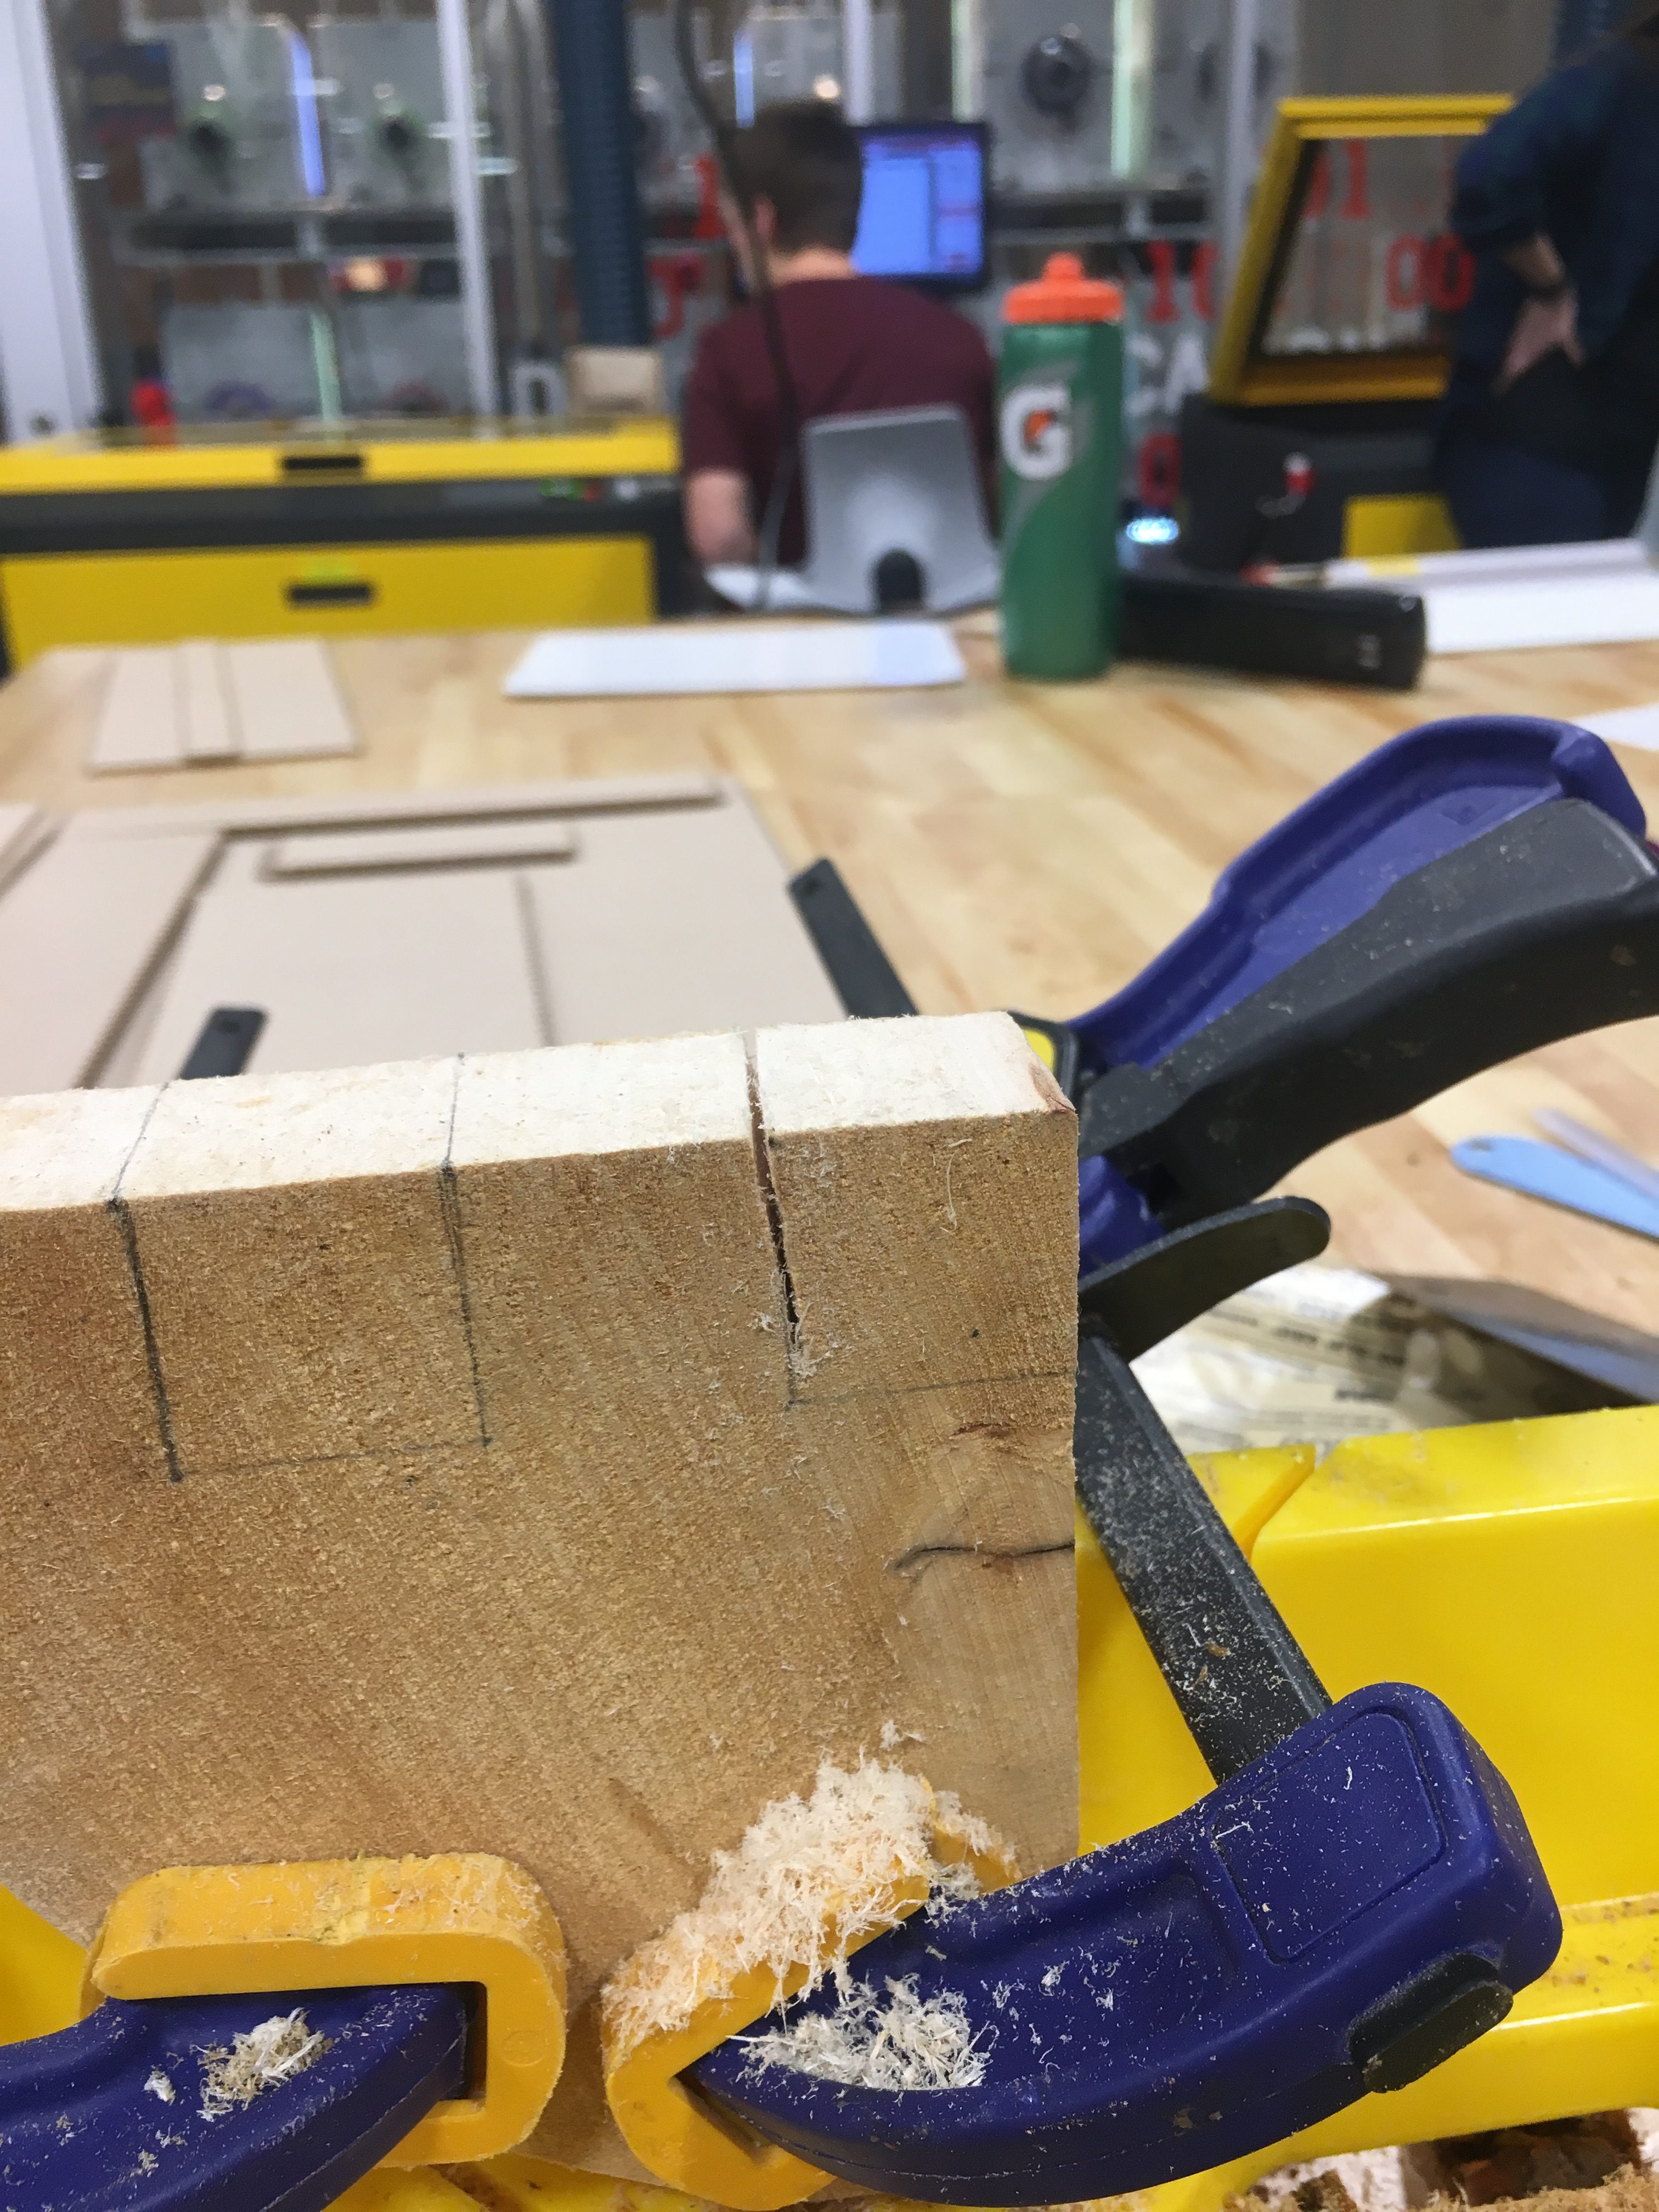
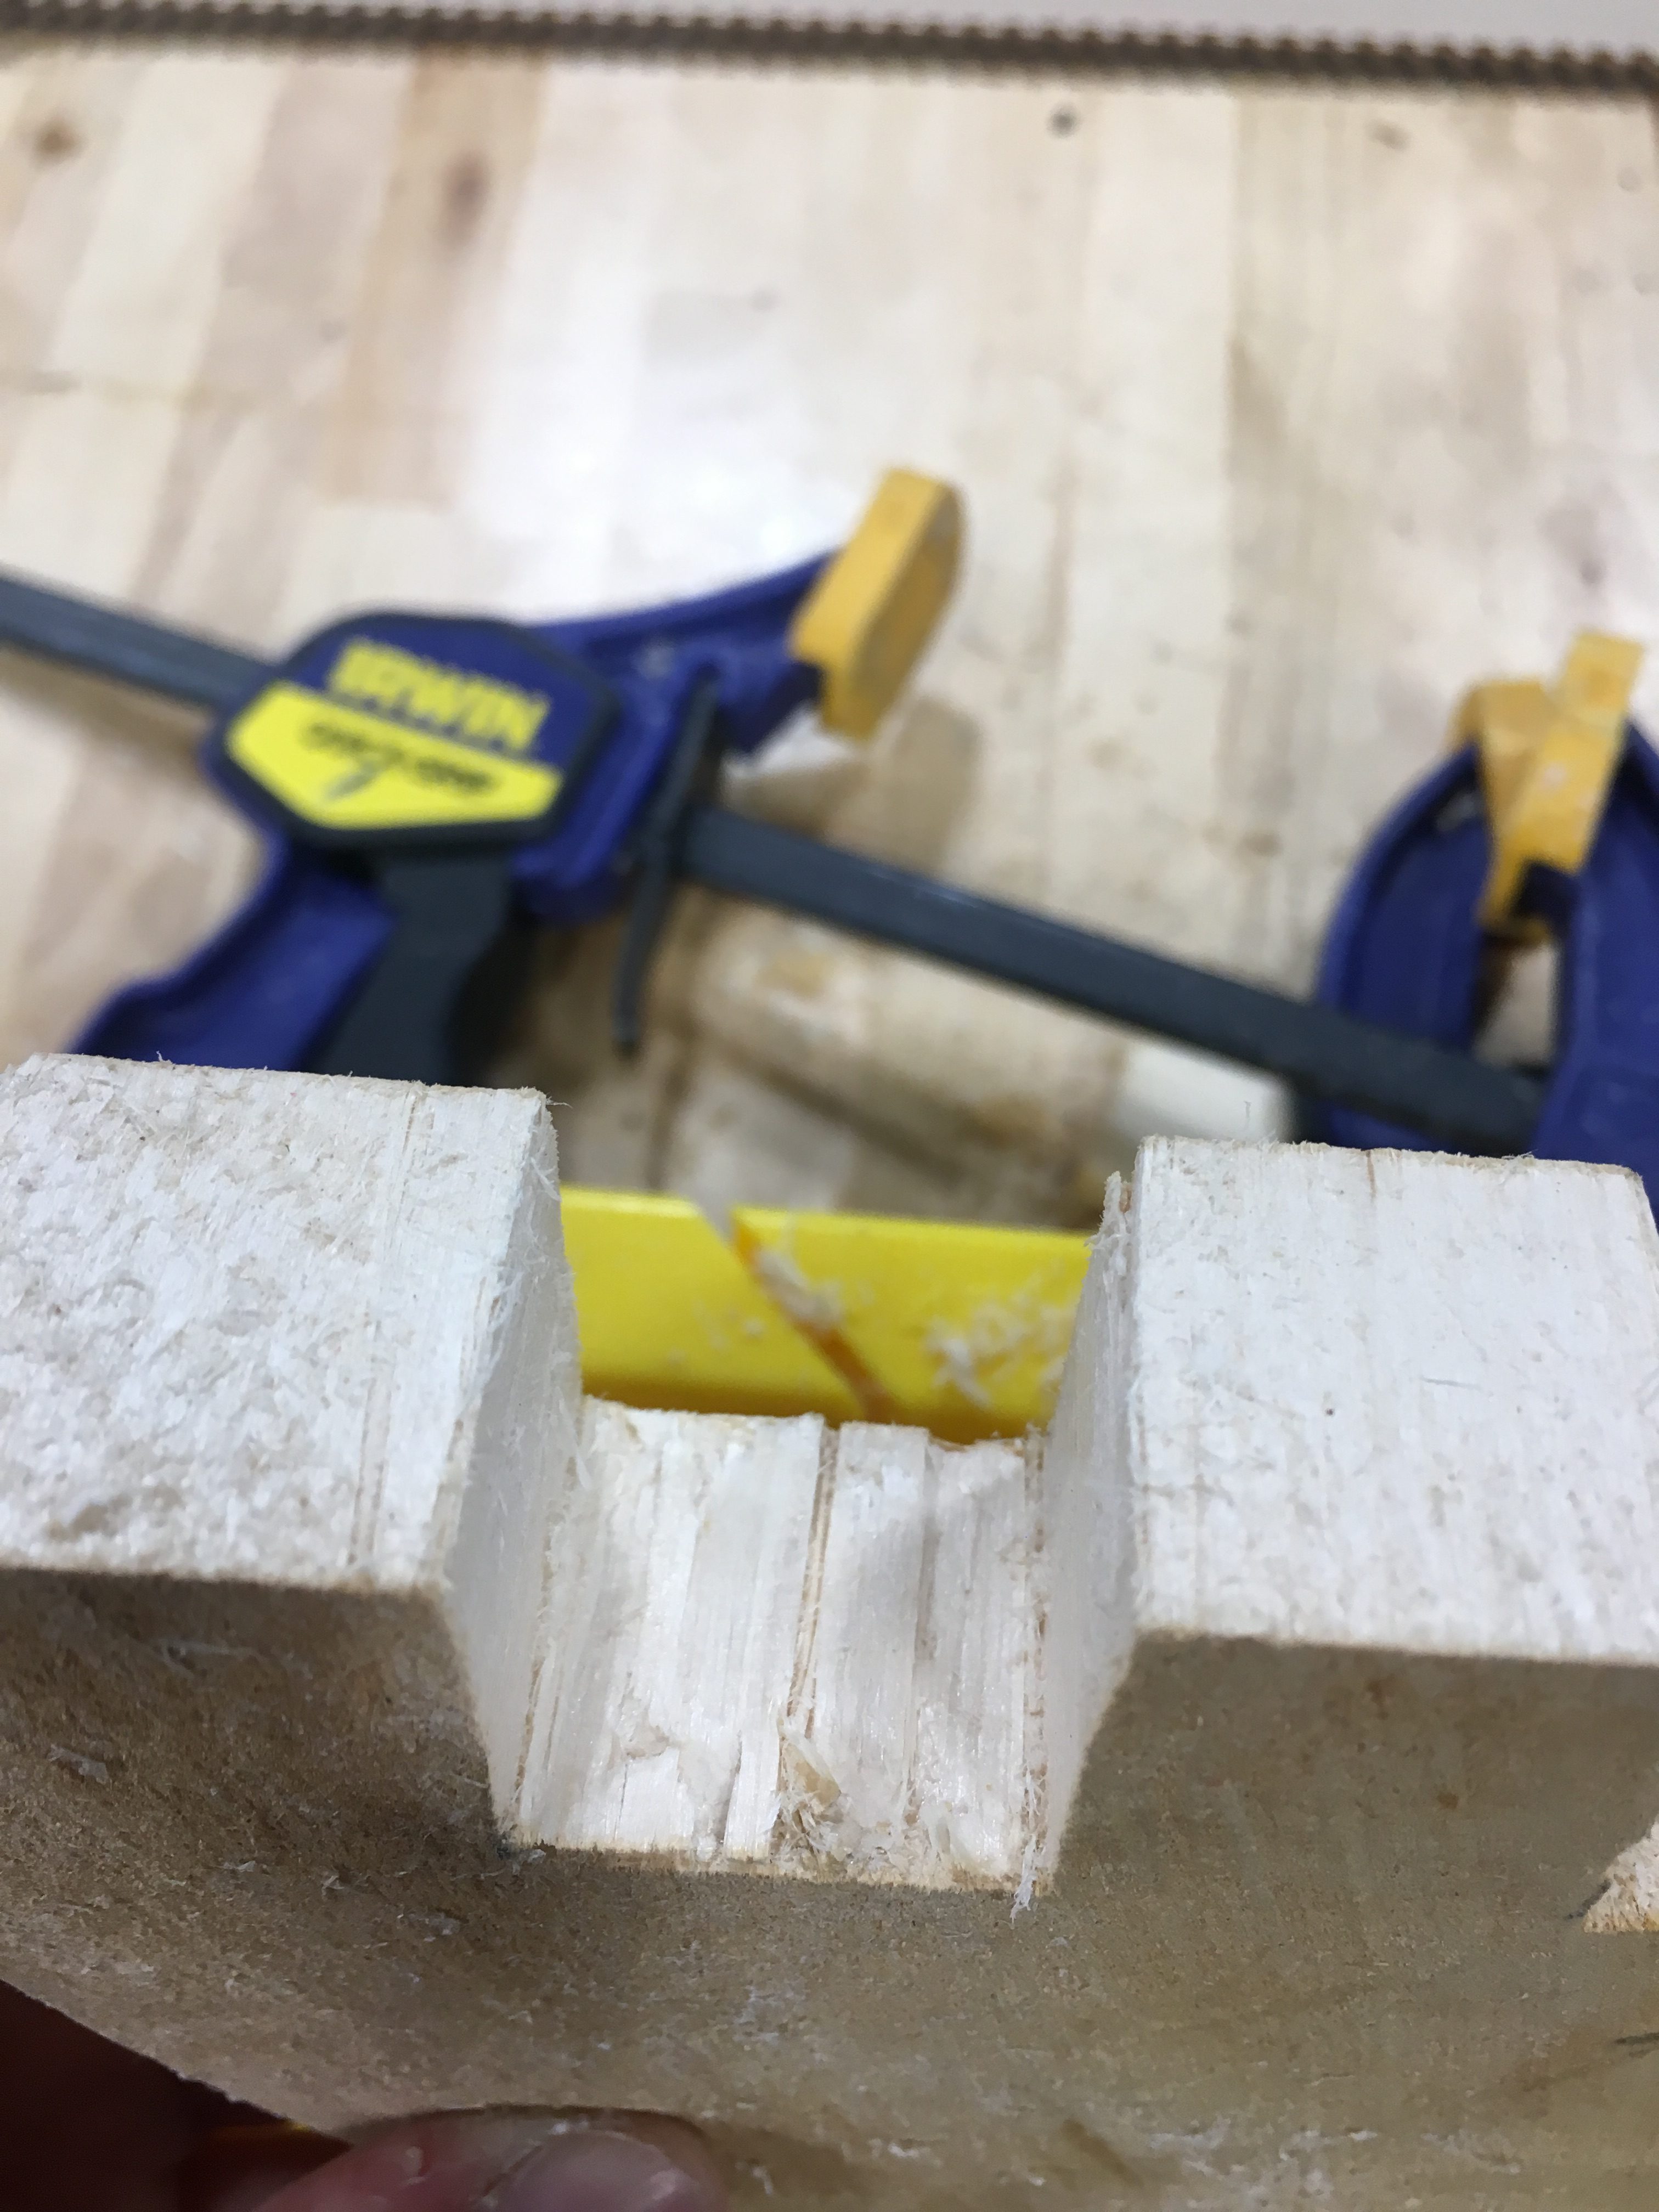
Wooden pieces are often associated with the elite and wealthy due to the difficulty in their acquisition as well as their beautiful finish and patterns. However, my wooden container proved that this, in fact, is not true for all wood pieces. When given the assignment instructions and the piece of softwood that we were meant to work with, I thought about how I would construct a piece that would hold something else, yet limited in tools and wood. Originally, the idea came to me for an interlocking container, in which I would cut pieces out of the wood so that they could lock together. I came to my partner, Jessica, with this idea thinking that I would be making my own interlocking piece; however, she understood the interlocking idea as one in which our two containers would interlock together. This miscommunication led to a completely different project, one where our two projects literally came together. We approached this simply by measuring out one inch blocks, and where her one inch blocks receded, mine protruded, and vice versa (Figure 1). I used the hand saw for this portion of the project and found that the outer two blocks were easier to cut away, but the middle block was an issue. It was difficult cutting the center part due to the large size of the hand saw, so I instead used a chisel to cut into the wood, cutting on either side until I could break the block off (Figure 2). This led to an extremely jagged surface, but I was able to fix it by sanding.
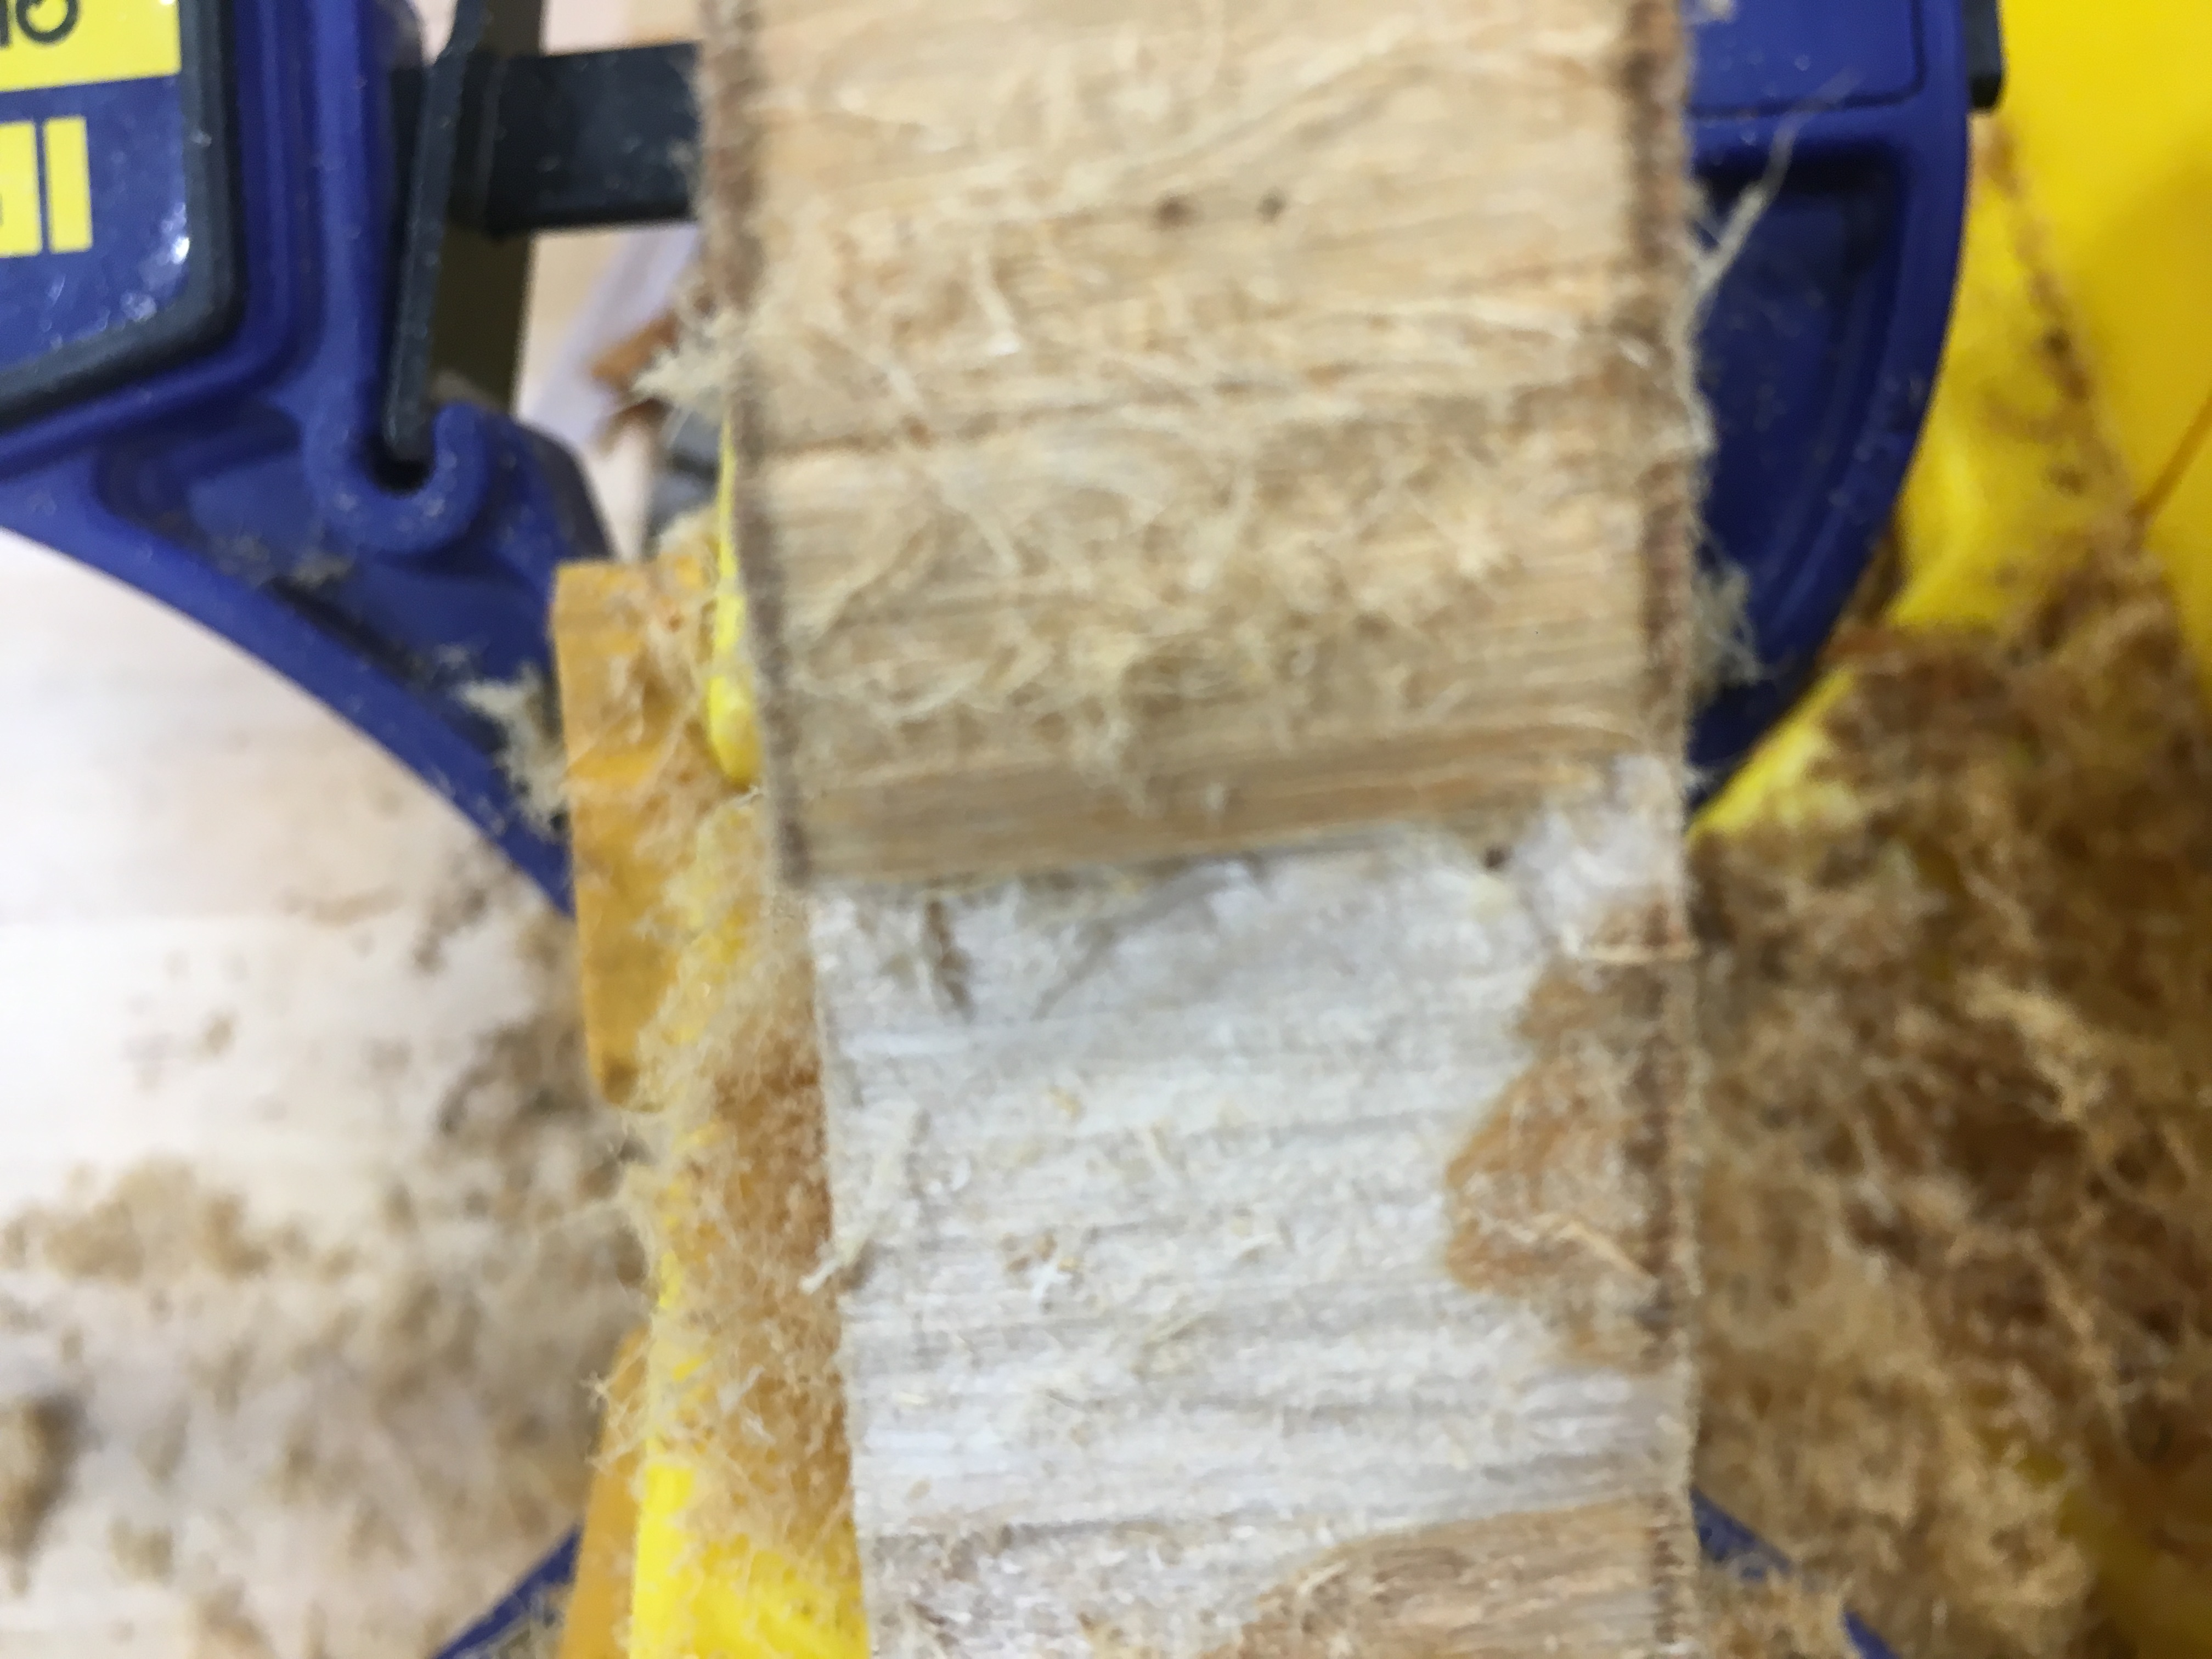
While Jessica’s piece embraced the flatness of the wood, my container was meant to stand up and, because of this, was a completely different type of container. Since my piece relied on the top edge of the wood, I had to cut away the bark, which revealed a beautiful pattern, contrasting in light and dark (although this may just be a result of my inconsistent cutting) (Figure 3).
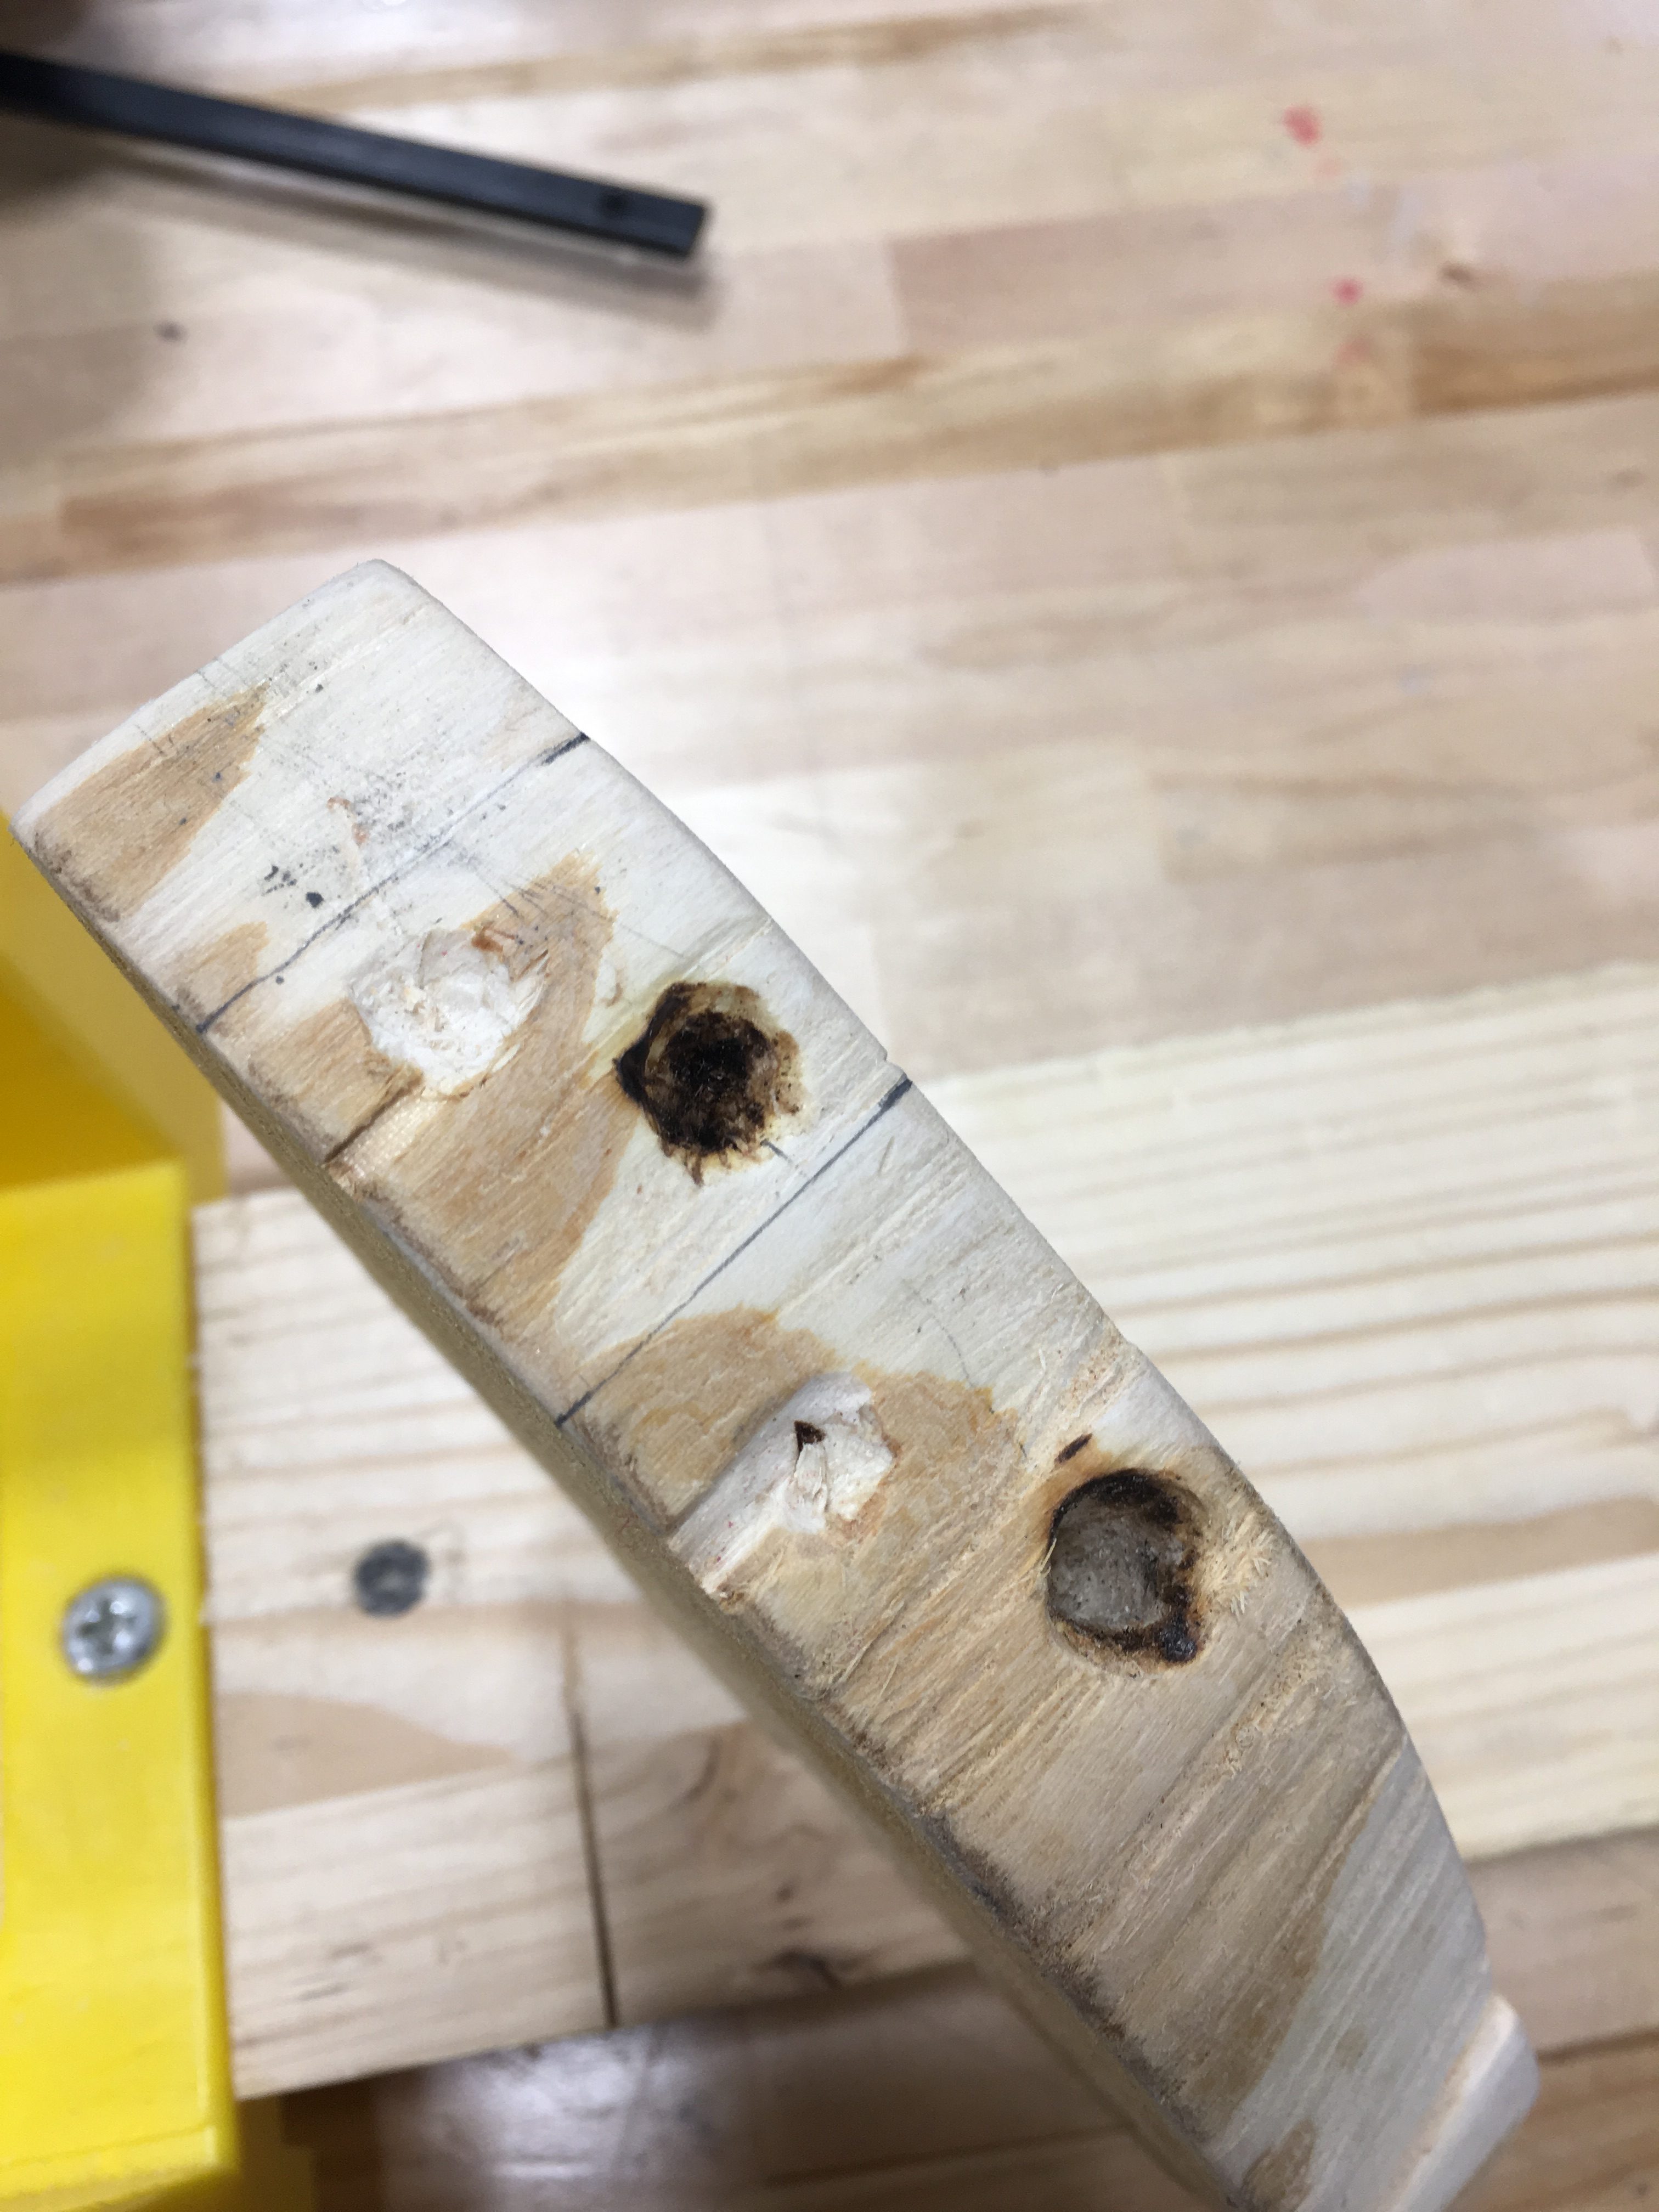
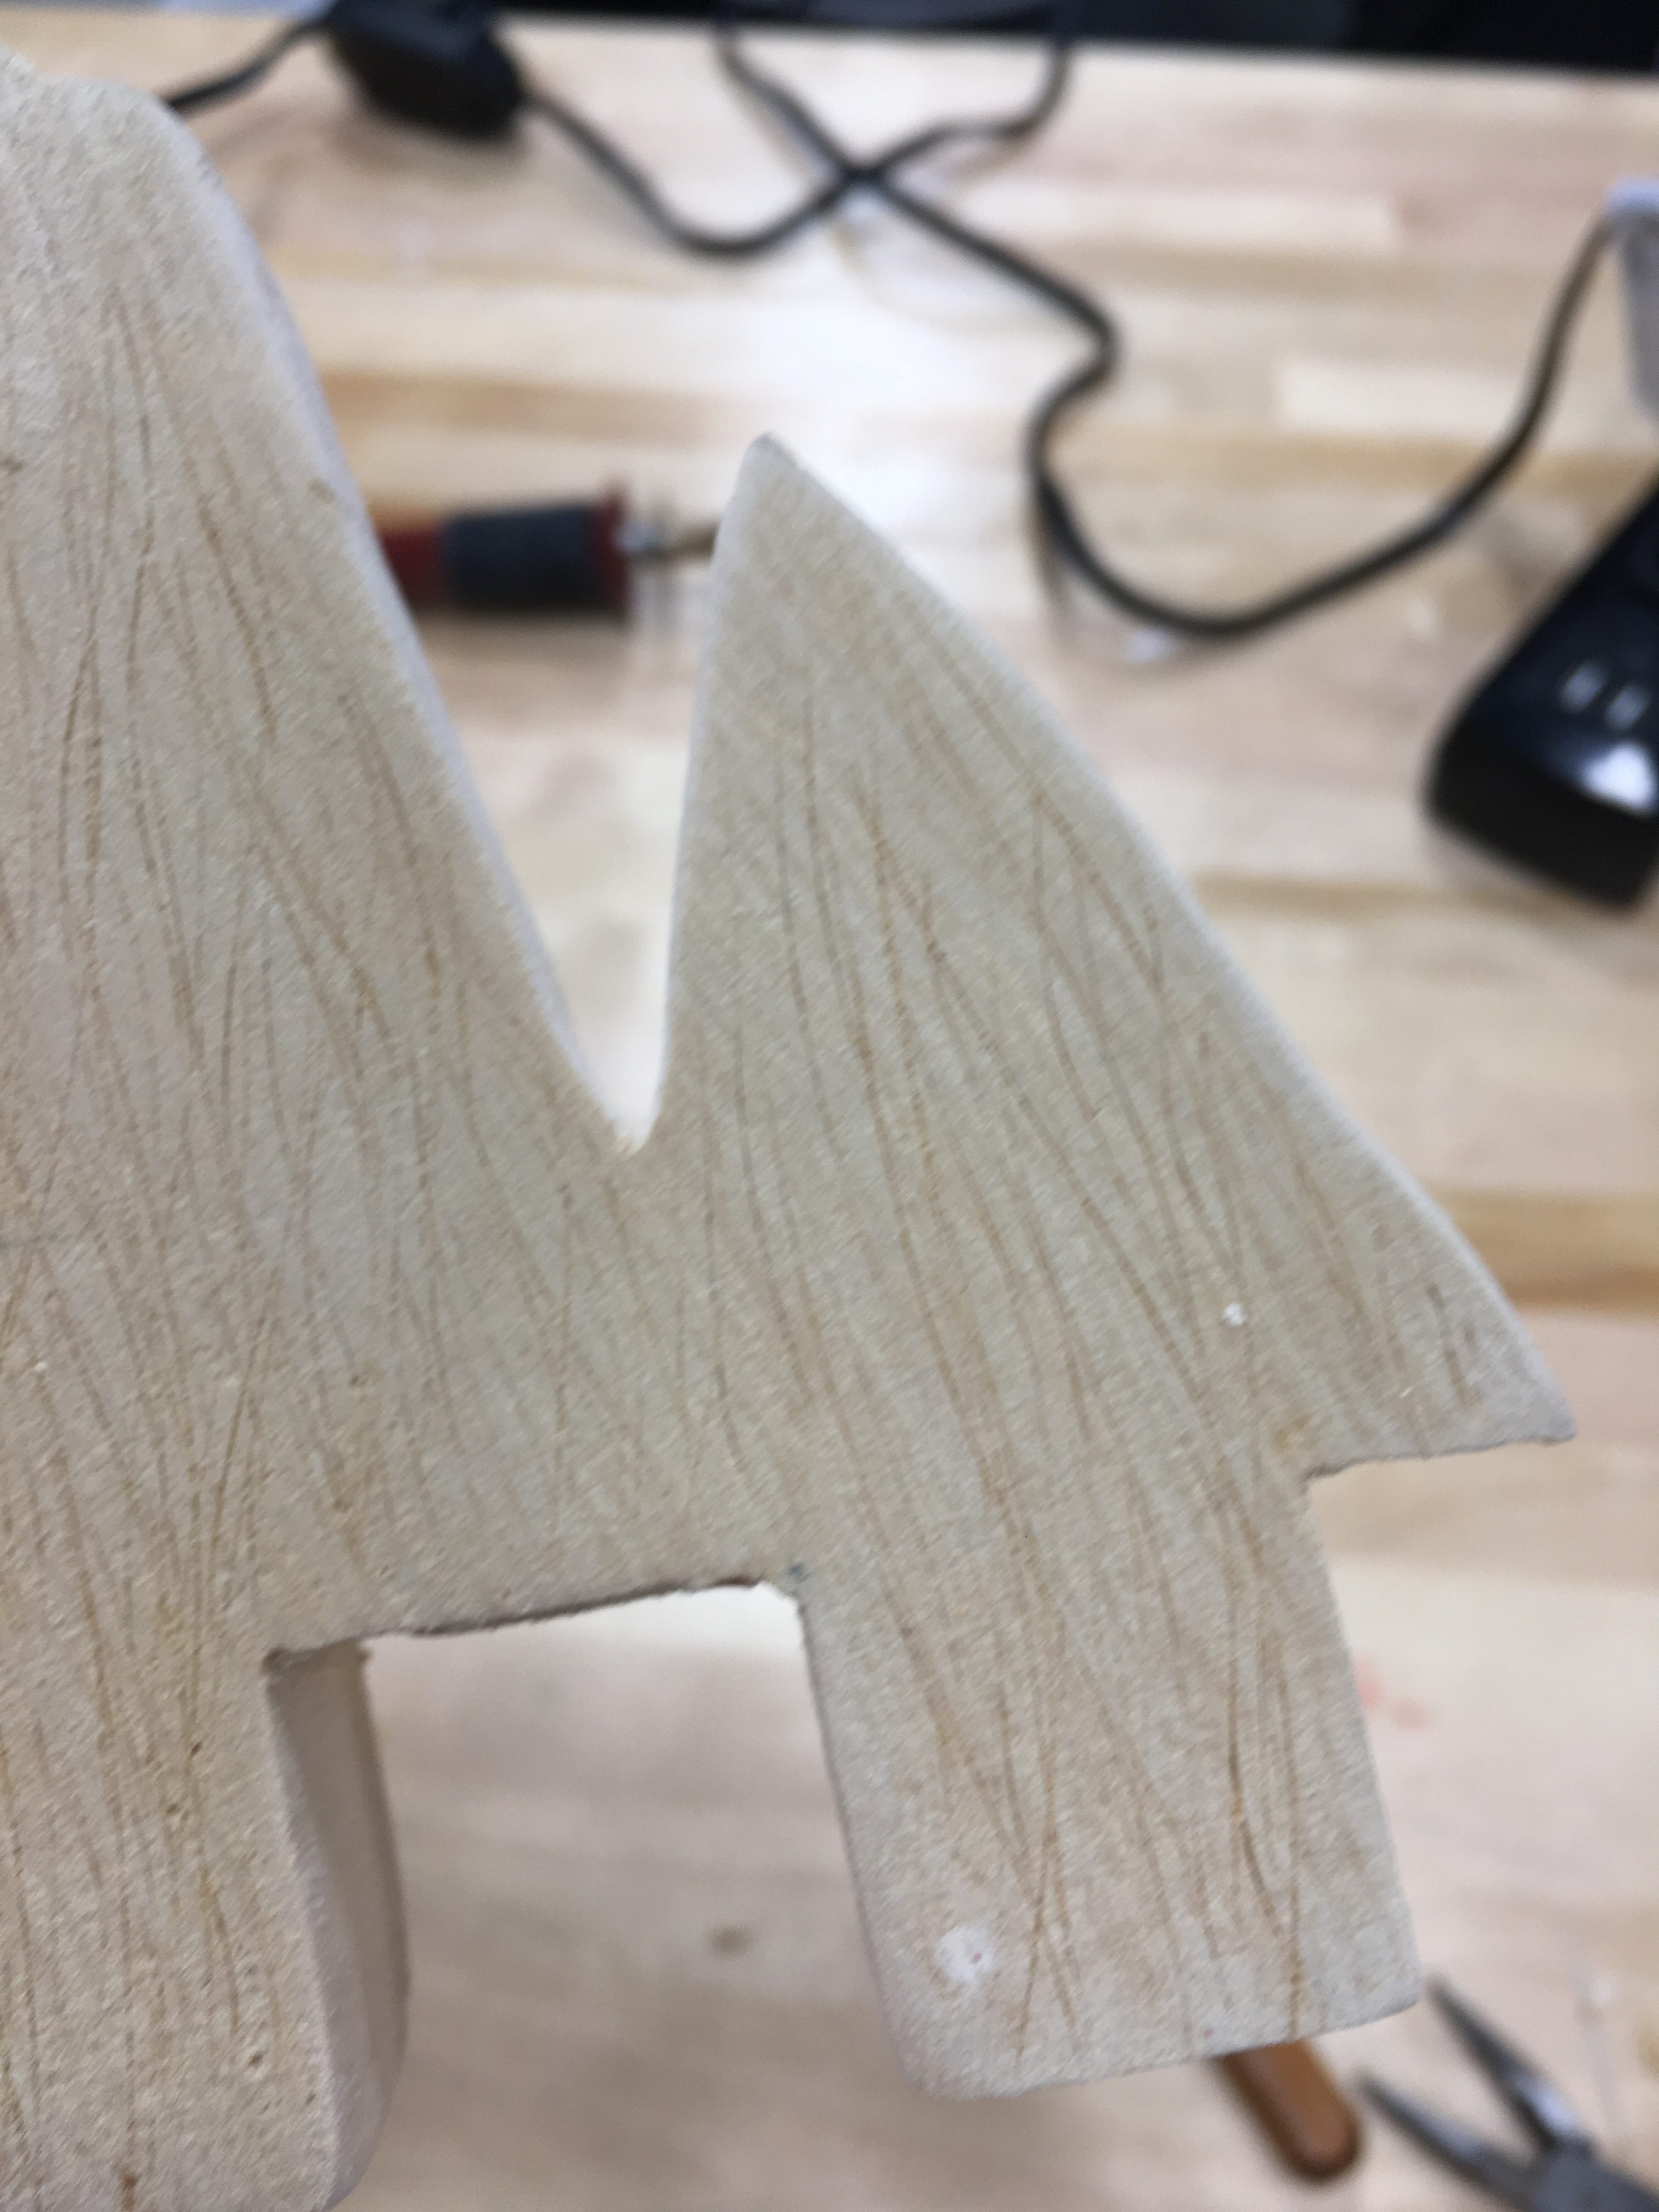
I originally wanted to create a container that had holes deep enough to hold pens and pencils. I began this by drawing out circles at the top, and used a chisel to carve out the holes. However, this caused the wood to split and created shapes that were not circles. I then tried to use a wood burner to see if that would make it easier to carve the holes. That also did not work. I decided instead to create a different type of container. Still one that could be found on a desk, my new container was a type of paper sorter, on a smaller scale. I approached this new container by using the lines where the chisel caused the wood to split as a mark for where I would cut. I also wanted to remove the (shallow) holes that I created and made sure that they fell within the width of the wedges (Figure 4). After drawing out the wedges on the wood, I brought out the handsaw and clamps and began to cut away again. However, due to the curve of the wood and the blocks on the base, I found it hard to clamp the wood in a way that the piece would be held down tightly, and I would still be able to cut through. I found that it was easier to adjust the clamps as I cut rather than by forcing it in a single, unstable orientation. When reaching the bottom of the wedges, I again used the chisels to cut into the wood, the same technique I used for the one inch blocks, and sanded away to ensure a smooth finish.
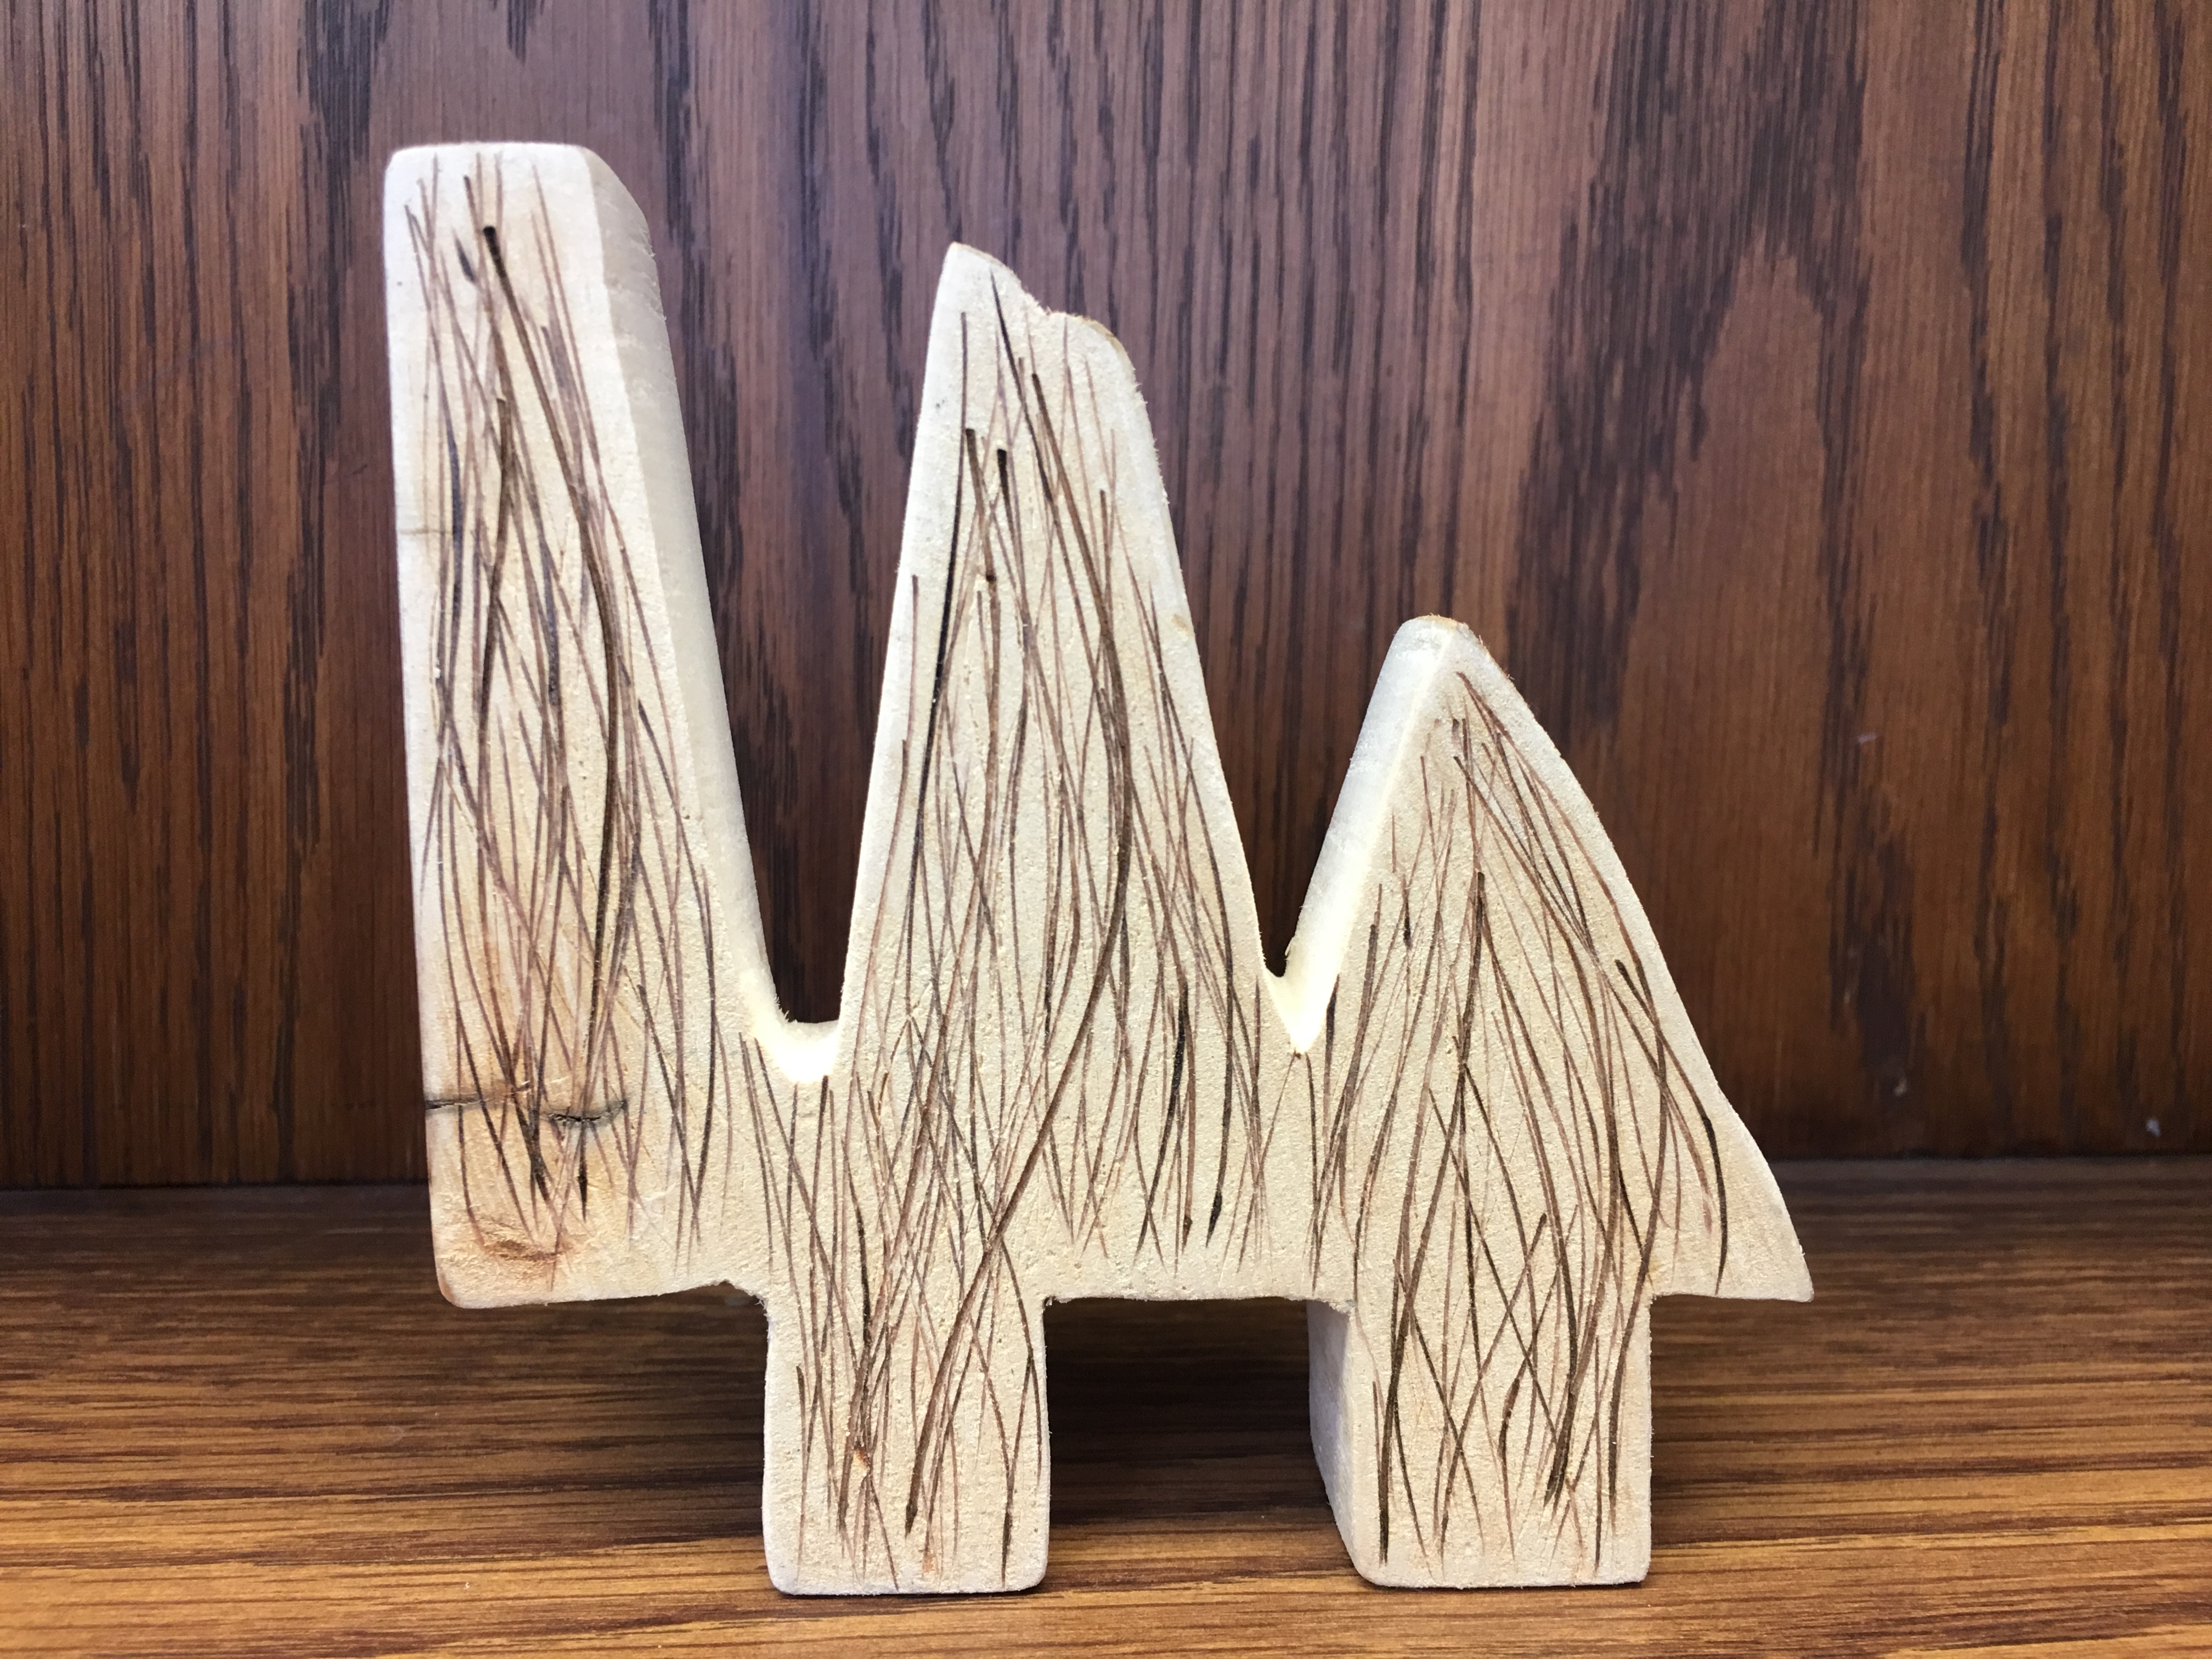
After finishing the cutting process, I proceeded to sand away. I wanted to do away with all the rough edges. This was especially hard in areas where there were jumps and gaps in my piece, the areas where I didn’t cut exactly straight. To fix this, I used the rougher sand paper in hopes to flatten it out as much as I could. Regarding the decoration of the piece, I wanted to embrace the verticality of my container. Since my own experiences with wood prior to this project were with bonfires and camping, I wanted to create lines and curves that emulated flames. I decided to first chisel in vertical waves to add depth to the pattern (Figure 5), I then used the wood burner to, quite literally, burn in the flames (Figure 6). I thought that by using both the chisel and the wood burner I would achieve more dimension, but alas, another failure.
Although this was a partner project, after planning everything, Jessica and I worked on our own. I enjoyed the solitude of working on my container, in the sense that I could focus solely on the wood. Due to the softness of the wood, I was able to see my mistakes immediately and trouble shoot where something went wrong, why it went wrong, and then figure out how I could fix it.
